The bathroom in a studio apartment often has to hold towels, toiletries, cleaning supplies, and spare paper in a very small footprint. The challenge is not simply finding another shelf. Storage has to survive splashes, leave room to open the door, and keep the sink, shower, and toilet comfortable to use.
Start by looking at what you reach for every day, what gets wet, and what can live elsewhere in the apartment. Measure the room with cabinet doors open and with someone standing at the sink. These ideas focus on the bathroom’s distinct wet and dry zones. For storage across the whole studio, see the small-space studio storage guide.
1. Assign Daily, Occasional, and Backup Items Different Spots
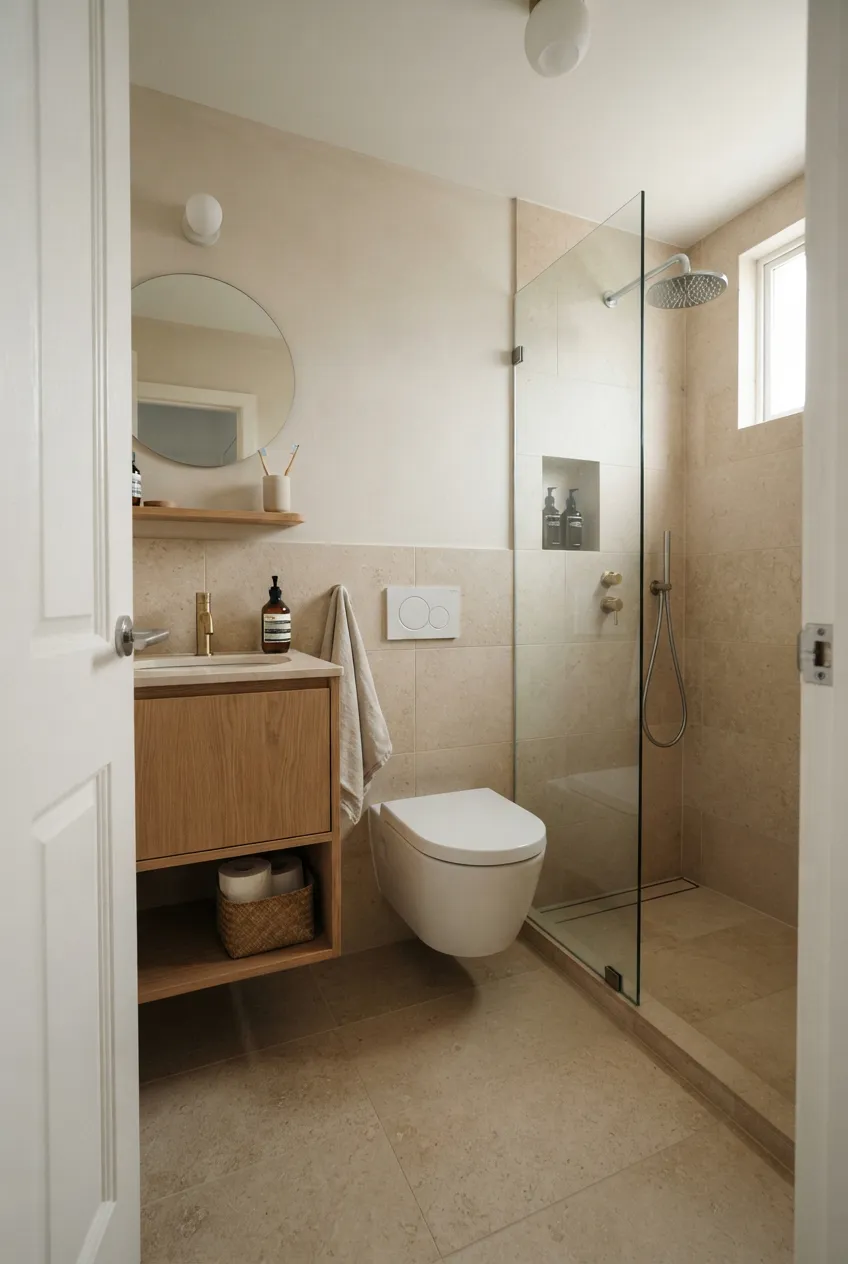
Take everything out of the bathroom and group it by how often it is used. Daily toothbrushes and skin care need easy reach at the sink; shower products belong near the shower; backup bottles and spare paper can go lower, higher, or outside the room. Keep a clear place to set an item down while using the sink.
Before adding containers, measure the cabinet interiors, the door swing, and the dry floor space. A bin that technically fits but has to be removed each time you reach the faucet is not helpful. This quick map prevents a collection of small organizers from making the room harder to use.
2. Reserve the Medicine Cabinet for Small Daily Essentials
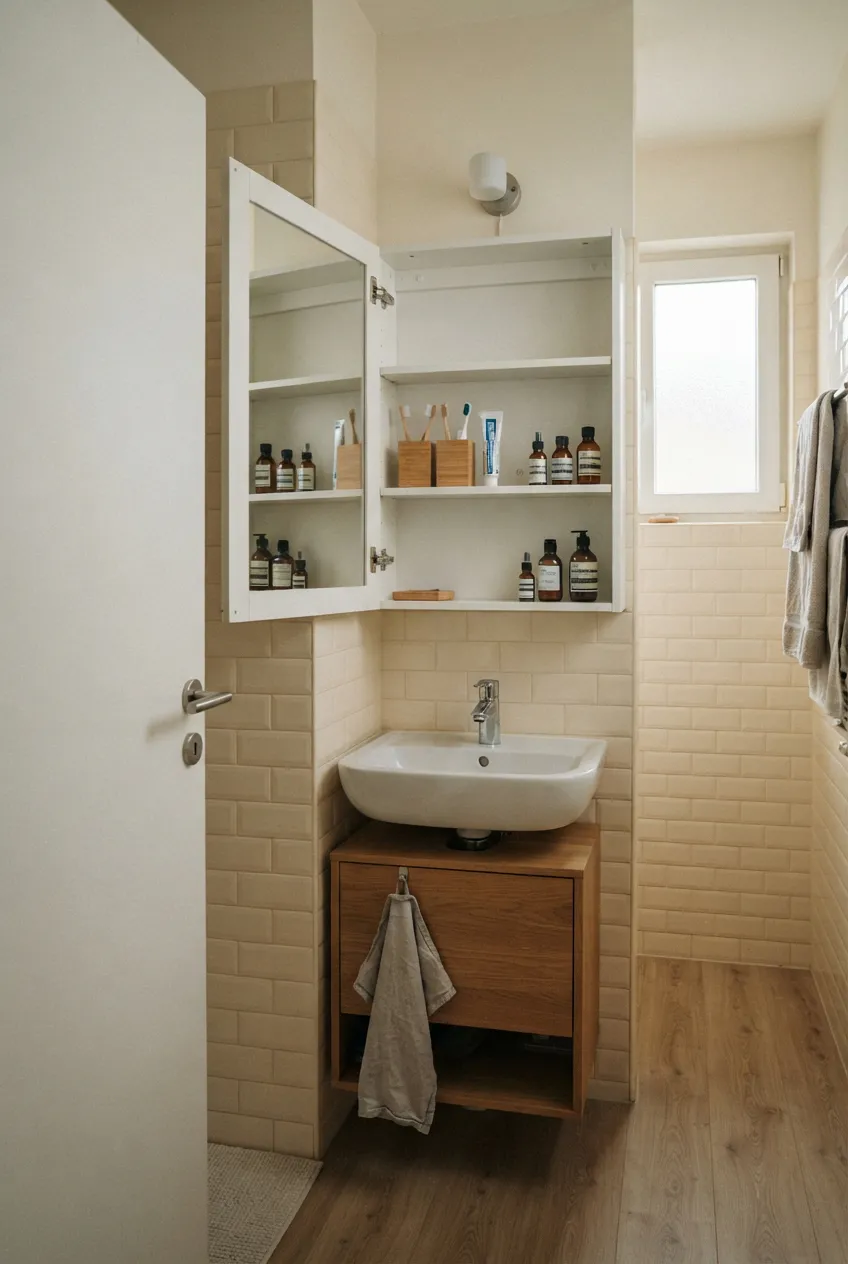
If the bathroom already has a medicine cabinet, give its most reachable shelf to the few small items used at the sink each day. Stand them upright where labels are visible, and keep taller items where the door can still close fully. Avoid packing products behind one another so tightly that you have to empty the shelf to find one.
Check the shelf’s load guidance and whether the cabinet door clears the faucet, light, and nearby wall. Items that do not belong in a humid bathroom should follow their own storage instructions. The point is quick access to a small daily set, not using the mirrored cabinet as the apartment’s entire supply closet.
3. Use a Shower Caddy That Lets Bottles Drain
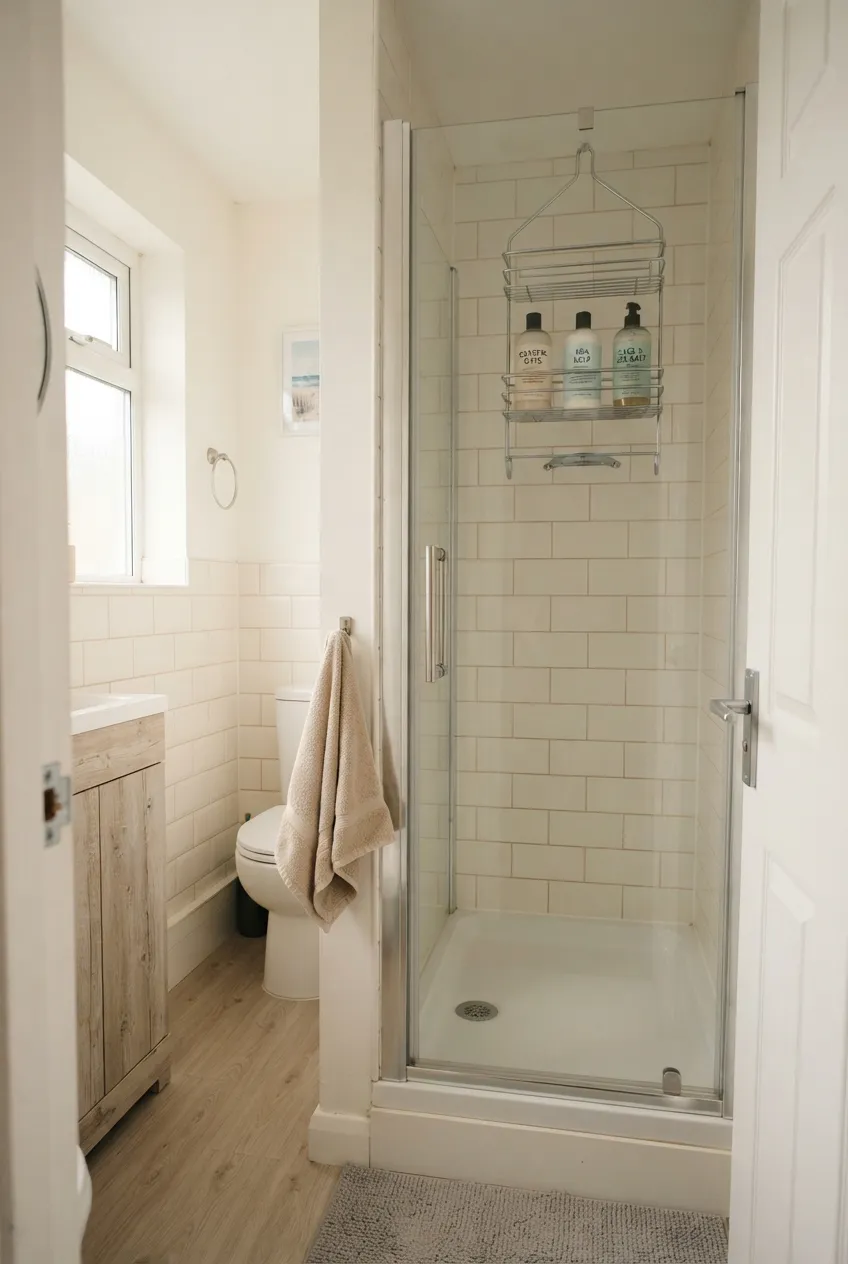
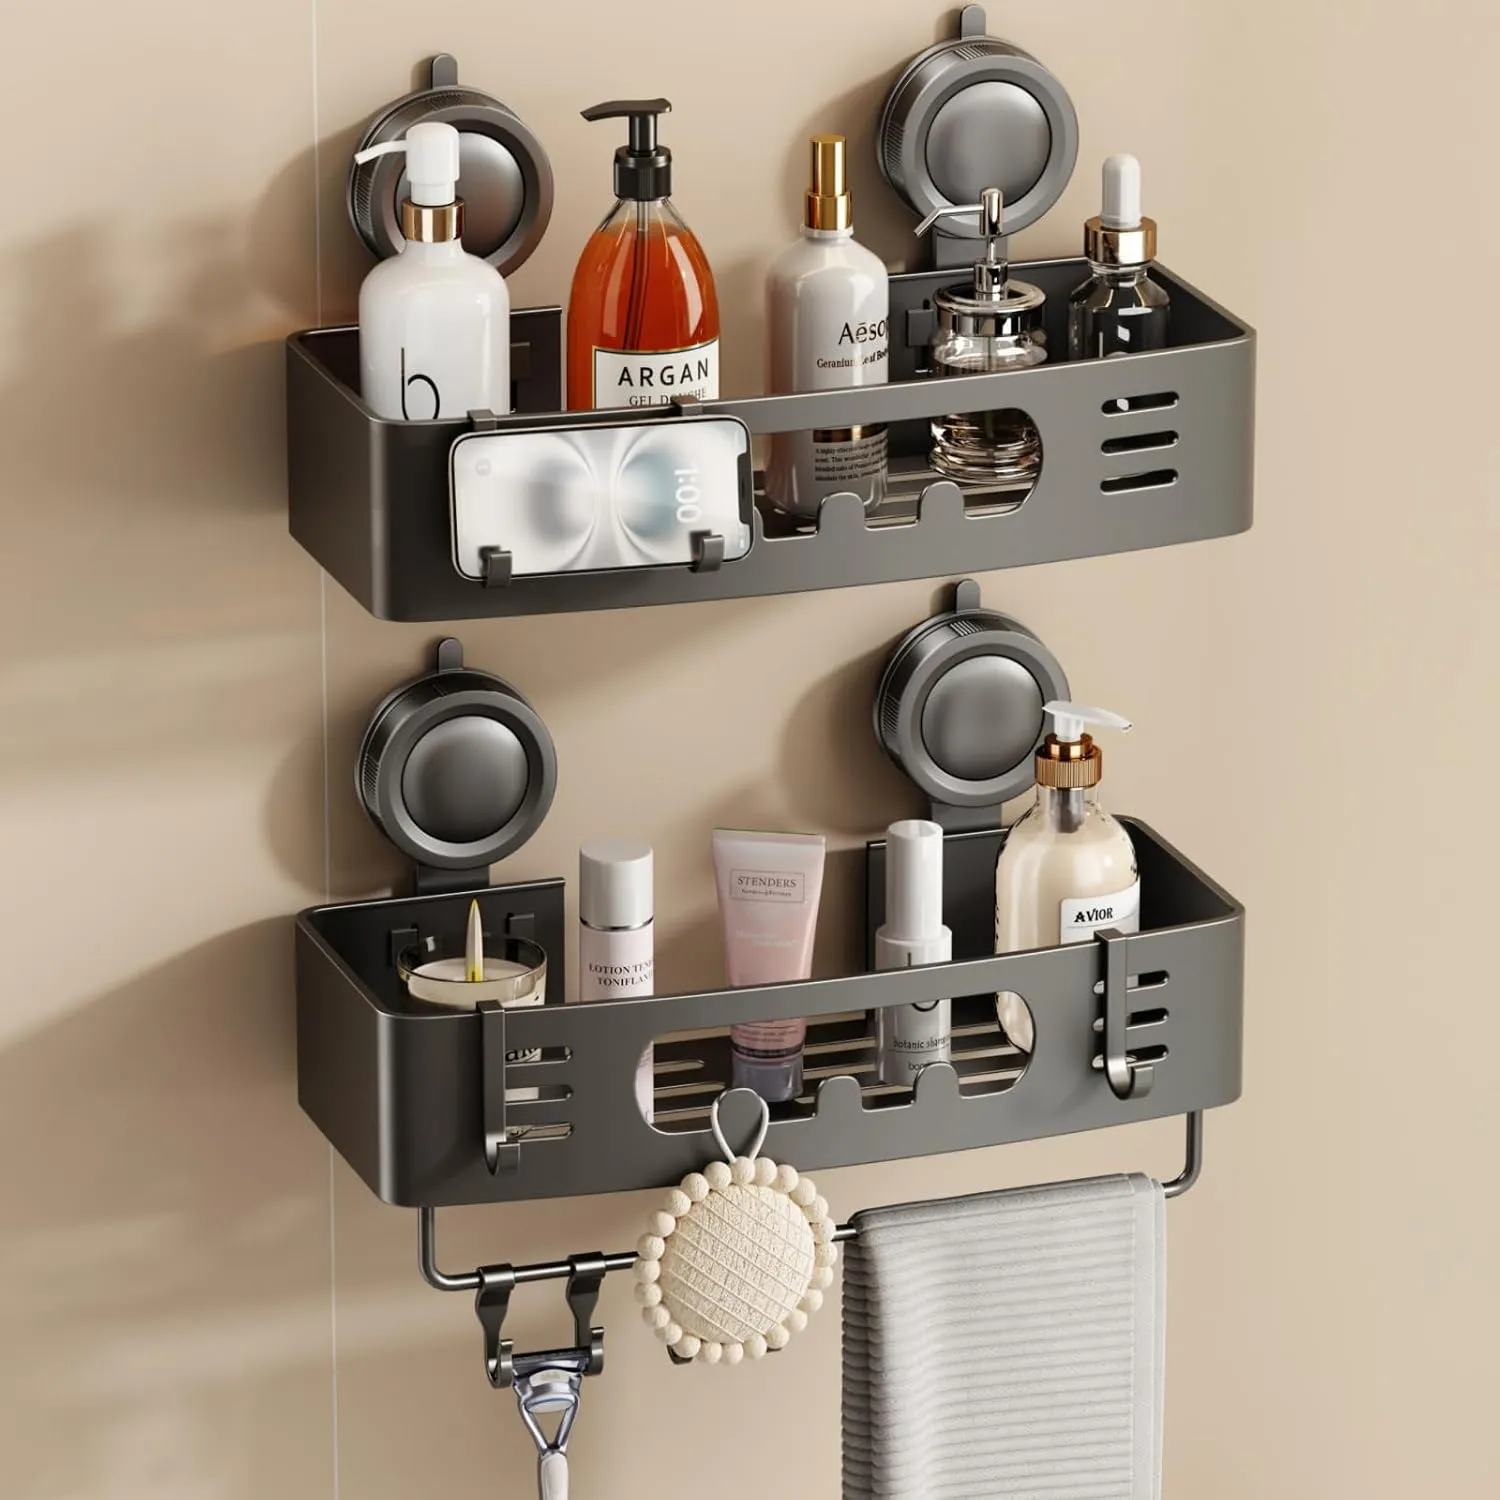
When a shower has no built-in shelf, a suitable caddy can hold the bottles actually used there. Choose a location that does not reduce standing space or interfere with the shower door or curtain. A design with drainage and room to lift each bottle out makes cleaning easier than a crowded basket sitting on the shower floor.
Match the caddy’s mounting method to the shower surface and follow its installation and load instructions. Check that it stays stable when bottles are wet and that the shower door closes fully. Keep the floor free so you can clean and step in safely.
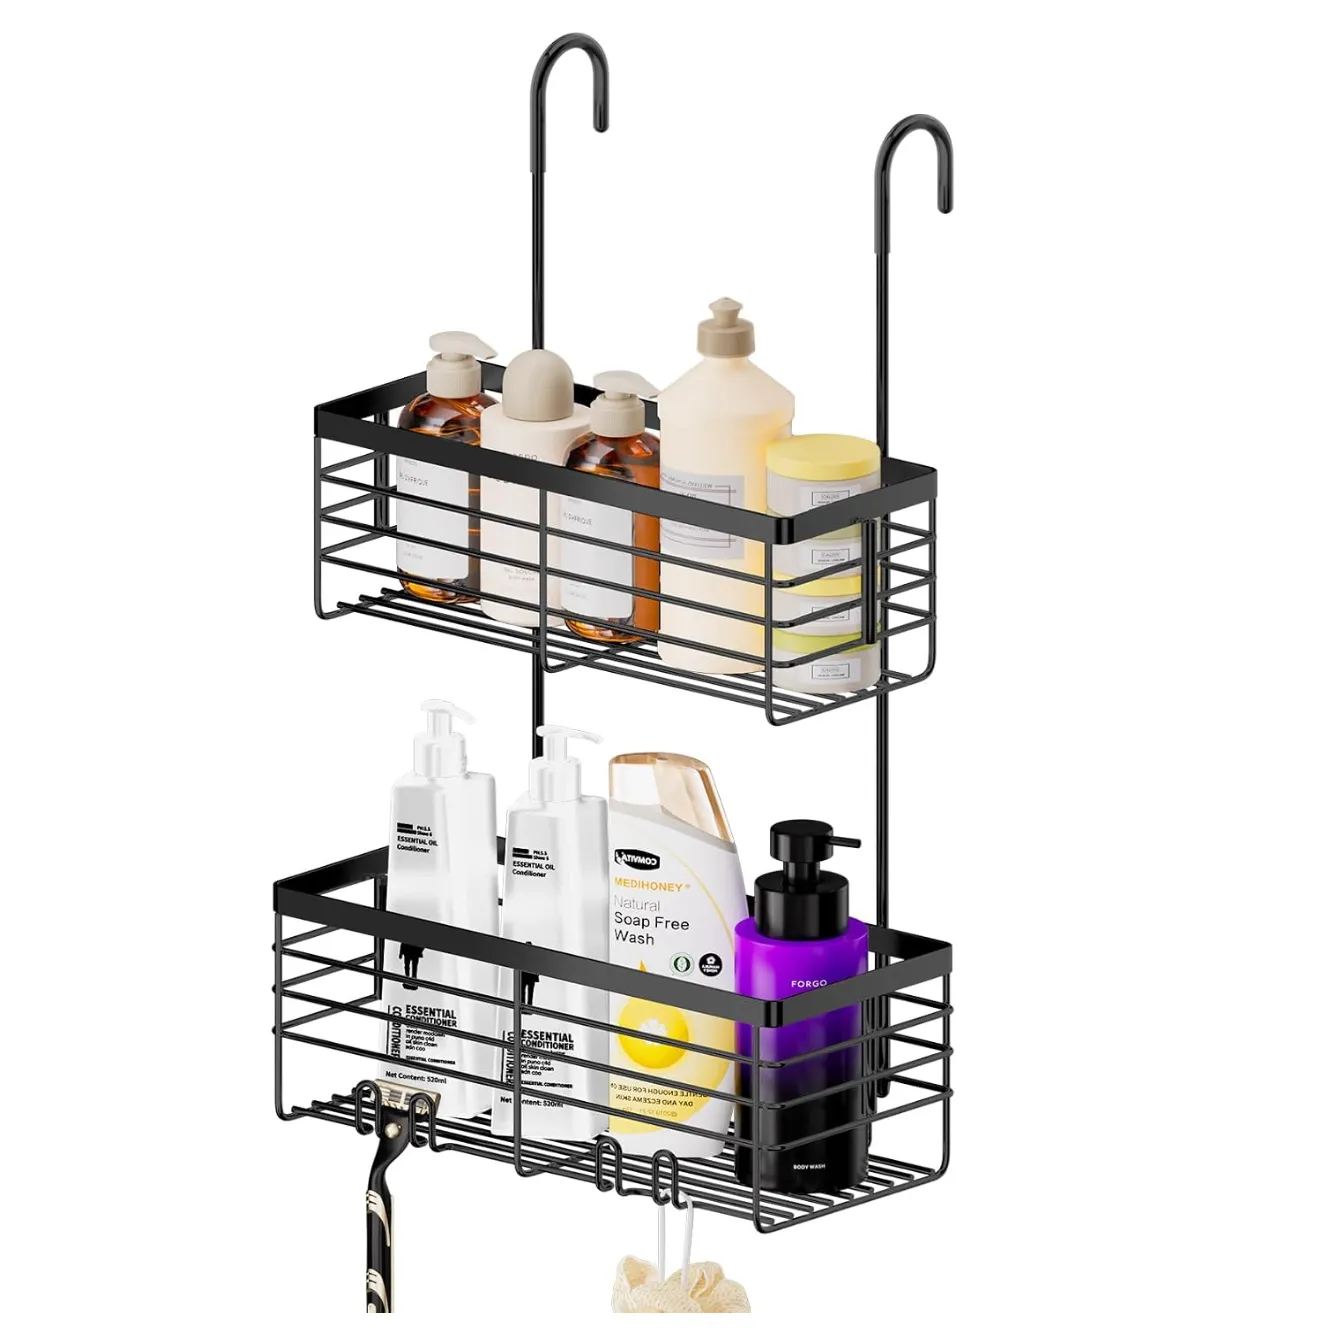
If your shower needs a compact place for daily bottles, take a look at the Amazon shower-caddy option below.
 |  |
|---|---|
 | |
4. Give an Existing Shower Niche a Simple Layout
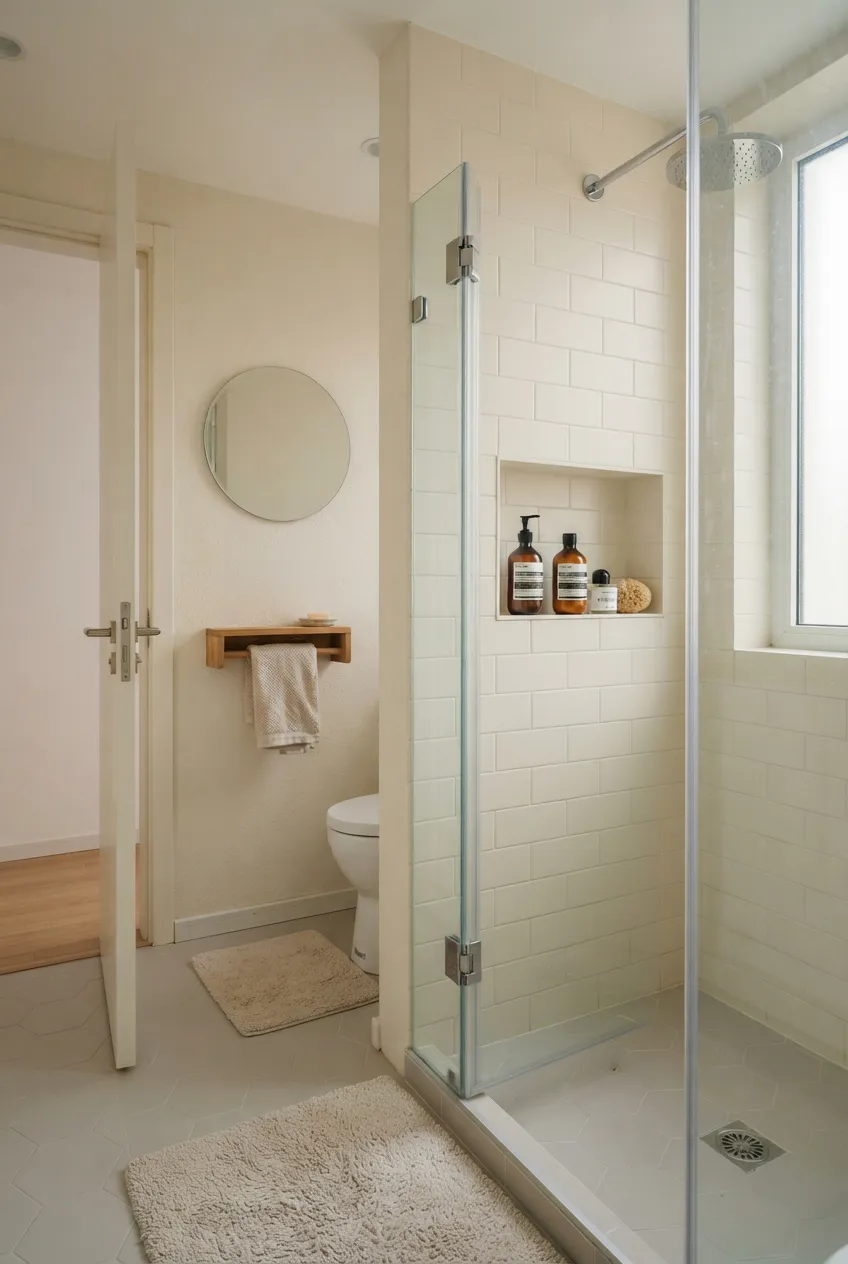
If you already have a recessed niche, use it before adding another hanging organizer. Put frequently used bottles at the front, a smaller item beside them, and leave room to lift everything out for cleaning. A shallow, washable divider may help only if it fits without trapping water or making bottles unstable.
Check the niche’s real depth and the height between shelves. Keep tall pumps away from a spot where they will hit a shower door. An existing niche can be enough for daily products; extra stock can wait in a dry place outside the shower.
5. Hang Towels Where They Can Spread Out and Dry
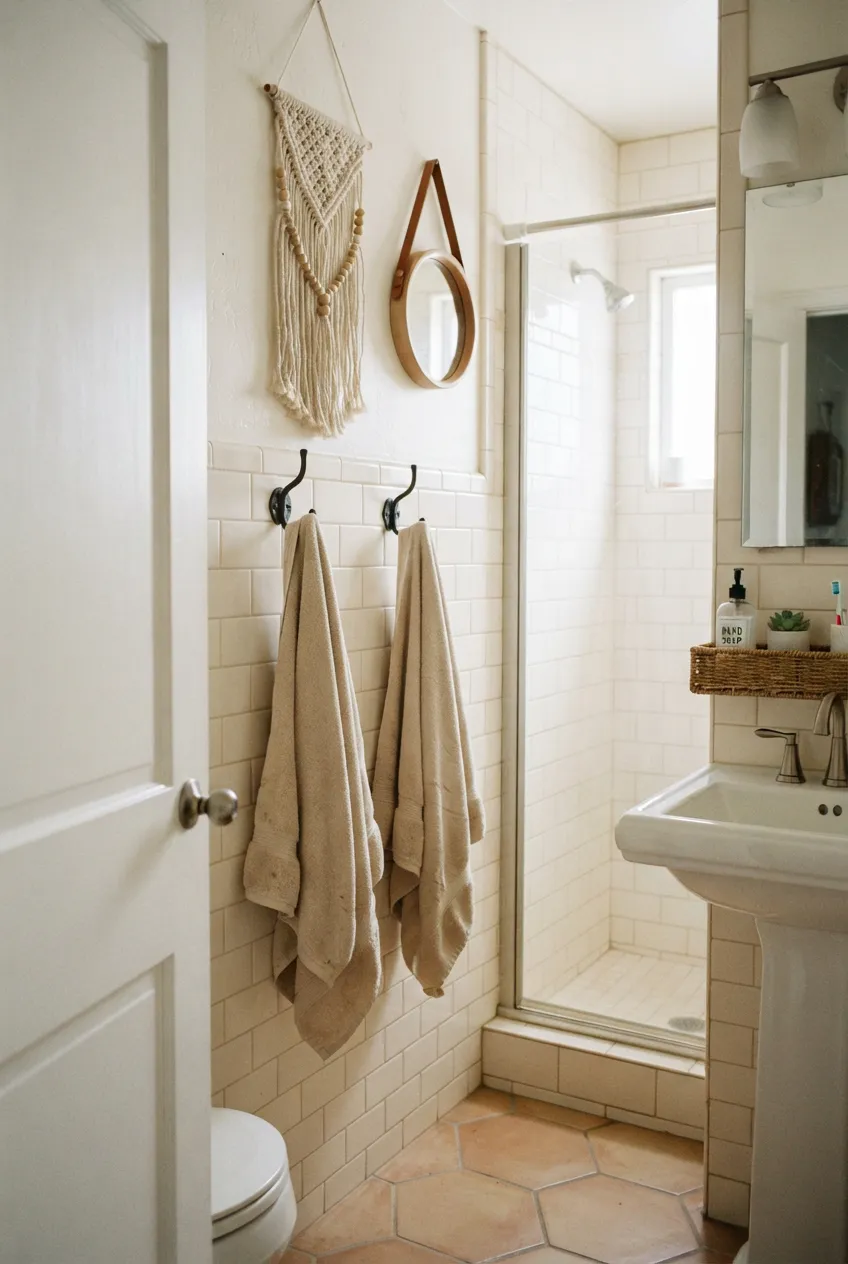
Used towels need open space more than they need another basket. If there is a suitable door or dry wall, place a hook or rail where the towel can hang without touching the toilet, floor, or shower spray. Keep enough distance between towels that they do not bunch up into one damp bundle.
For a door-mounted option, measure the gap above and behind the door before buying. With a towel hanging, the door must still open fully and latch. Follow the hardware’s load guidance and use a mounting method permitted for that surface.
6. Keep Clean Spare Towels on One Dry Shelf
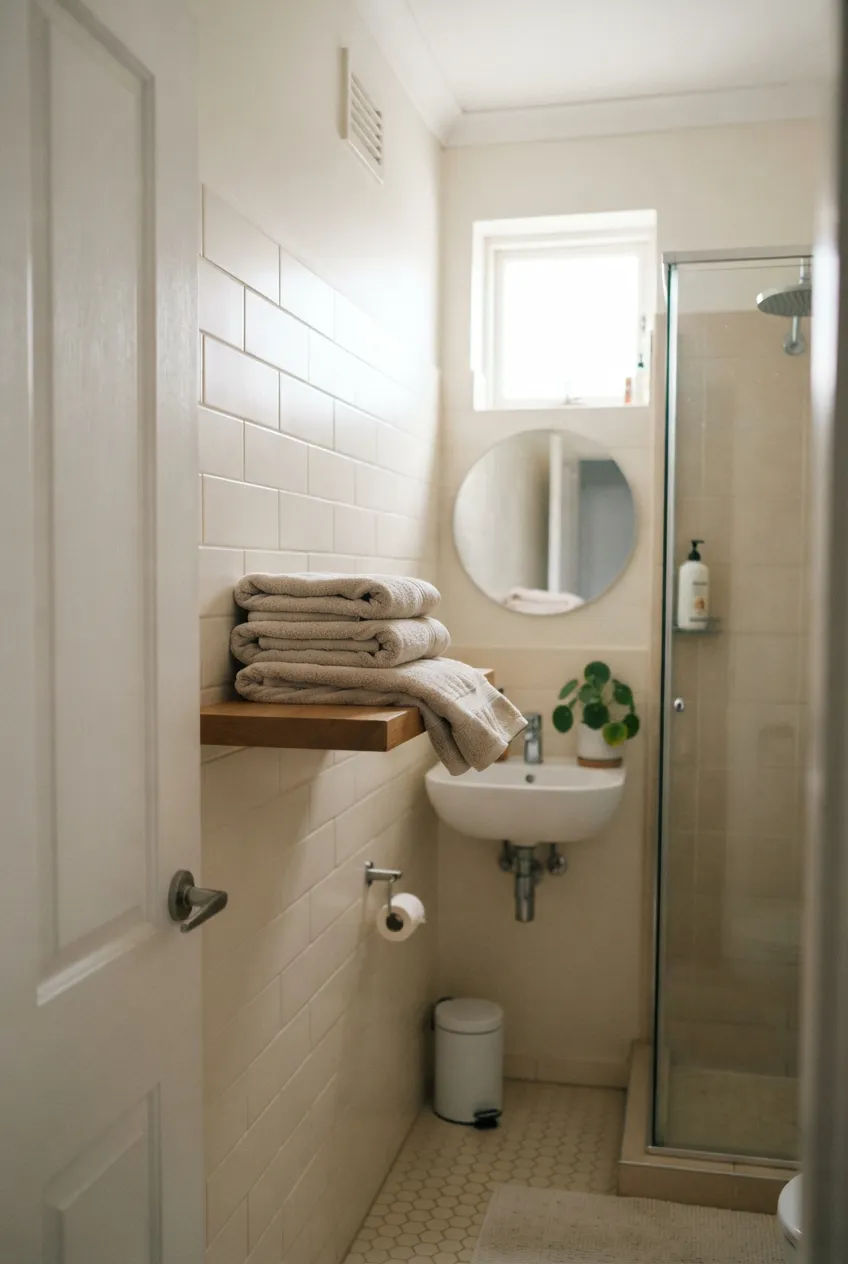
Fresh, completely dry towels can share one shelf in a dry part of the bathroom. Fold or roll them to the shelf’s real depth, keeping the stack low enough to remove one without pulling down the rest. If the shelf is open, use only a small number of spares so the room does not become a linen closet.
Keep the shelf away from direct shower spray and leave air around the towels. If the bathroom remains damp or has no suitable dry shelf, store most spares elsewhere in the studio and bring in a clean towel as needed. This preserves the bathroom’s limited storage for things used there.
7. Give the Sink Counter a Small, Wipeable Landing Spot
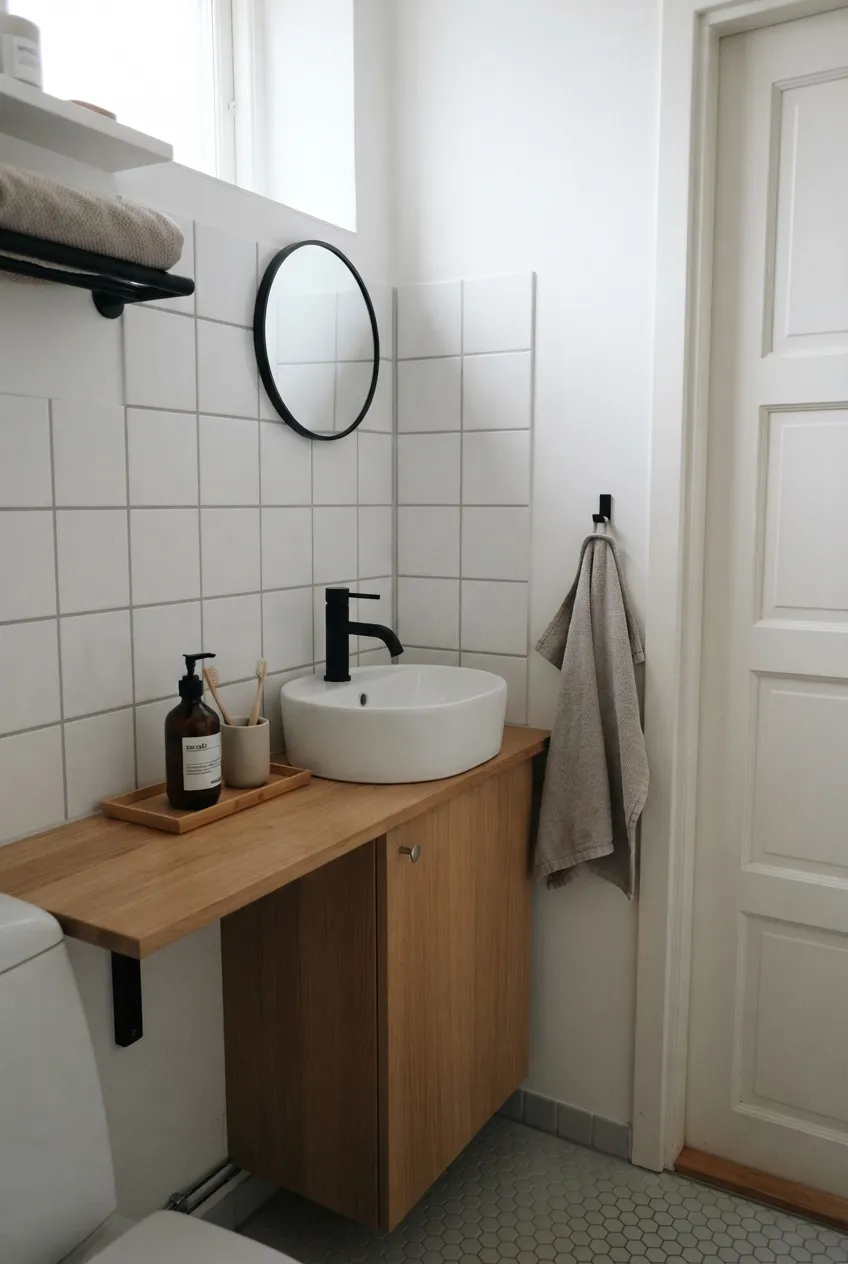
A narrow tray beside the basin can hold soap and one or two items used while getting ready. It defines a landing spot without claiming the entire counter. Choose a tray that can be lifted to wipe the surface beneath it and that leaves room for hands, the faucet, and any sink controls.
Test the setup with the tap running. The tray should not sit under persistent splashes, hang over the edge, or block a cabinet door. If the basin has almost no counter, keep the daily set in the medicine cabinet instead of balancing a tray on the rim.
8. Divide a Vanity Drawer by the Items You Reach For
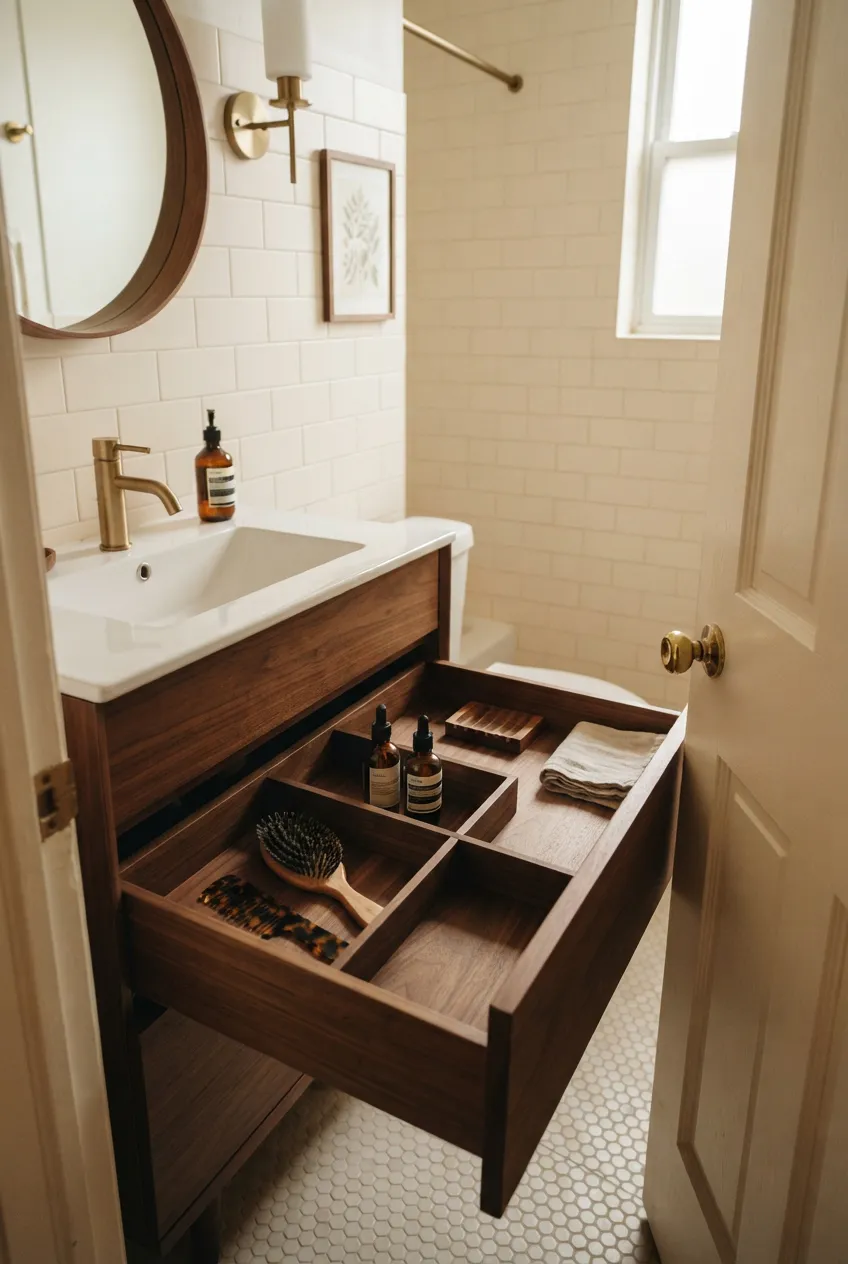
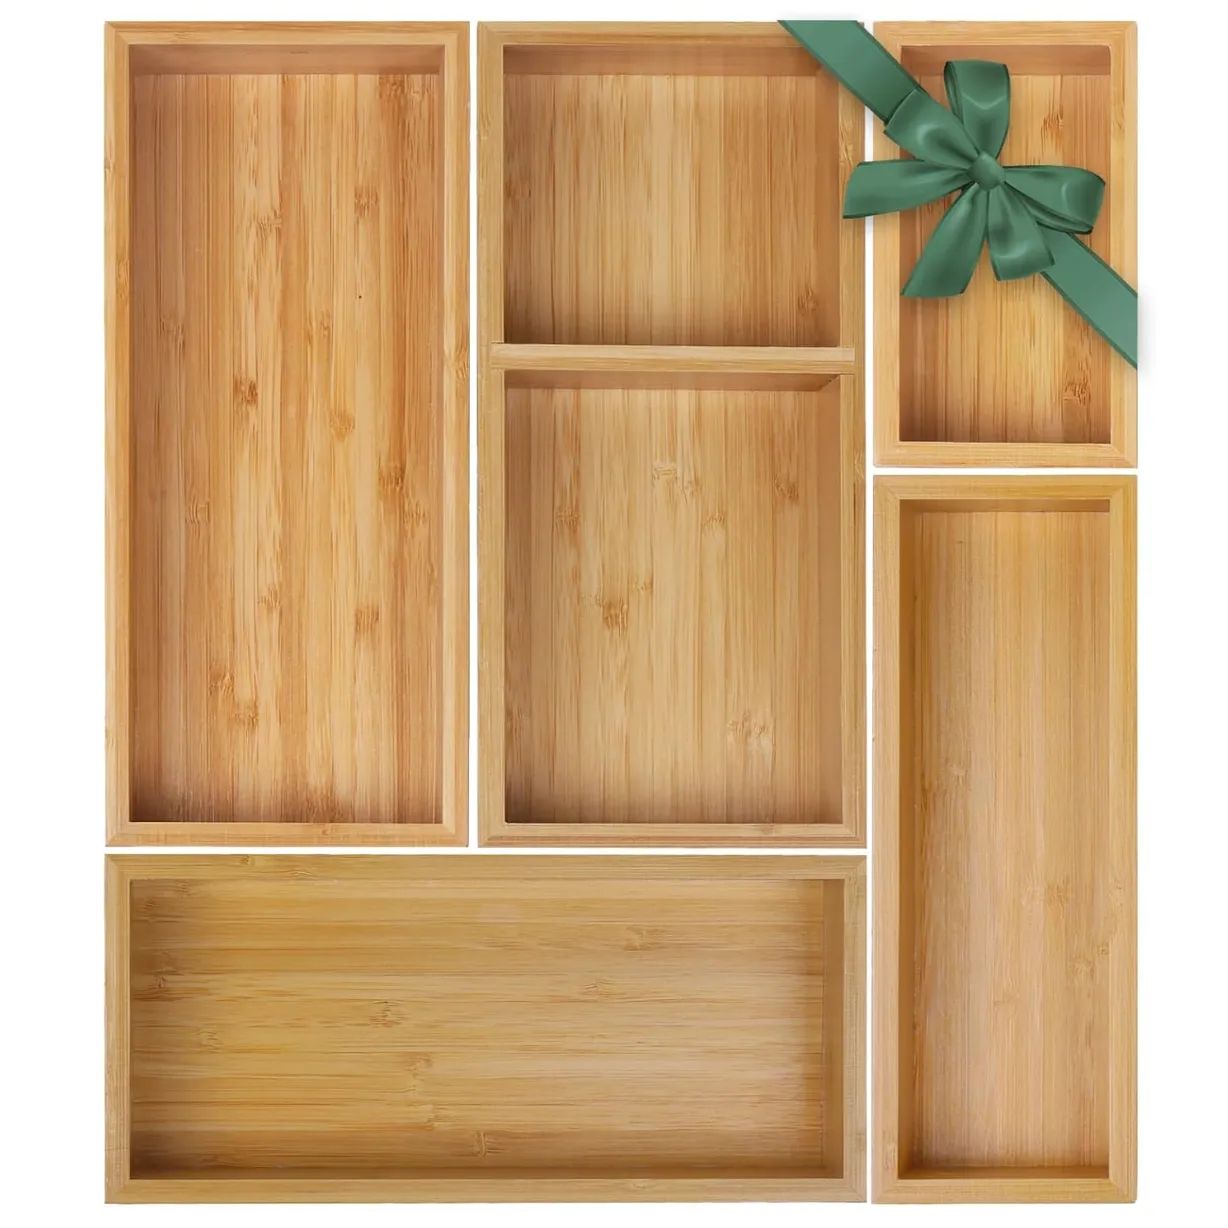
An existing vanity drawer can hold small care items more effectively when a few washable dividers keep them from sliding together. Give one section to hair tools or brushes, one to small daily products, and leave a space for items that do not fit a narrow compartment. Measure the drawer’s interior height as well as width and depth.
The drawer must close without pressing on bottles or tools, and its pull should clear the bathroom door and your standing position at the sink. Choose inserts that can be removed for cleaning rather than fixing an elaborate layout into a damp drawer.
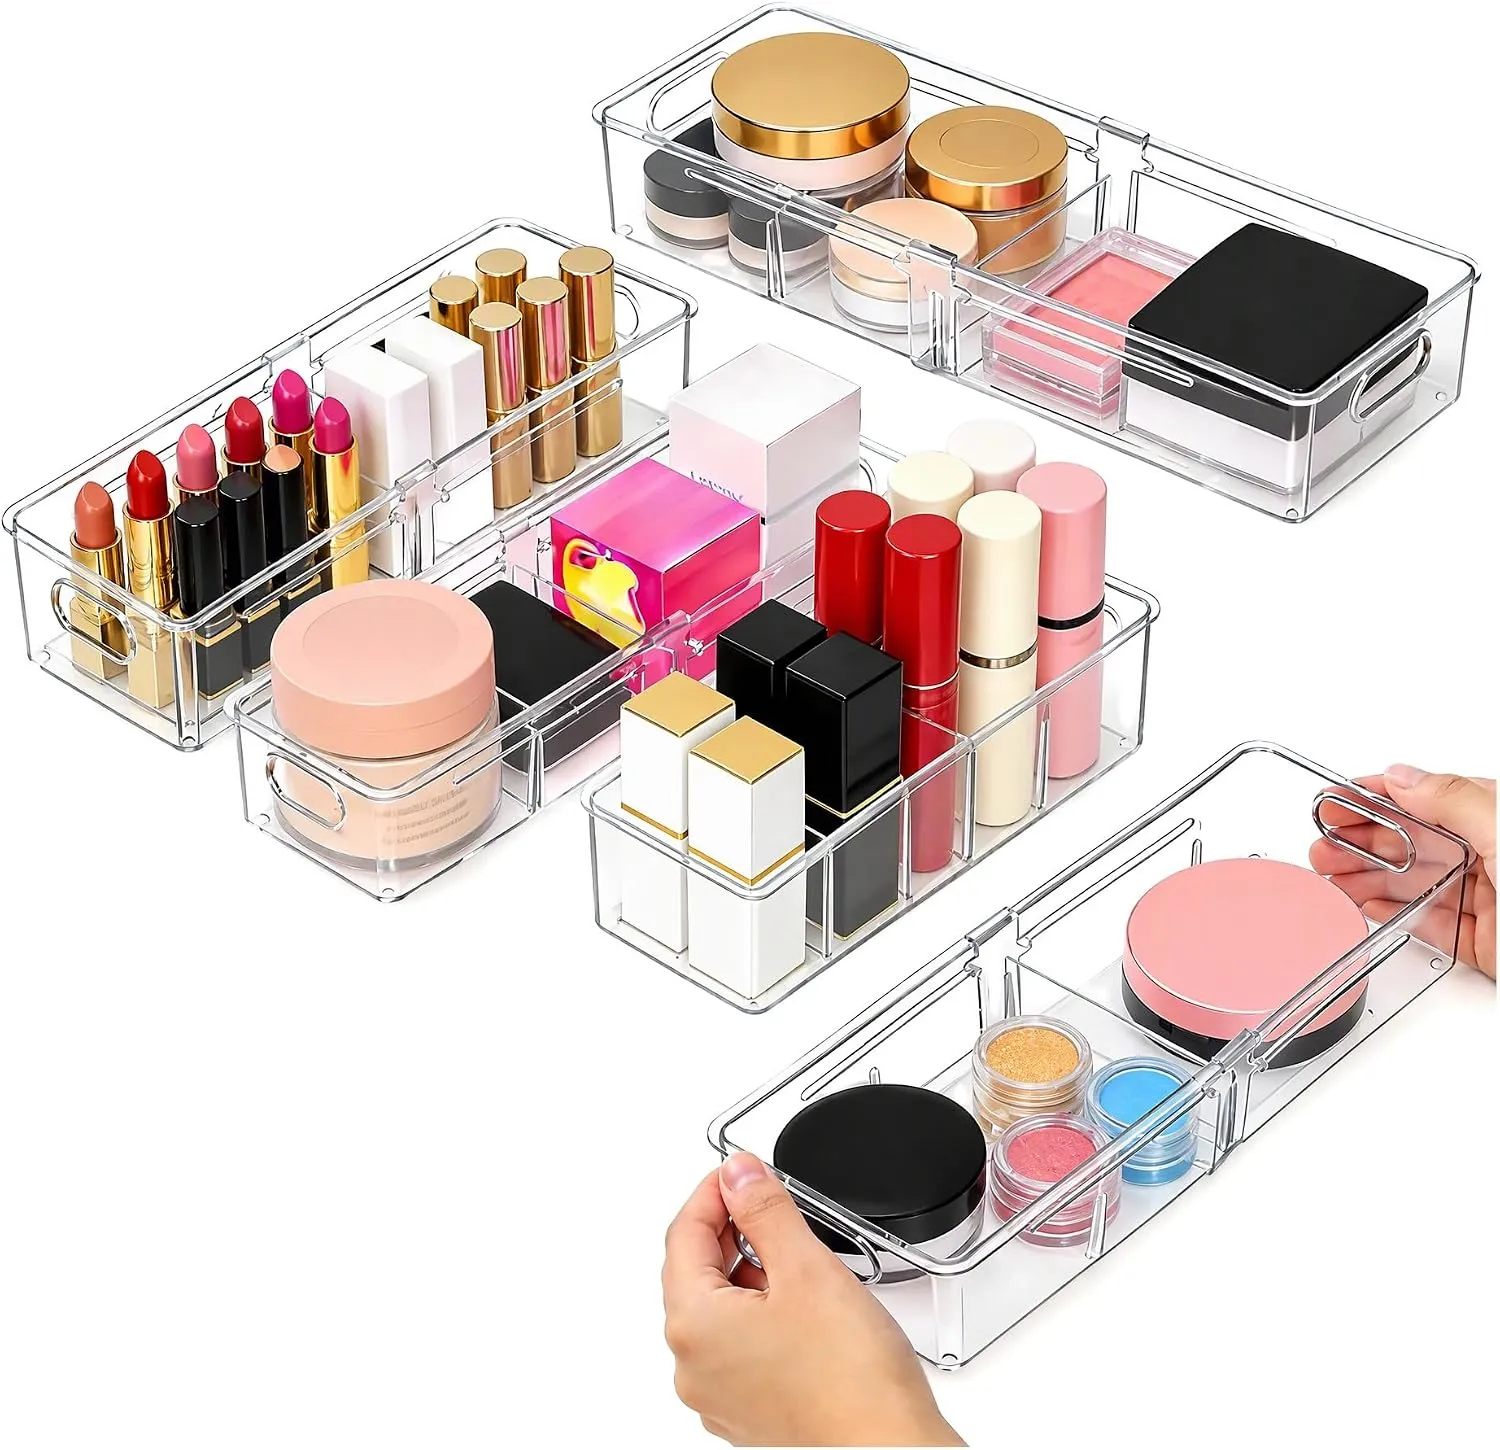
If a few removable compartments would make your drawer easier to use, take a look at the Amazon drawer-organizer option below.
 |  |
|---|---|
| |
9. Fit Under-Sink Bins Around the Plumbing
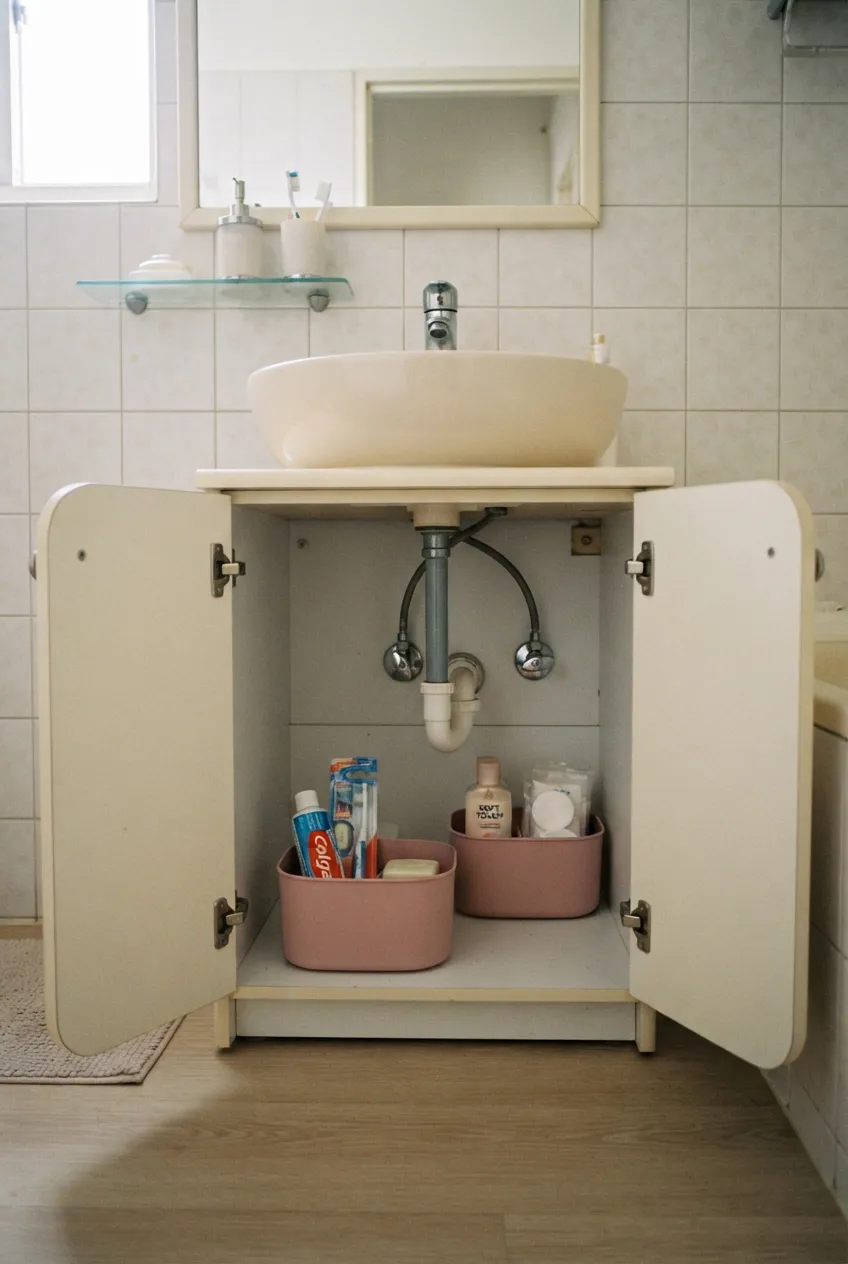
An under-sink cabinet is not one empty rectangle. Measure the pipes, cabinet hinges, and usable floor before placing two small bins or a suitable pull-out tray inside it. Put items you use often near the front and leave access to plumbing and shutoff valves. The cabinet doors must open and close fully.
Keep products in their original containers and follow label directions for storage, especially for cleaning supplies. Do not place bins where a slow leak would go unnoticed. The hidden storage ideas discuss this cabinet as one option among many; here the goal is making this particular bathroom cabinet reachable and easy to inspect.
10. Try a Slim Cart Only in a Truly Dry Gap
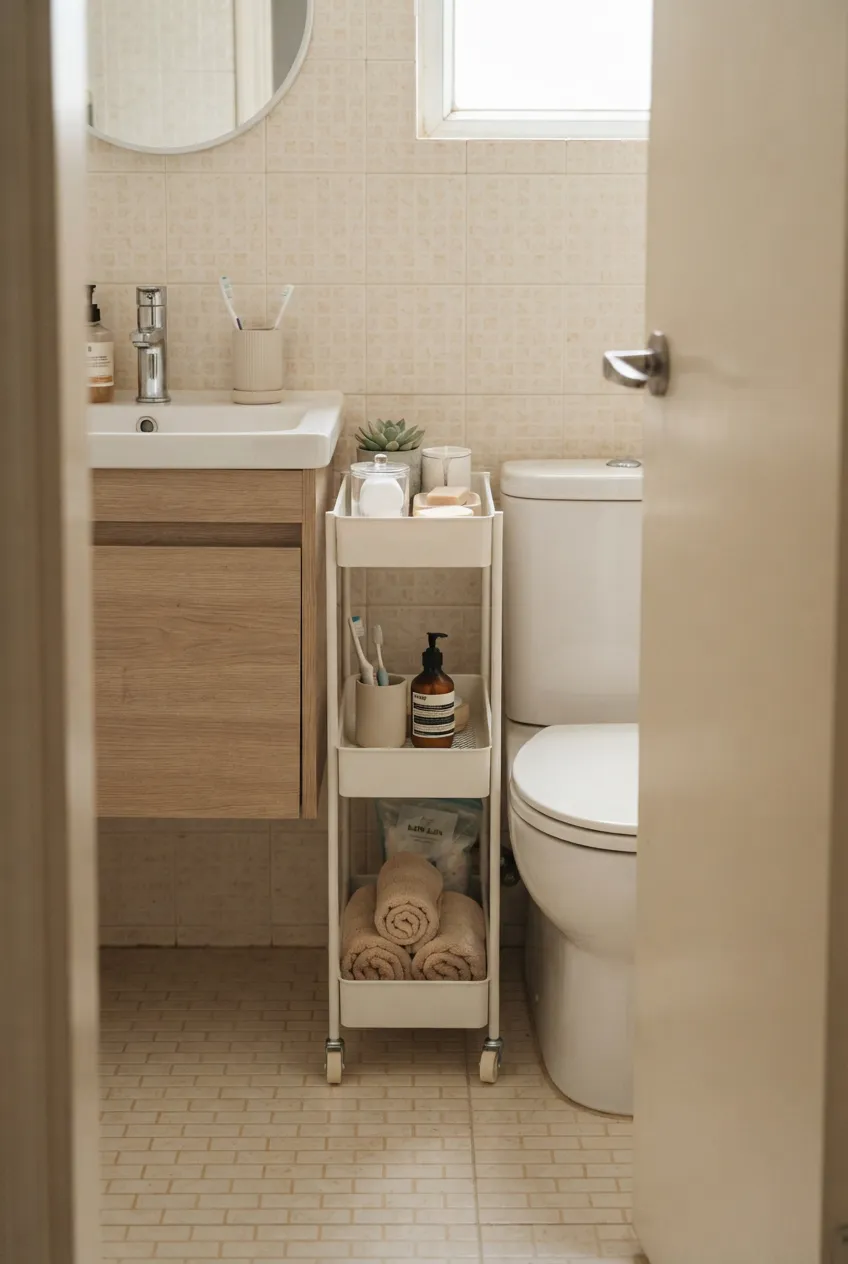
Some bathrooms have a narrow gap beside a vanity that cannot fit a regular cabinet. A slim rolling cart may hold light, dry items there if its full width—including handles and wheels—fits. It needs a parking position where the vanity drawer, bathroom door, and toilet can all still be used.
Check that the cart is stable, that its wheels can be locked or otherwise secured as its maker directs, and that it will not sit in shower spray. Put heavier items low and keep the top easy to reach. If pulling it out blocks the only bathroom route, the gap is not useful storage.
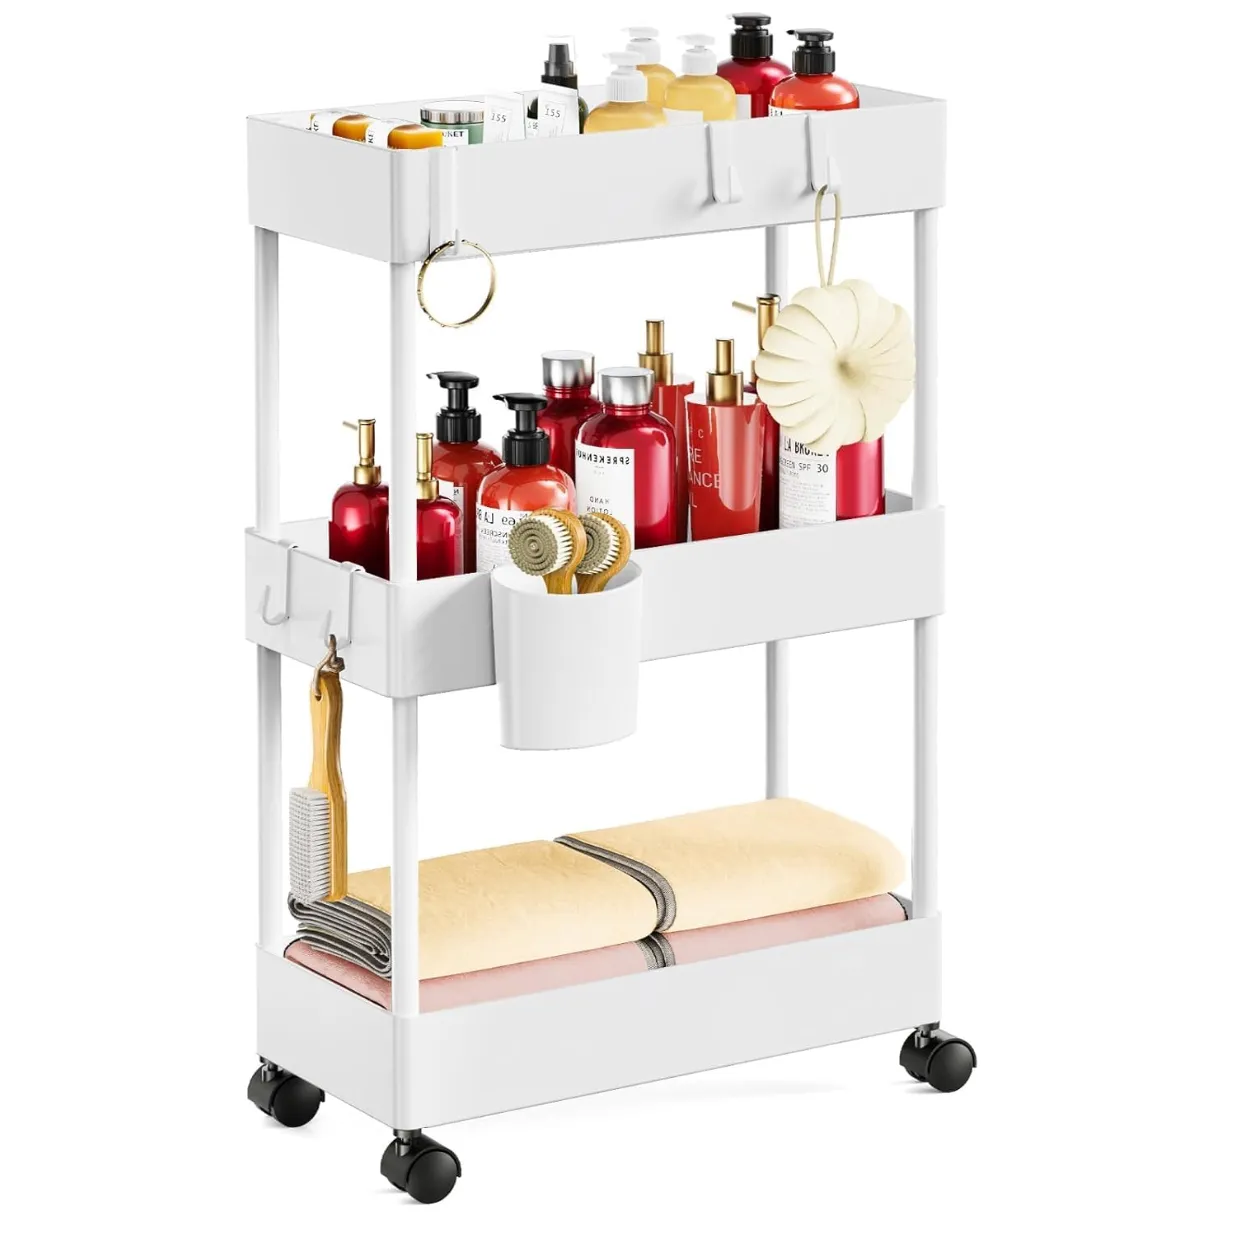
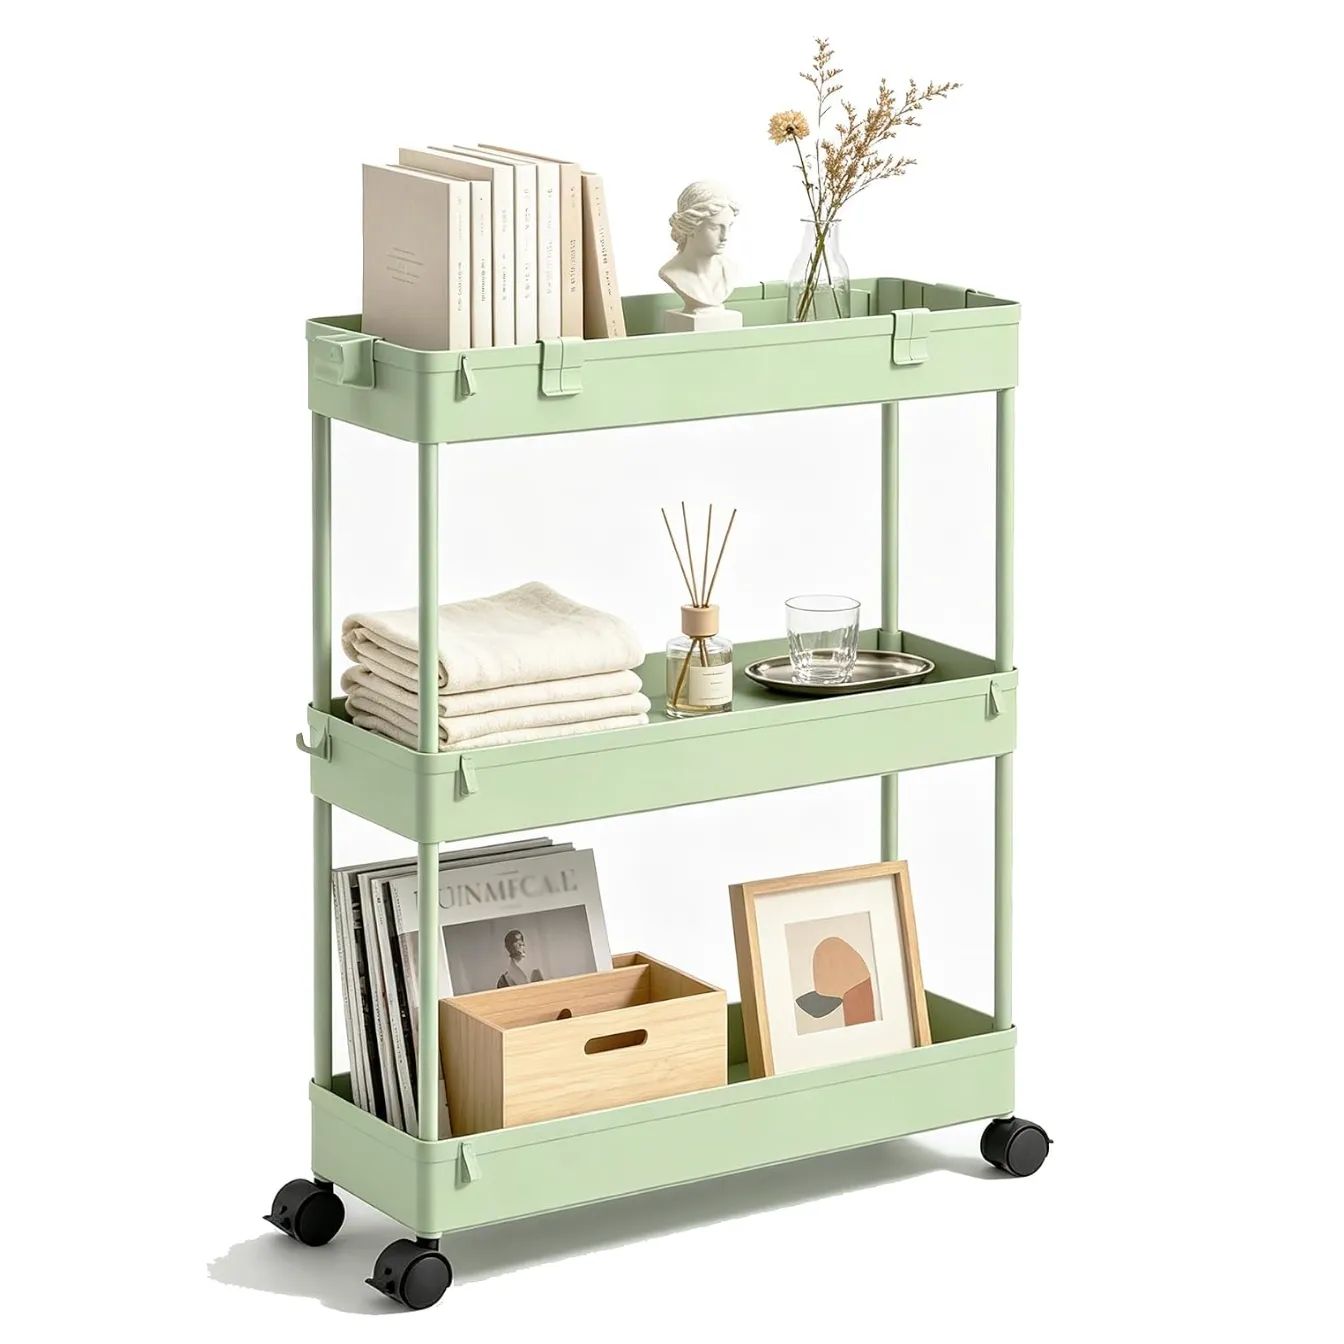
If that dry gap can safely hold a narrow cart, take a look at the Amazon slim-cart option below.
 |  |
|---|---|
| |
11. Check the Space Above the Toilet Before Adding a Shelf
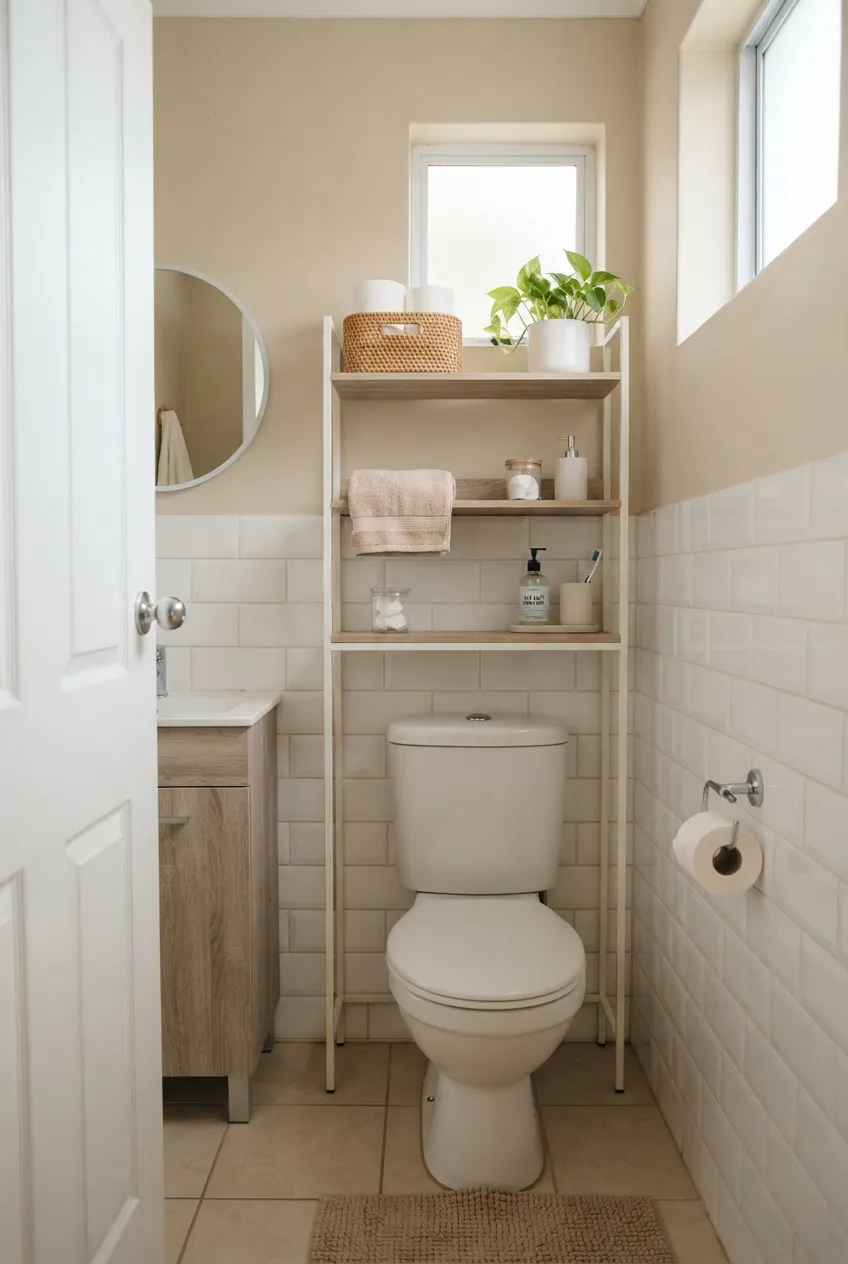
The area above a toilet can be useful, but only if a suitable shelf fits without touching the tank, blocking flush access, or crowding someone seated. Measure from the floor and around the toilet, then open the bathroom door and any nearby cabinet. A freestanding unit also needs the stability and securing method its maker specifies.
Keep only suitable light items on higher shelves and leave everyday items within easy reach. If the bathroom is too narrow or the unit would interfere with cleaning, leave this space open. A shelf that looks efficient in a product photo may be awkward in the actual room.
12. Move Bulk Backstock Out of the Bathroom
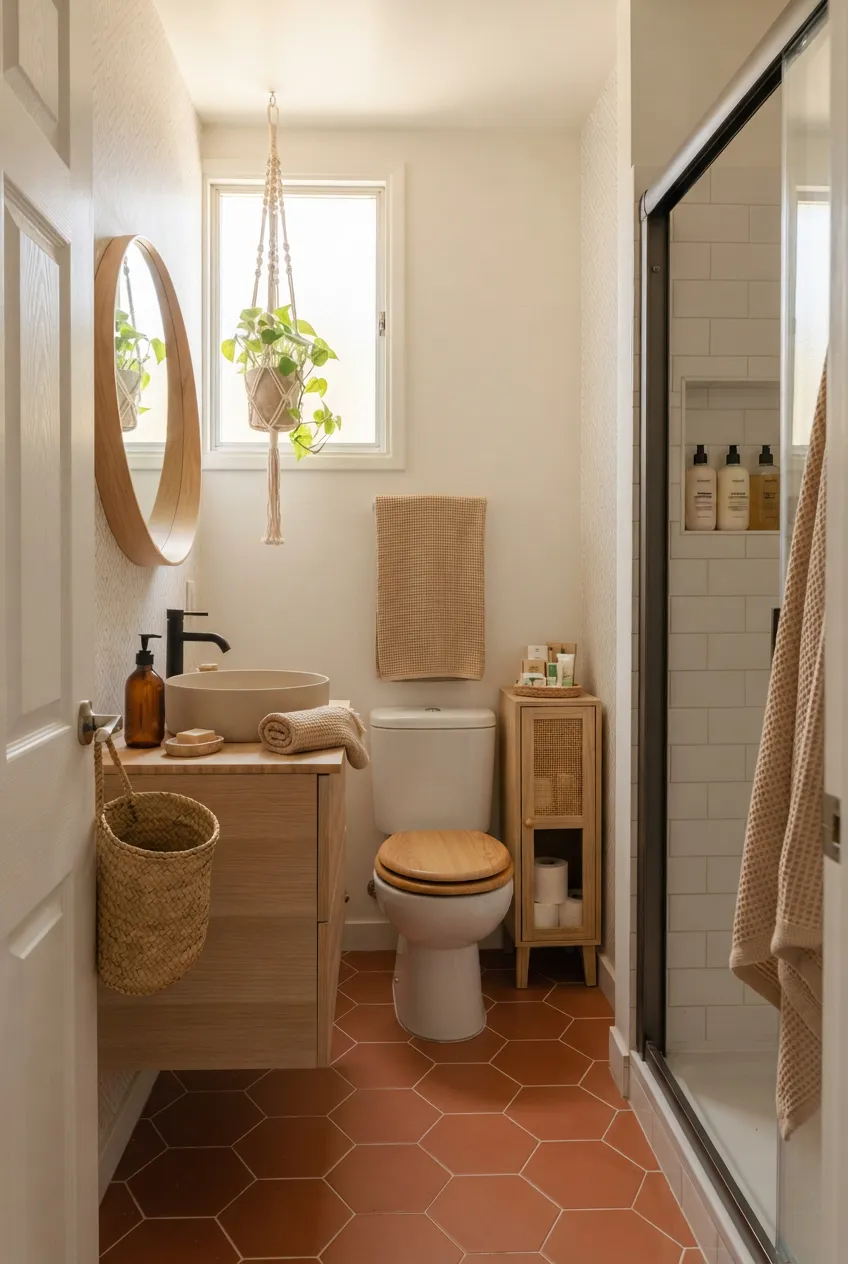
The smallest bathroom often works best when it holds just an open product and a modest replacement. Move the rest of the toilet paper, extra toiletries, and unopened supplies to a suitable dry location elsewhere in the studio. Use a simple list of what is stored outside so you do not buy duplicates because you cannot see them.
Keep each product according to its label and use a place that remains accessible without blocking the apartment’s walkway. This is a bathroom storage decision: every bulky package moved out leaves space for towels, sink access, and the items you actually need in the room.
Final Thoughts
Good bathroom storage follows the activities that happen there. Keep daily supplies close, give wet products a place to drain, let used towels dry, and reserve the dry corners for only what truly fits. Measure doors, drawers, plumbing, and walking space before buying an organizer; a small bathroom feels better when every container can be reached and cleaned.
More Studio Apartment Ideas
 |  |  |
|---|---|---|
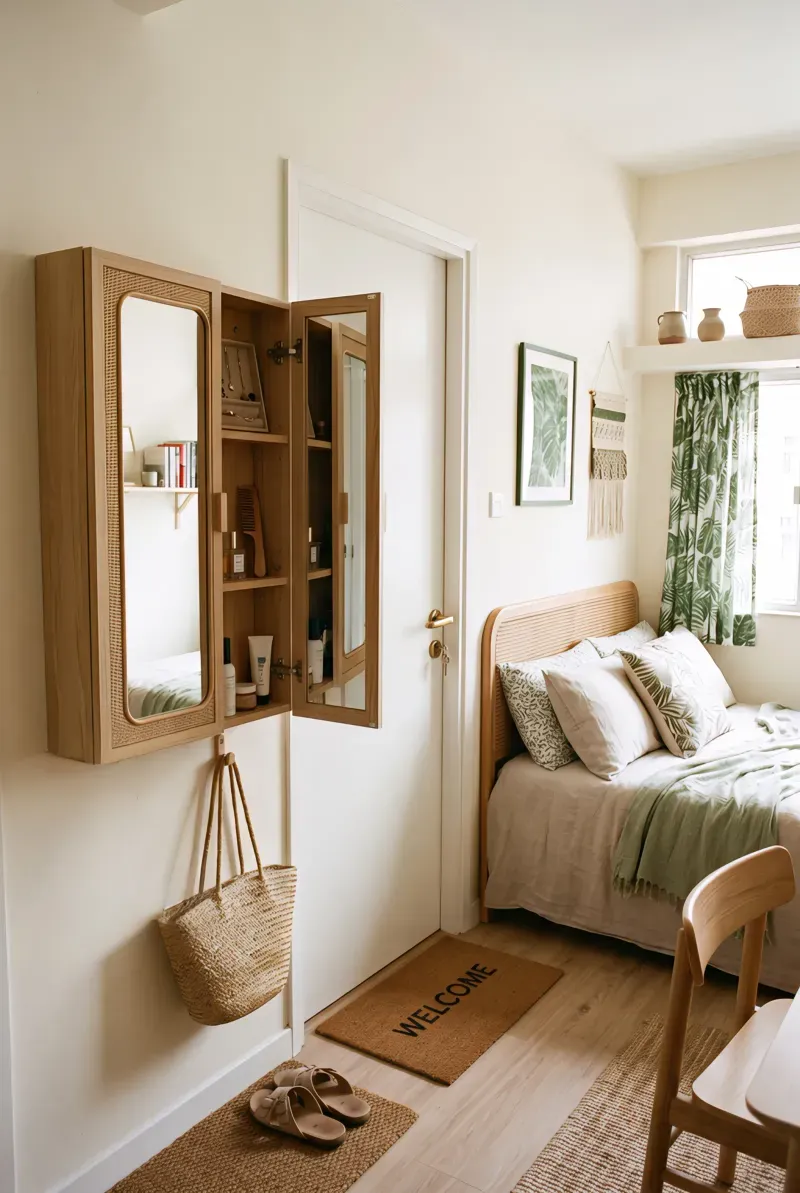
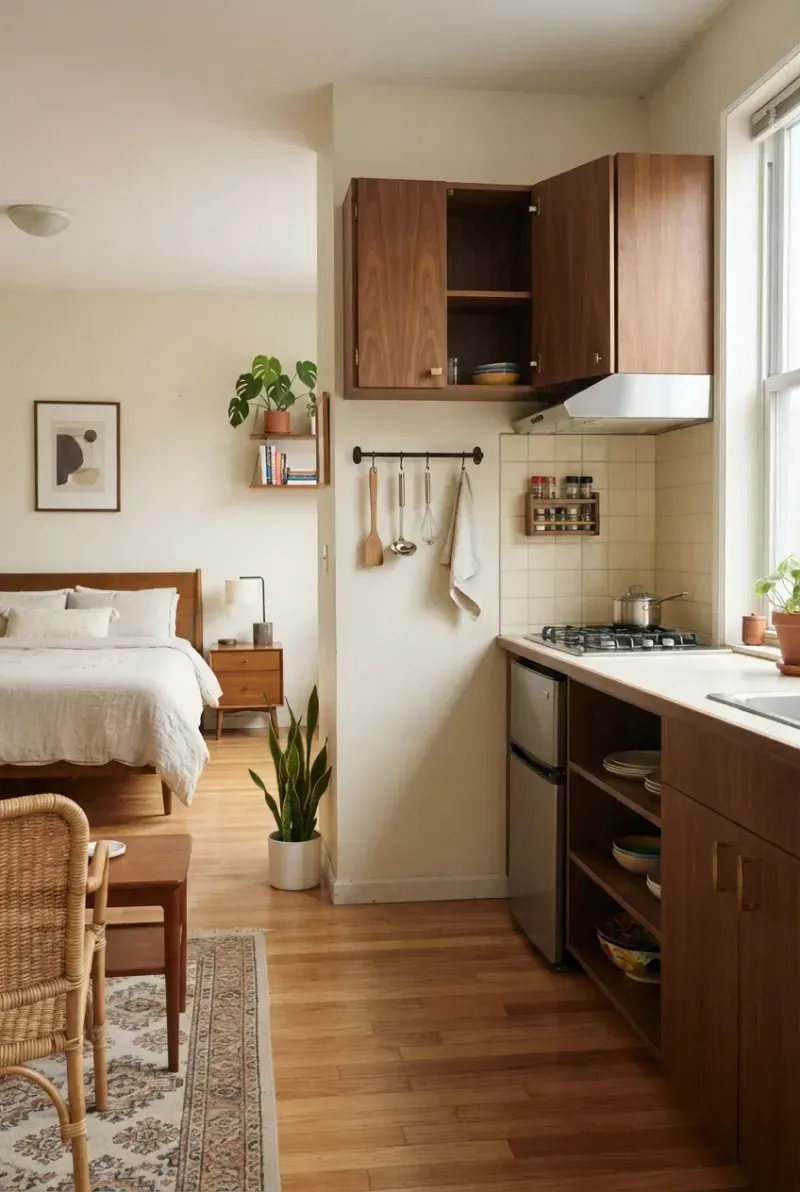
Hidden Storage  | Kitchen Storage | Storage Ideas |