In a studio apartment, the kitchen is often visible from the bed and sofa. A few pans on the counter or packets balanced above the refrigerator can make the whole room feel crowded. Yet hiding everything in the nearest cabinet does not help if you have to empty that cabinet before you can cook.
Good kitchen storage begins with what you use, how often you reach for it, and whether every door, drawer, and appliance can still open. These ideas focus on storing food and cooking equipment inside a kitchen that already exists. If you need to change the arrangement of the cooking area itself, start with the studio apartment kitchen ideas.
1. Keep Everyday Tools Beside the Task They Serve
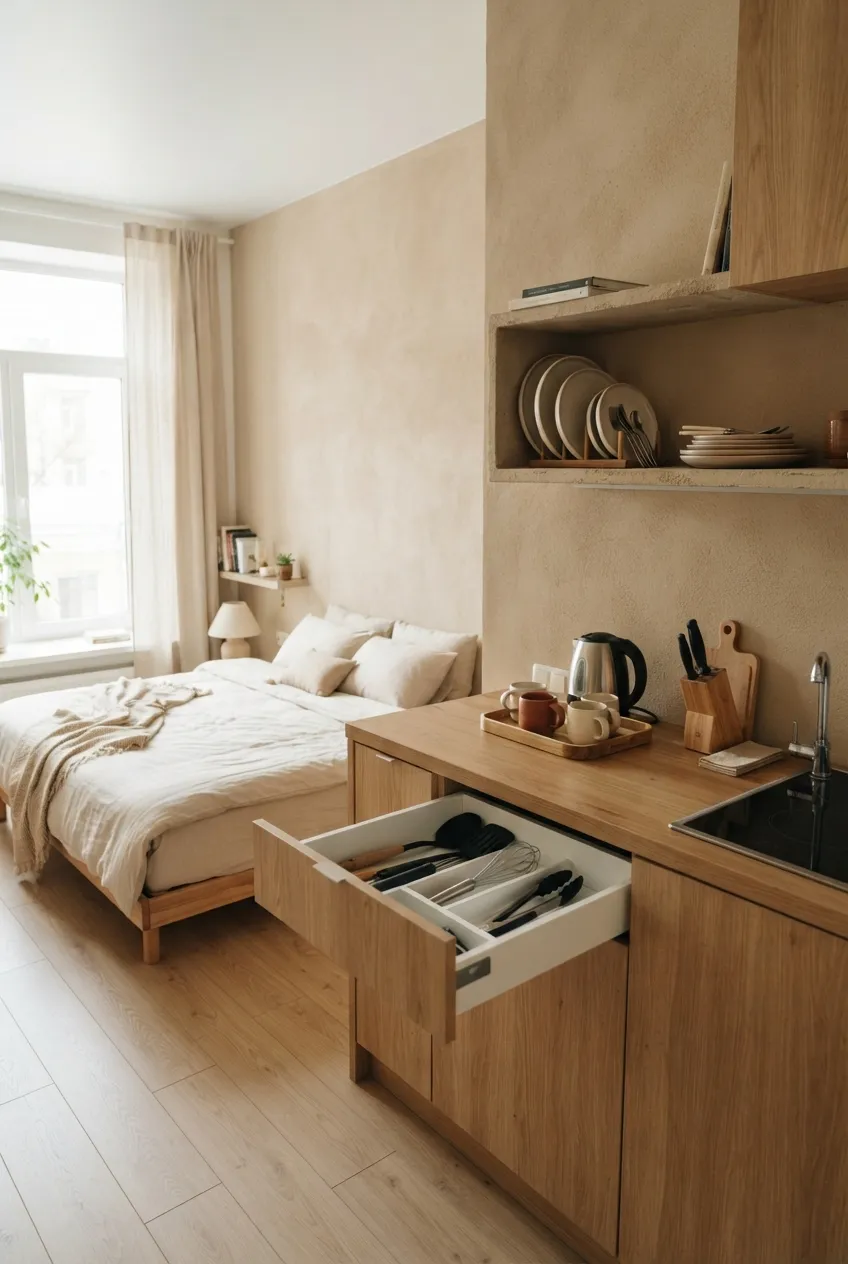
Put the items you reach for most beside the place you use them: a few cooking tools near the preparation area, dishes near the place you plate food, and mugs near the kettle or coffee maker. This reduces the need to cross the studio with hot pans or wet dishes. Keep the actual preparation surface free rather than lining it with containers.
Choose one reachable drawer or cabinet for each daily group. Less-used equipment can move to a higher or deeper shelf. If your kitchen has only one short run of cabinets, this may be a modest rearrangement rather than a new storage purchase.
2. Make a Deep Base Cabinet Easier to Reach
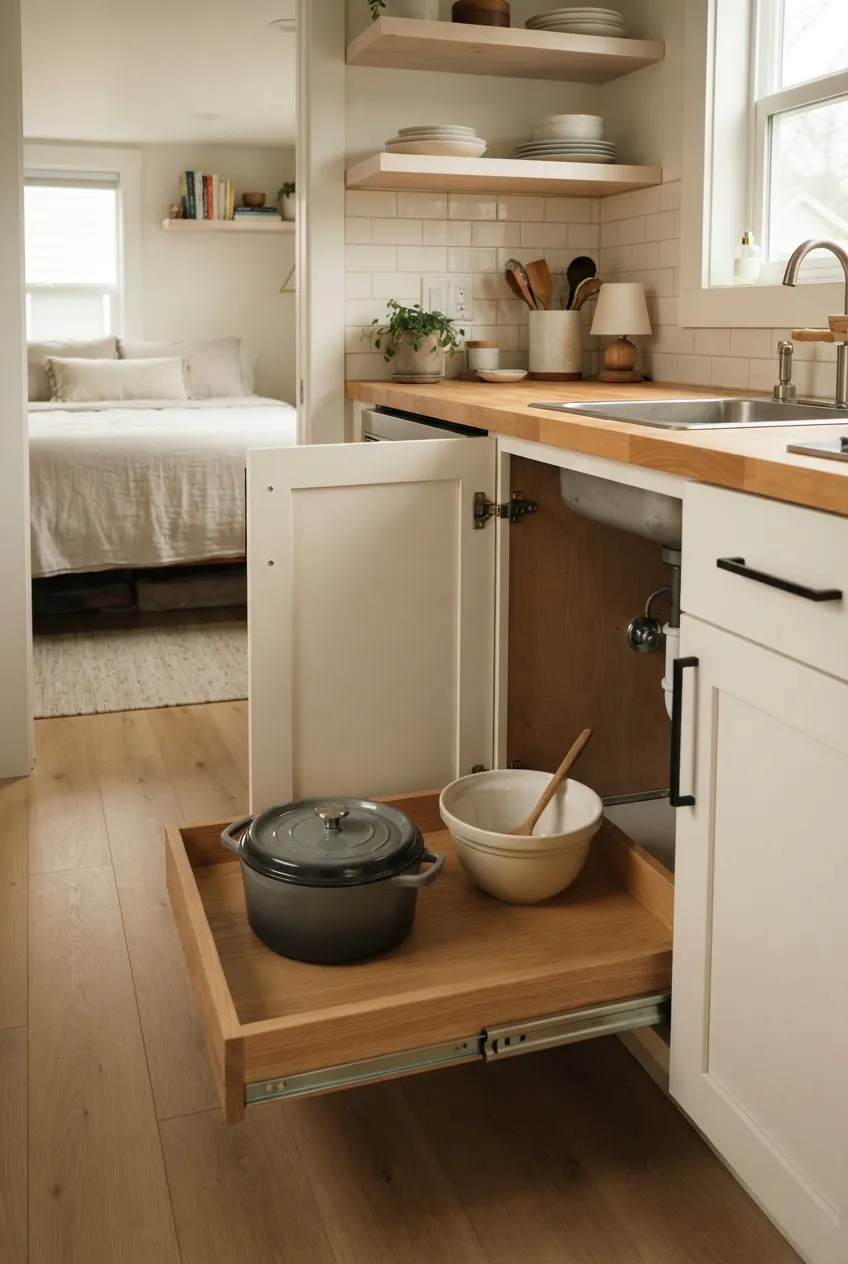
A deep lower cabinet can hold pots, mixing bowls, or pantry supplies, but the back disappears from view. A sturdy, properly sized pull-out tray or a few handled bins can bring those items forward. Put heavier pieces low, and keep each bin light enough to lift comfortably.
Measure the cabinet’s clear interior width and depth, accounting for hinges and plumbing before buying anything. The cabinet door must open fully, and a pulled-out tray must not block the studio’s only walking route. Use the rear for occasional equipment, not the pan you need every day.
 |  |
|---|---|
 | |
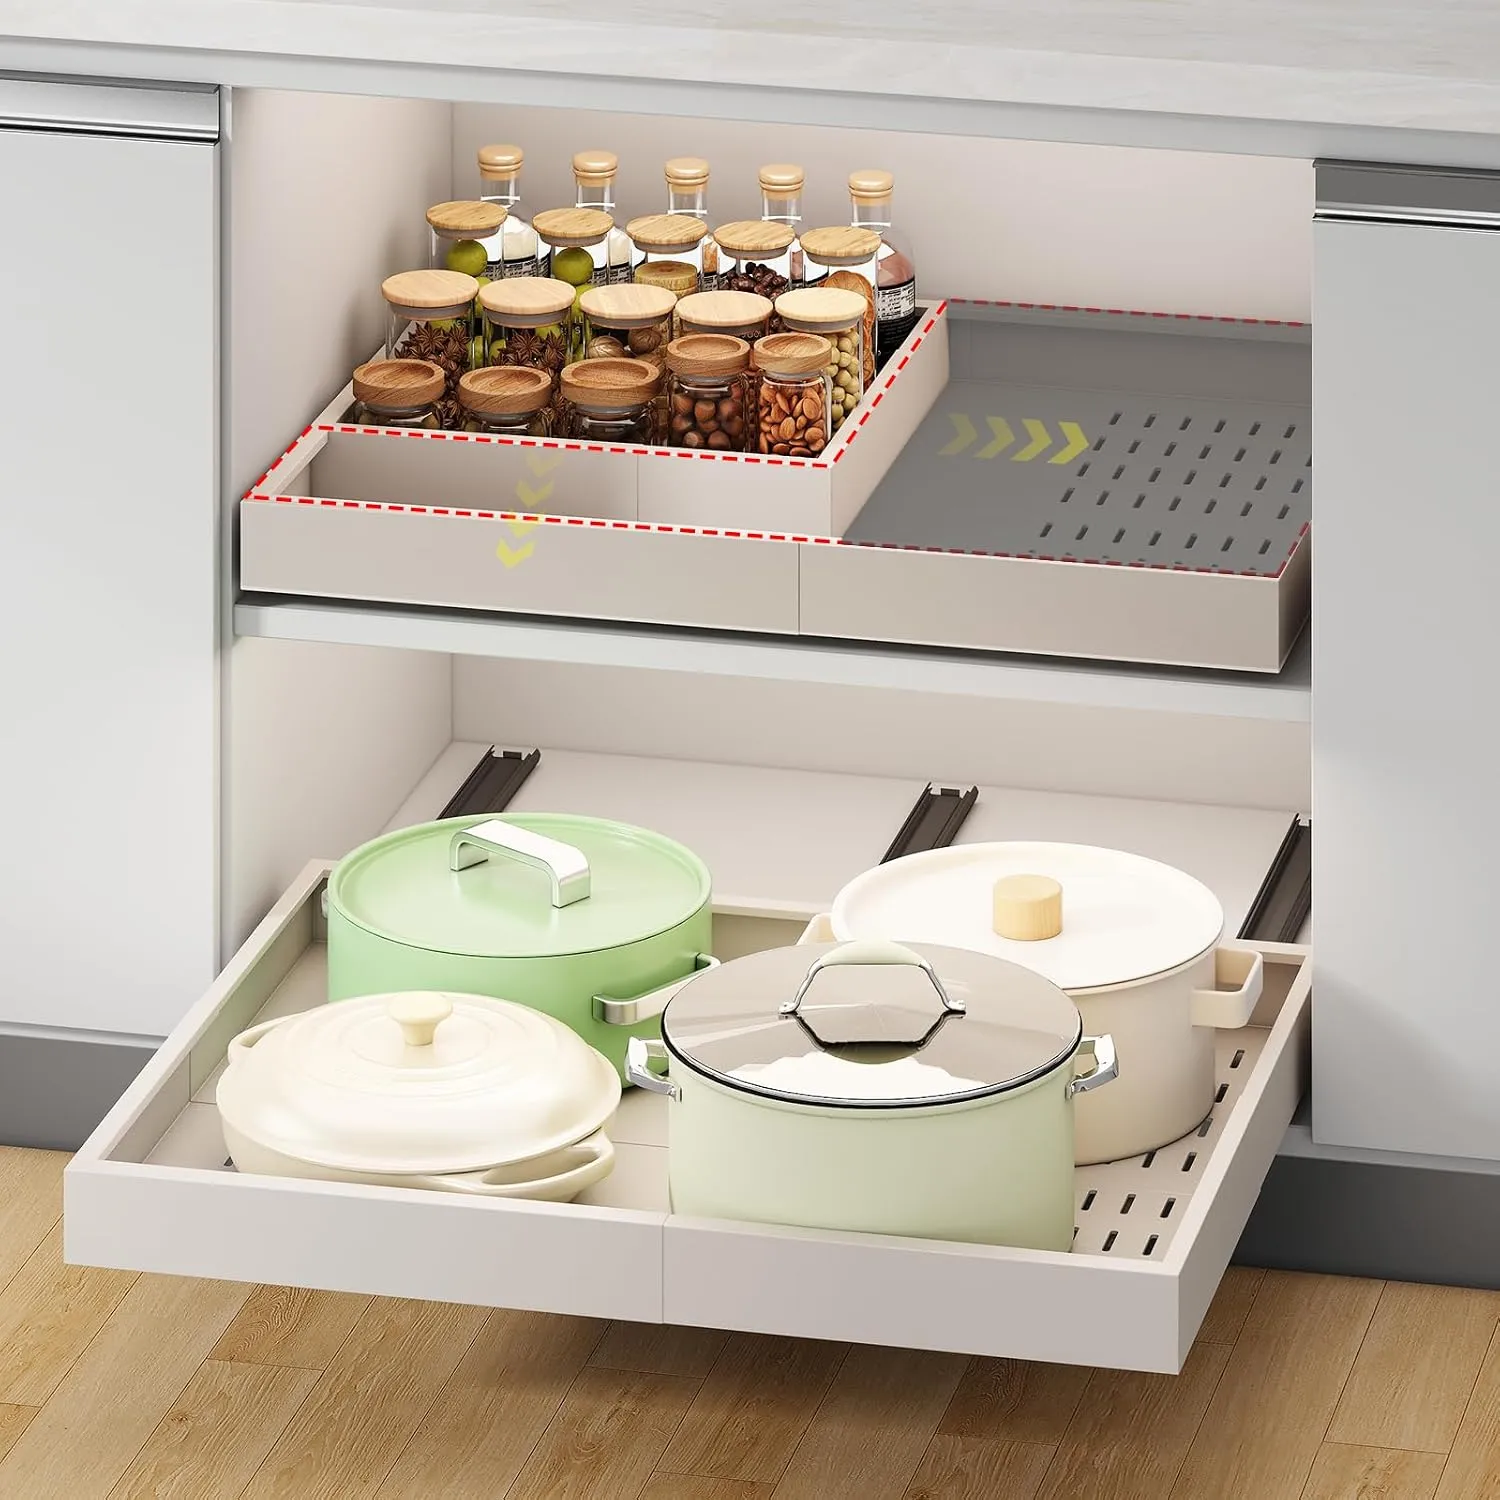
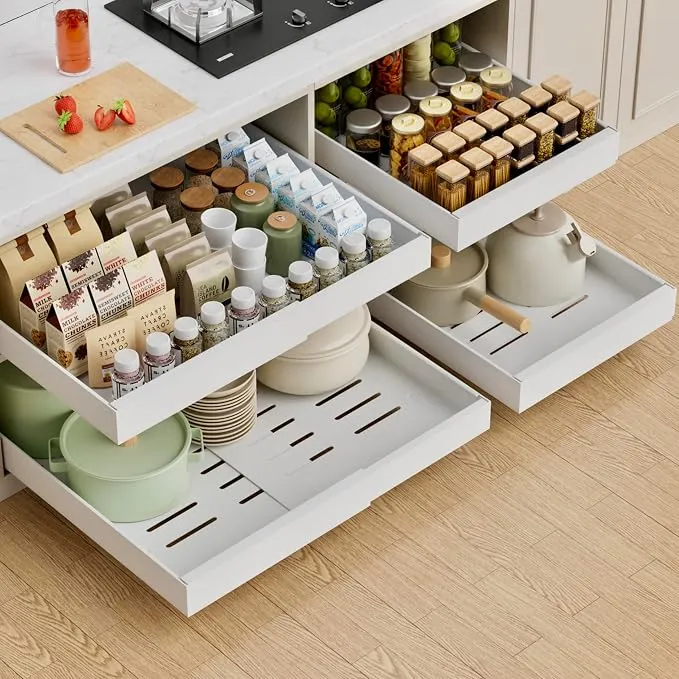
If reaching the back of a deep cabinet is the problem, a single-tier pull-out organizer can bring pots or bowls forward without adding another stack. See a cabinet pull-out organizer on Amazon. Check its required cabinet opening, mounting method, and weight limit before choosing a size.
3. Stand Trays and Cutting Boards Upright
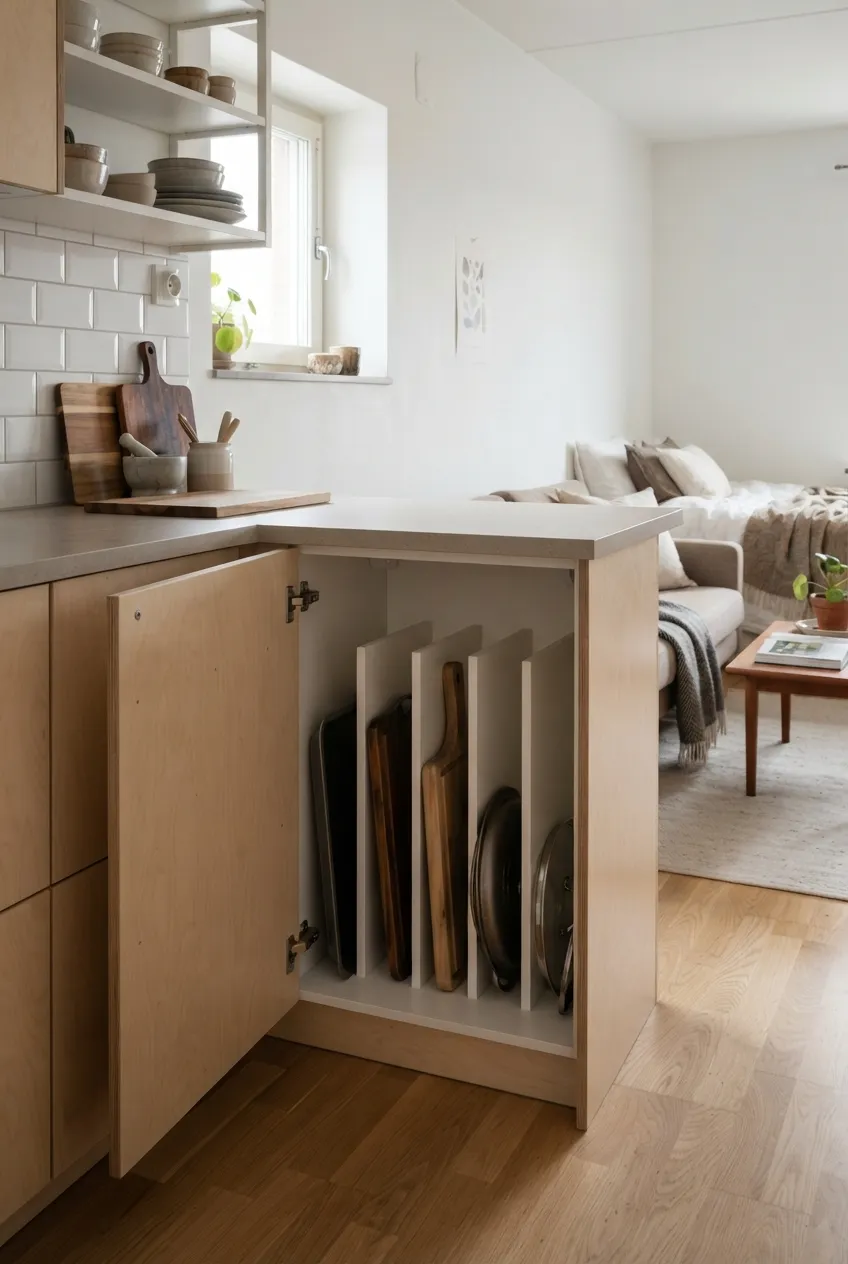
Baking sheets, chopping boards, and pot lids often create an unstable horizontal stack. An upright divider in a suitable cabinet lets you take one out without lifting the rest. Store similar sizes together so the tallest item does not tip over smaller pieces.
Check the cabinet’s height and the clearance needed to pull each item straight out. Keep the divider away from a cabinet door that swings into it. If a board is still damp after washing, let it dry before returning it to an enclosed cabinet.
 |  |
|---|---|
| |
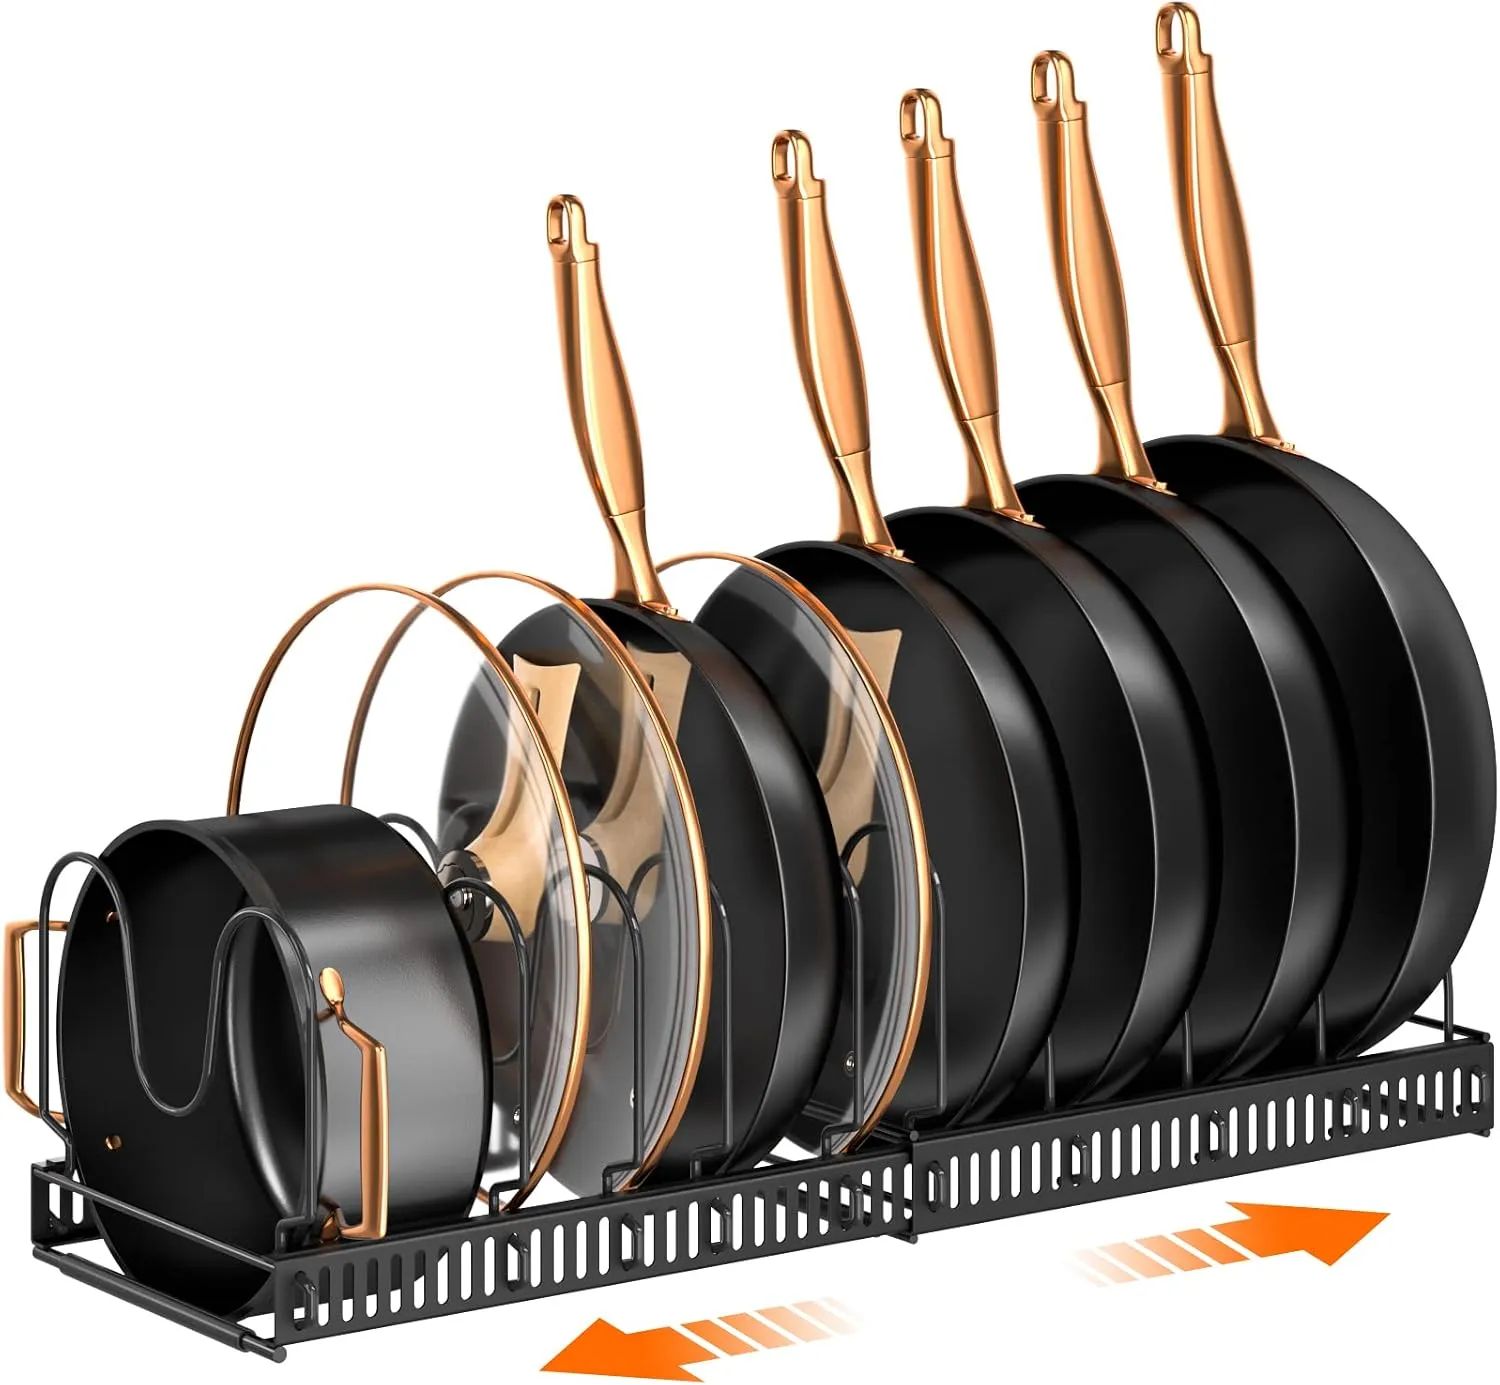
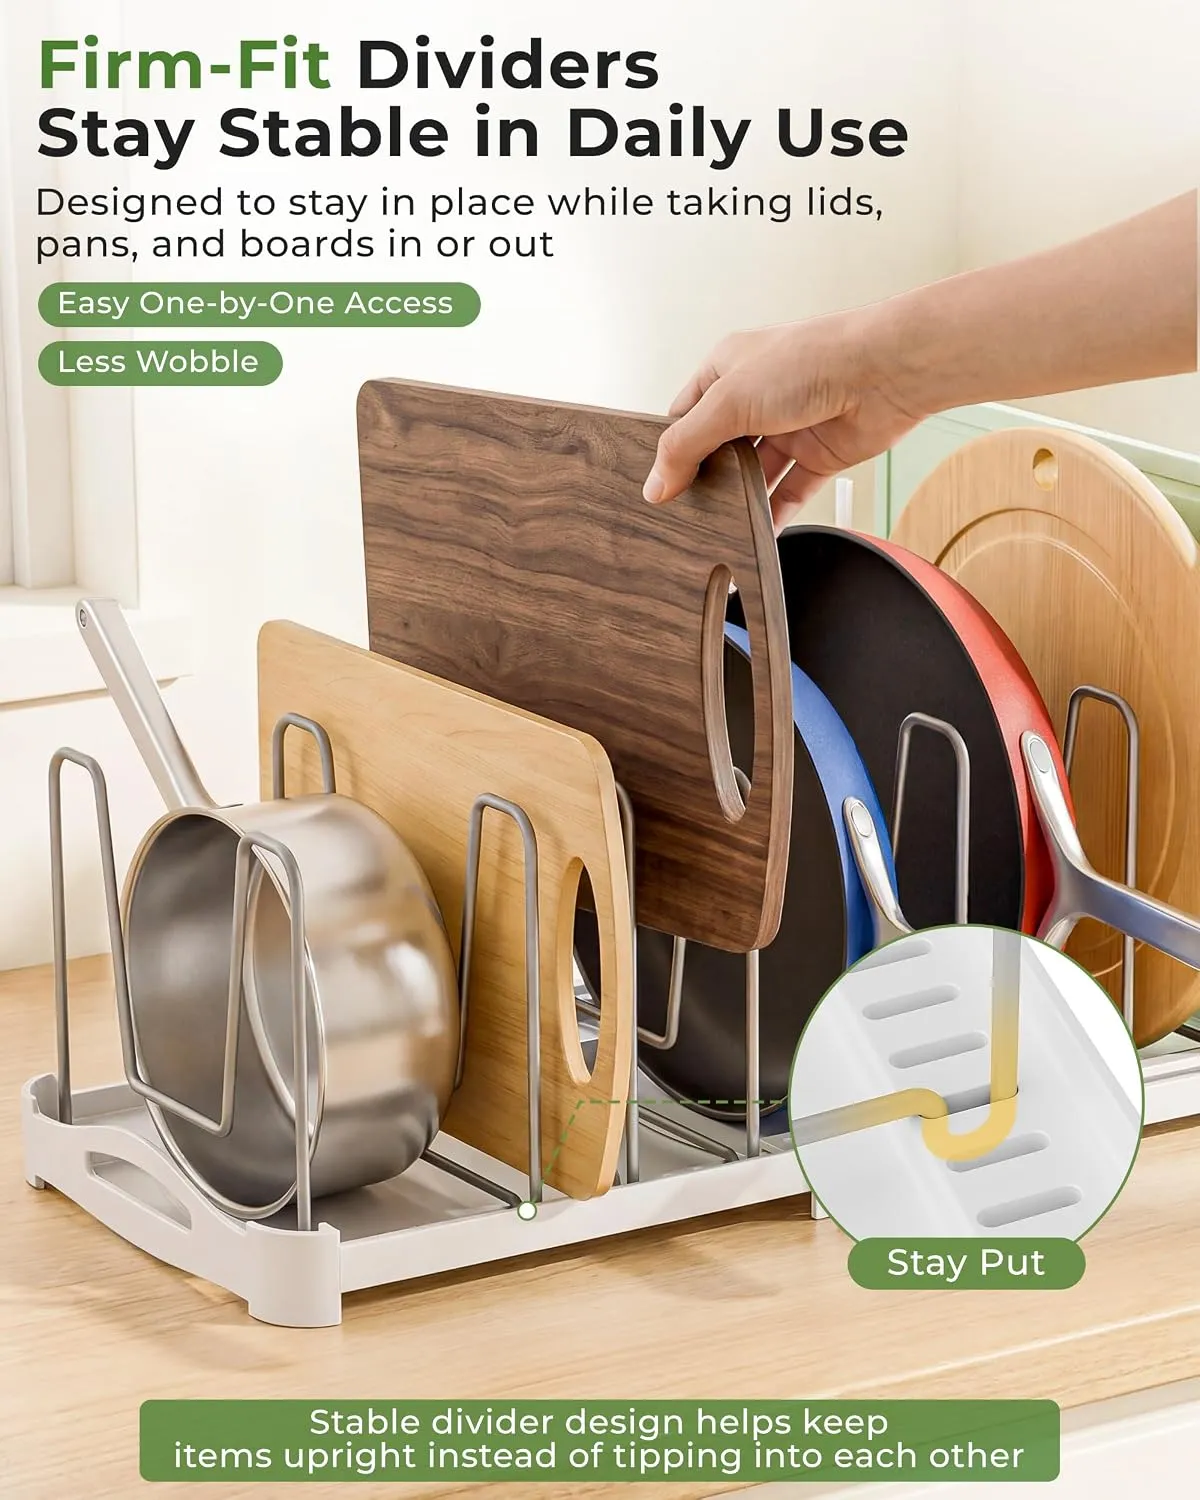
An adjustable bakeware organizer can give cutting boards, trays, and pot lids their own slots. See a similar adjustable bakeware organizer on Amazon. Choose one that supports your tallest item while still letting you lift it through the cabinet opening.
4. Divide the Utensil Drawer by What You Actually Use
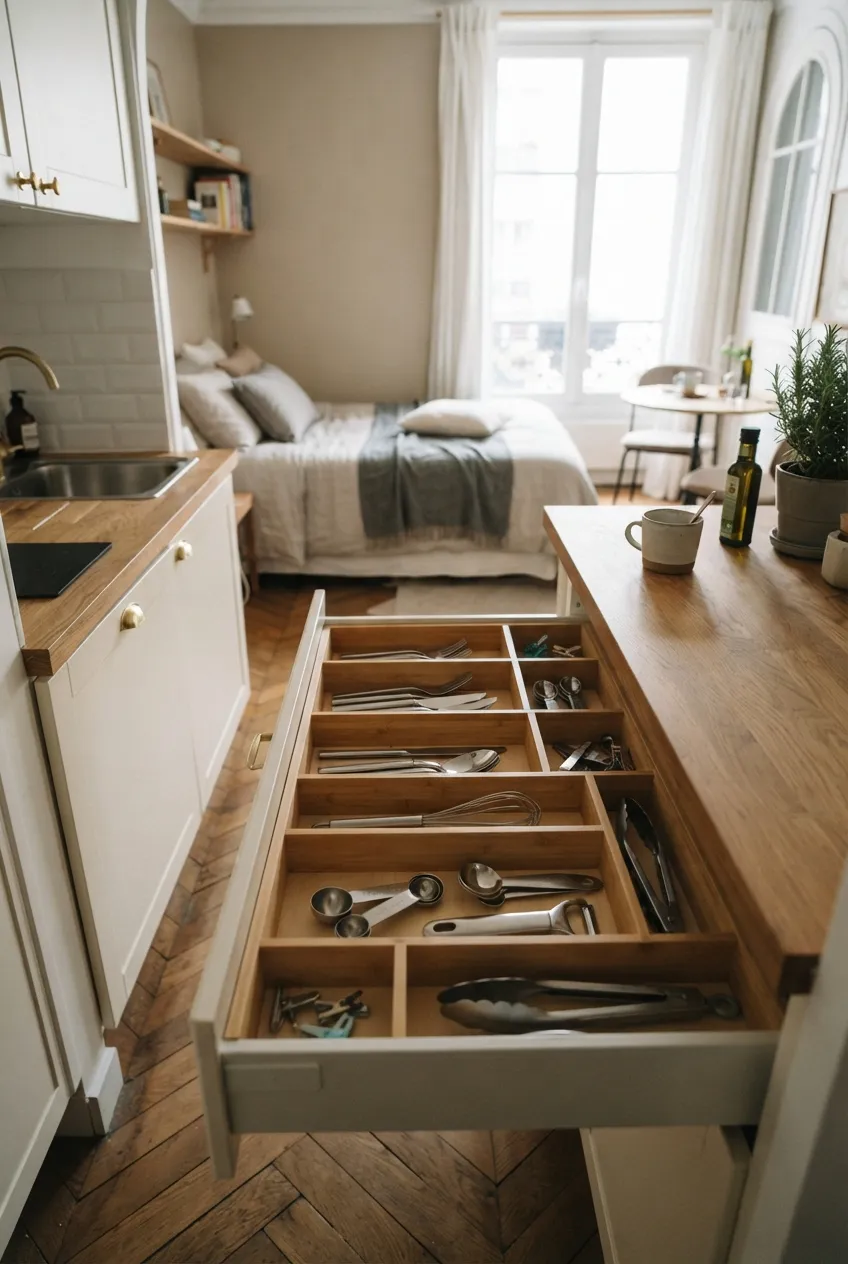
One shallow drawer can work harder with adjustable compartments for cooking utensils, cutlery, measuring tools, and small kitchen items. The aim is to stop objects from overlapping so you can find one without emptying the drawer.
Measure the inside of the drawer, including its height. Leave enough room for the drawer to close completely and for long tools to lie flat. Move duplicates and rarely used gadgets out of the prime drawer; a divider cannot make an overfilled drawer usable.
5. Add a Shelf Riser Only Where It Creates Real Space
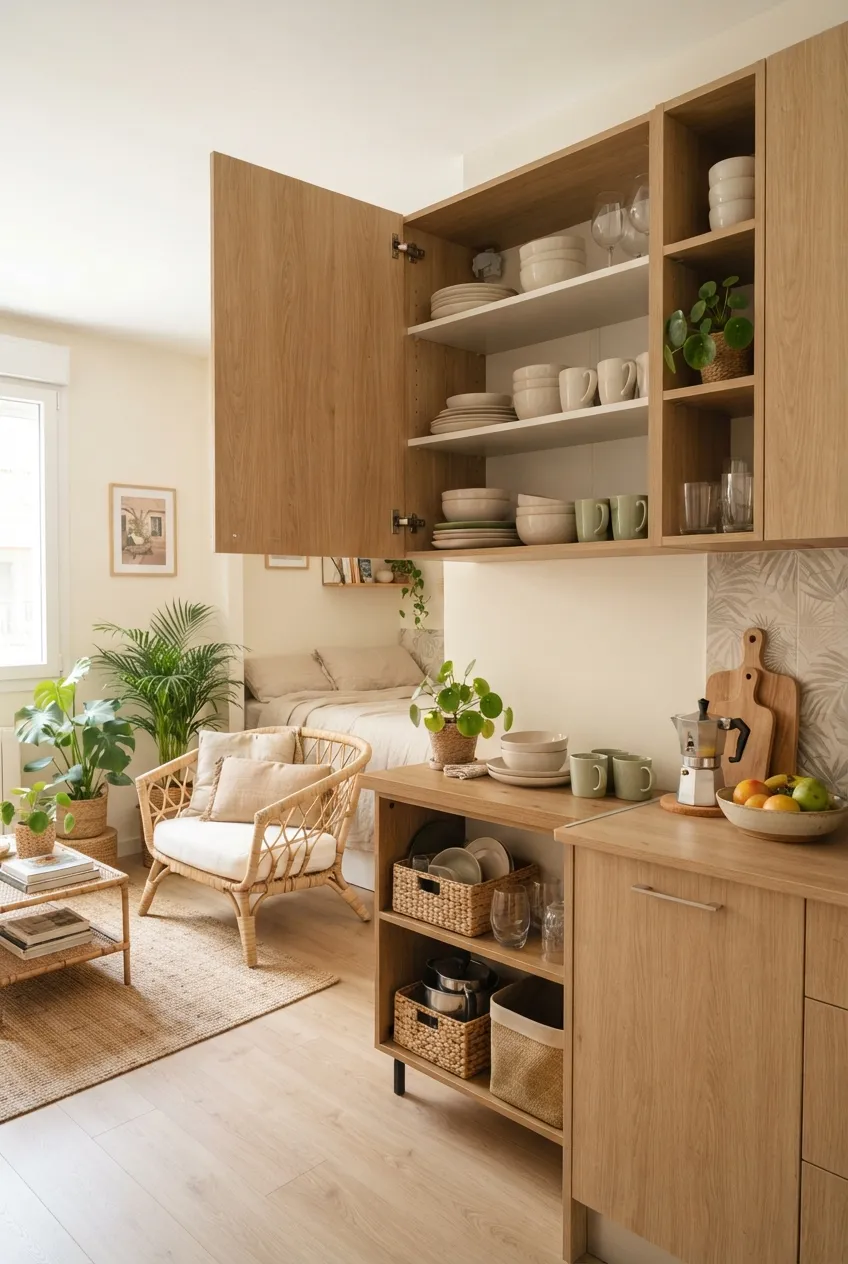
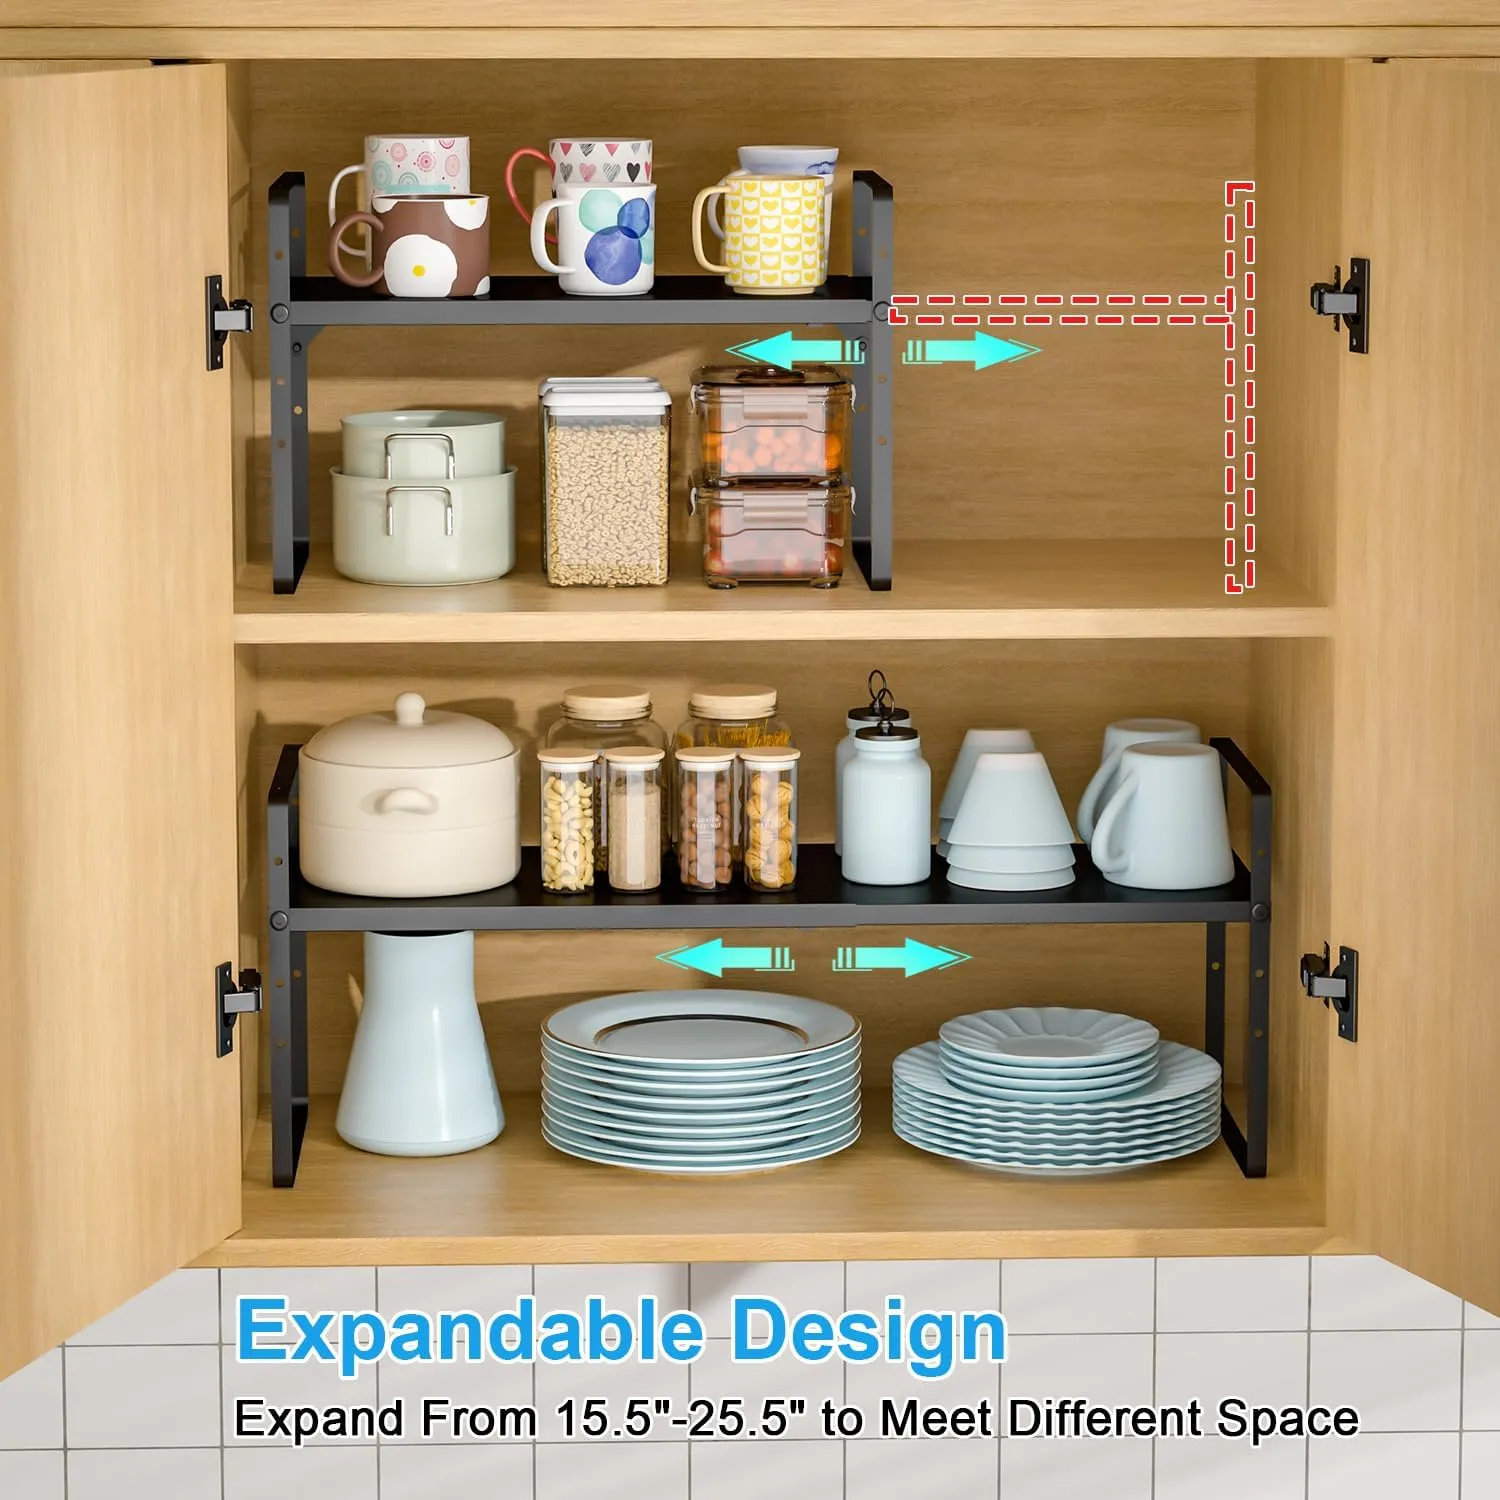
Many upper cabinets have unused space above plates or mugs. A freestanding shelf riser can create a second level for lightweight dishes without permanently changing the cabinet. Keep everyday items on the easiest level and reserve the higher level for things you can reach safely.
Measure the height of both resulting openings before choosing a riser. Plates should slide in without scraping, and the cabinet door must close fully. Do not stack heavy cookware high or use a wobbly riser merely to squeeze in more dishes.
 |  |
|---|---|
| |
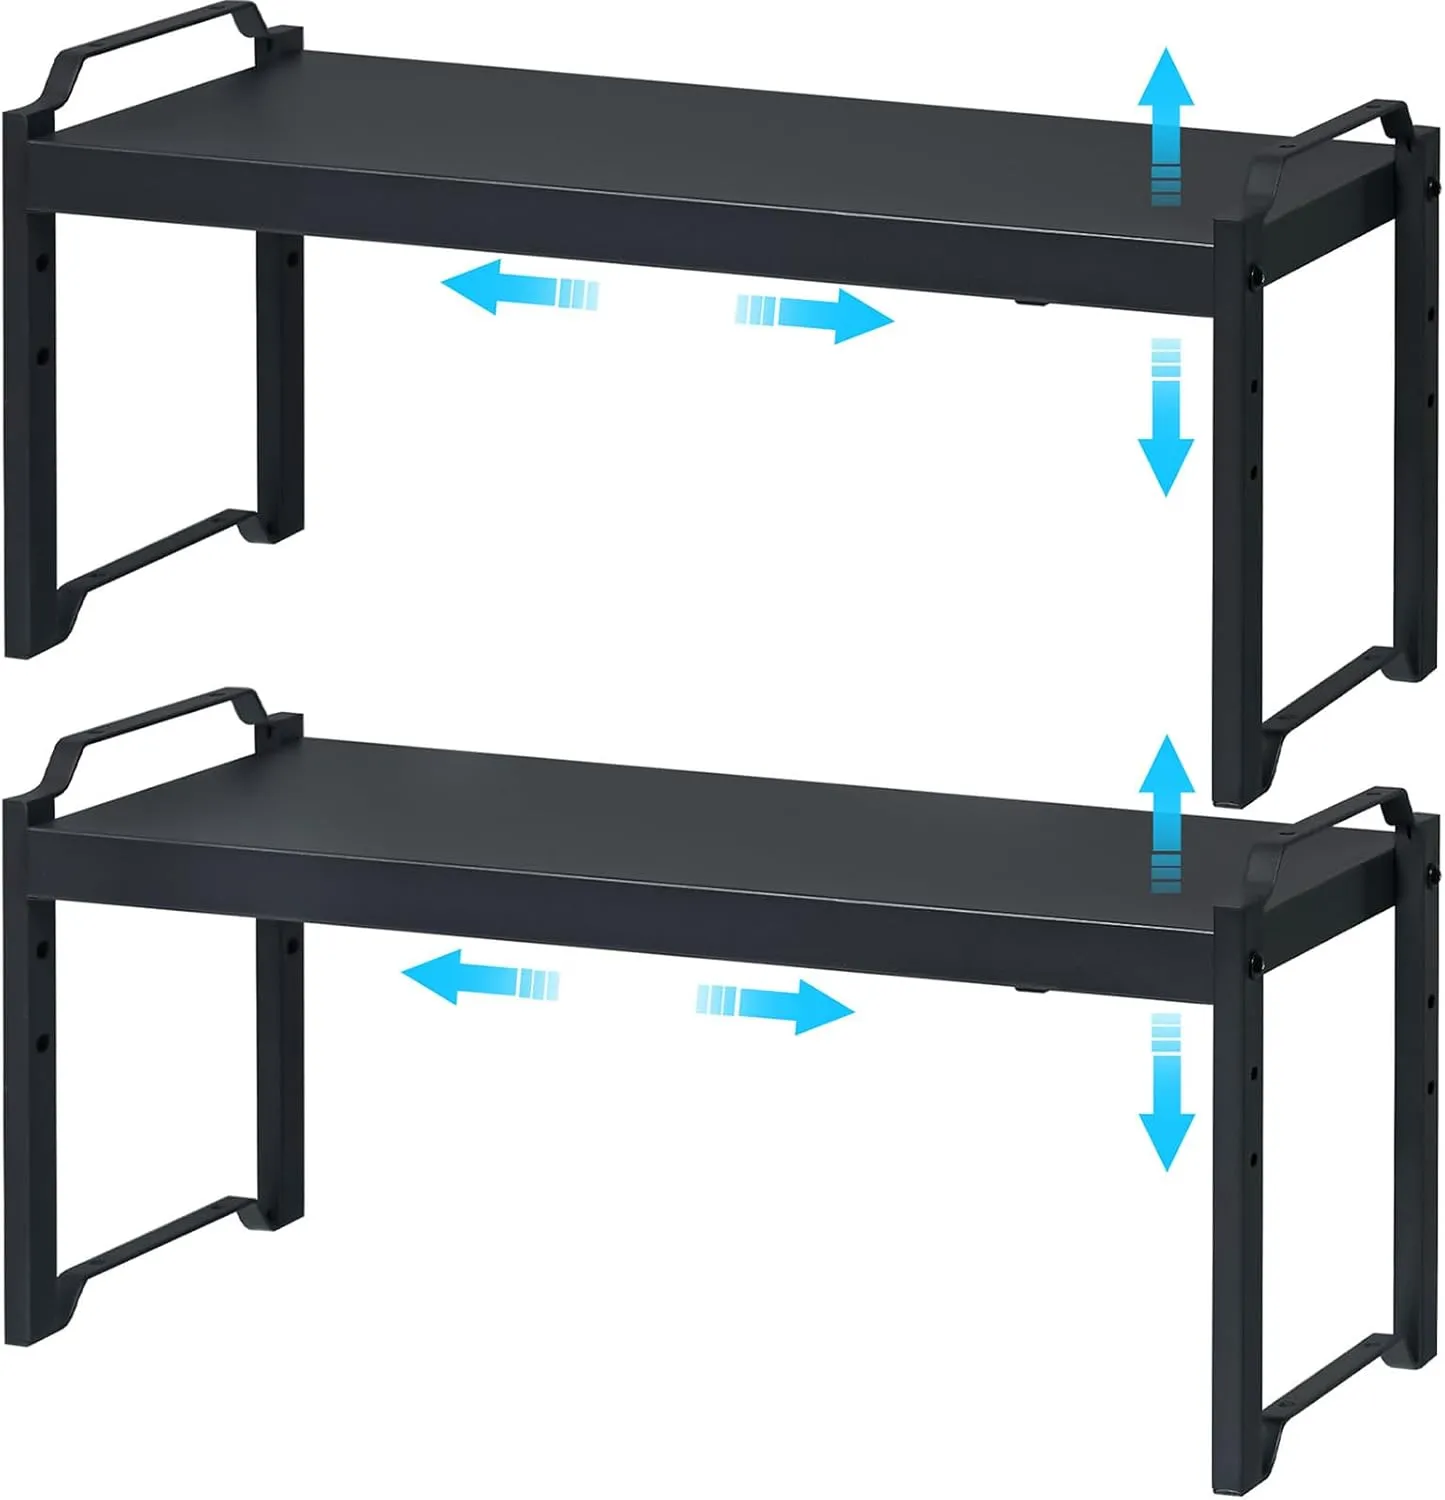
For a cabinet with unused height above mugs or lightweight dishes, a freestanding shelf riser can create a second usable level. See a similar cabinet shelf riser on Amazon. Compare its width and height with both the cabinet and the items you plan to place above and below it.
6. Use the Inside of a Cabinet Door for Thin, Light Items
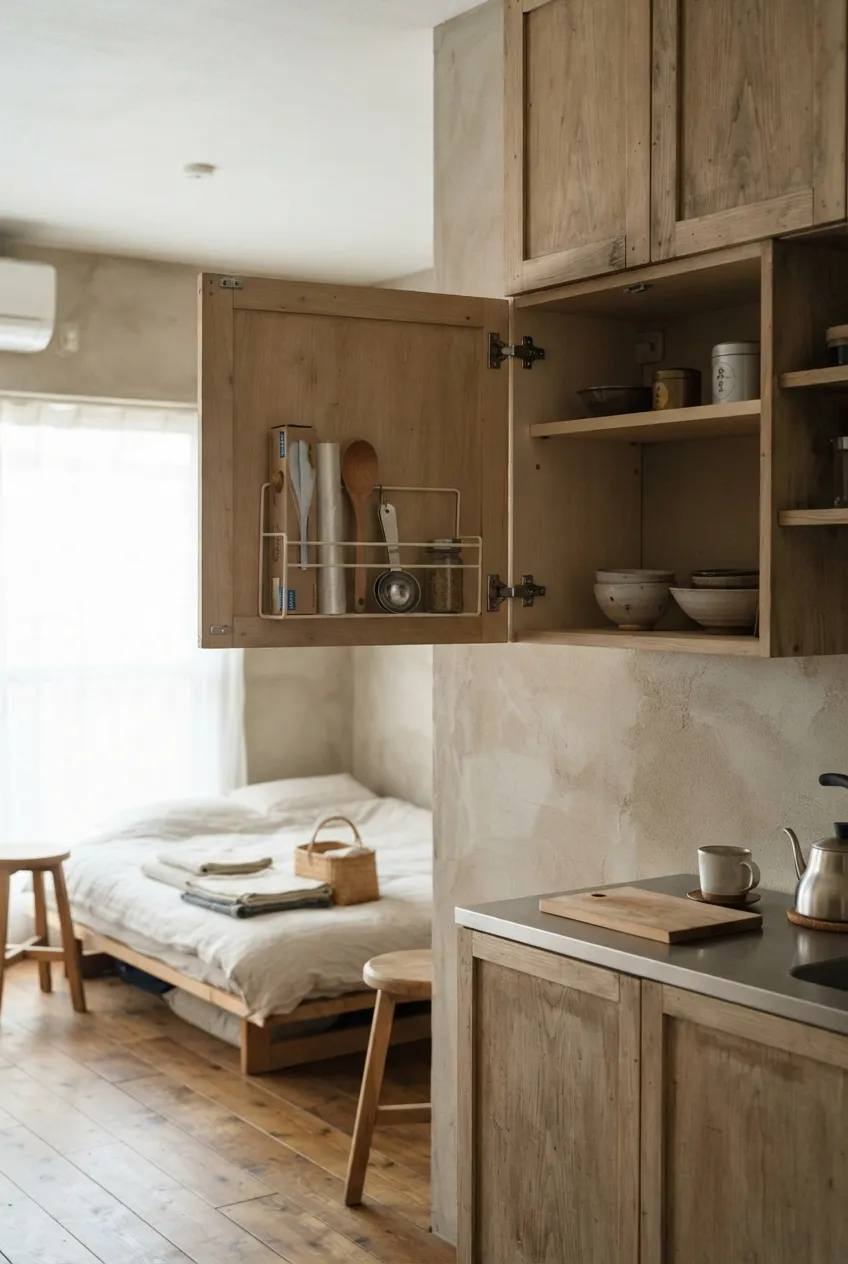
The back of a cabinet door may hold a small rack for food-wrap boxes, measuring spoons, or other thin, lightweight items. It works best when the shelf inside is set back far enough for the door to close without crushing anything.
Follow the rack’s fixing and load instructions, especially in a rental. Open the door fully and close it with the cabinet stocked before committing to the setup. Keep sharp tools and heavy bottles in safer, more stable storage rather than hanging them on a light door.
7. Put a Short Rail Near Prep, Away From Heat
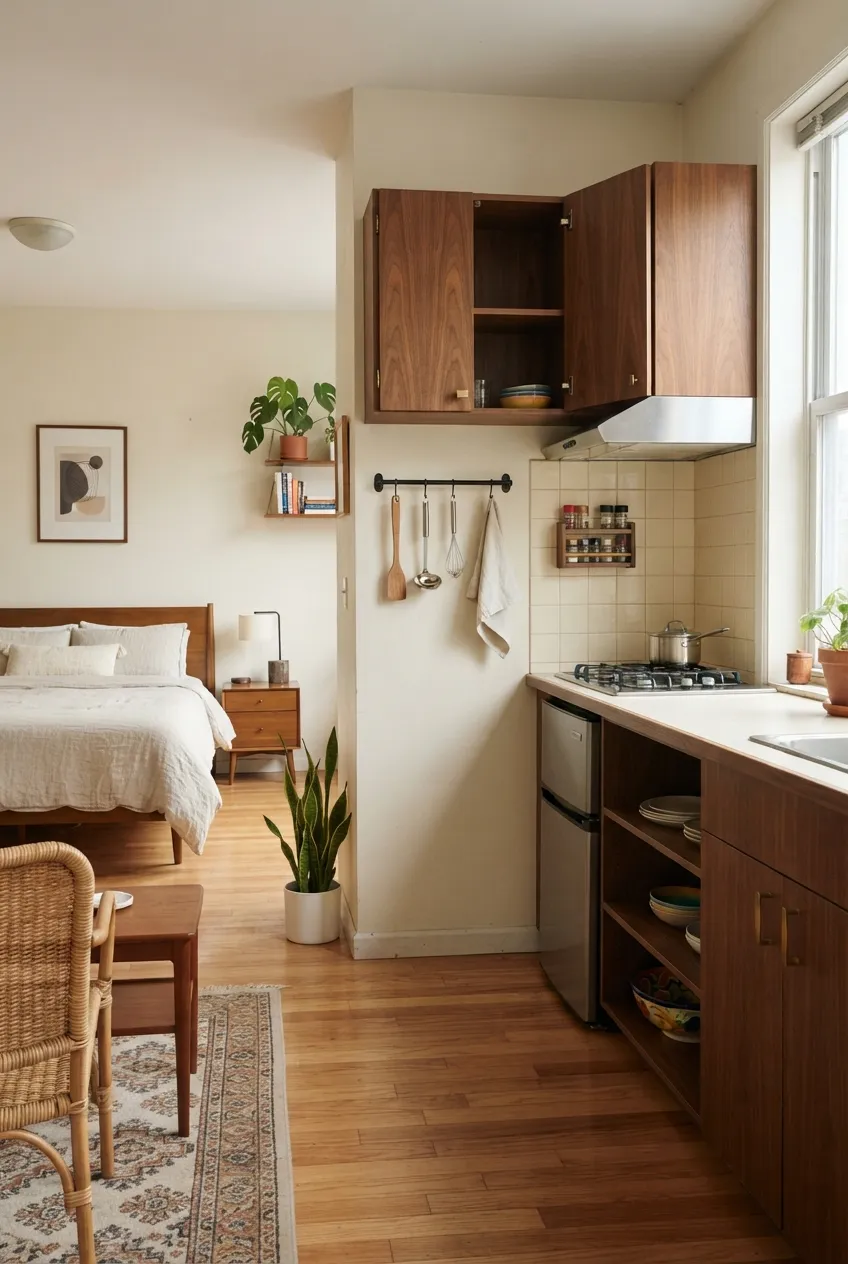
If a section of wall beside the preparation area is suitable, a short rail can hold the few tools you use every day. This frees a drawer without covering the counter. Keep the rail at a reachable height and hang only what will not collide with cabinet doors.
Do not install it over a burner, in a splash-prone spot, or where hanging tools narrow the only route past the kitchen. Use fixings suitable for the wall and the load, and check your tenancy before drilling. A rail helps only when the tools are easy to take down and return.
8. Reserve the Under-Sink Cabinet for Cleaning Supplies
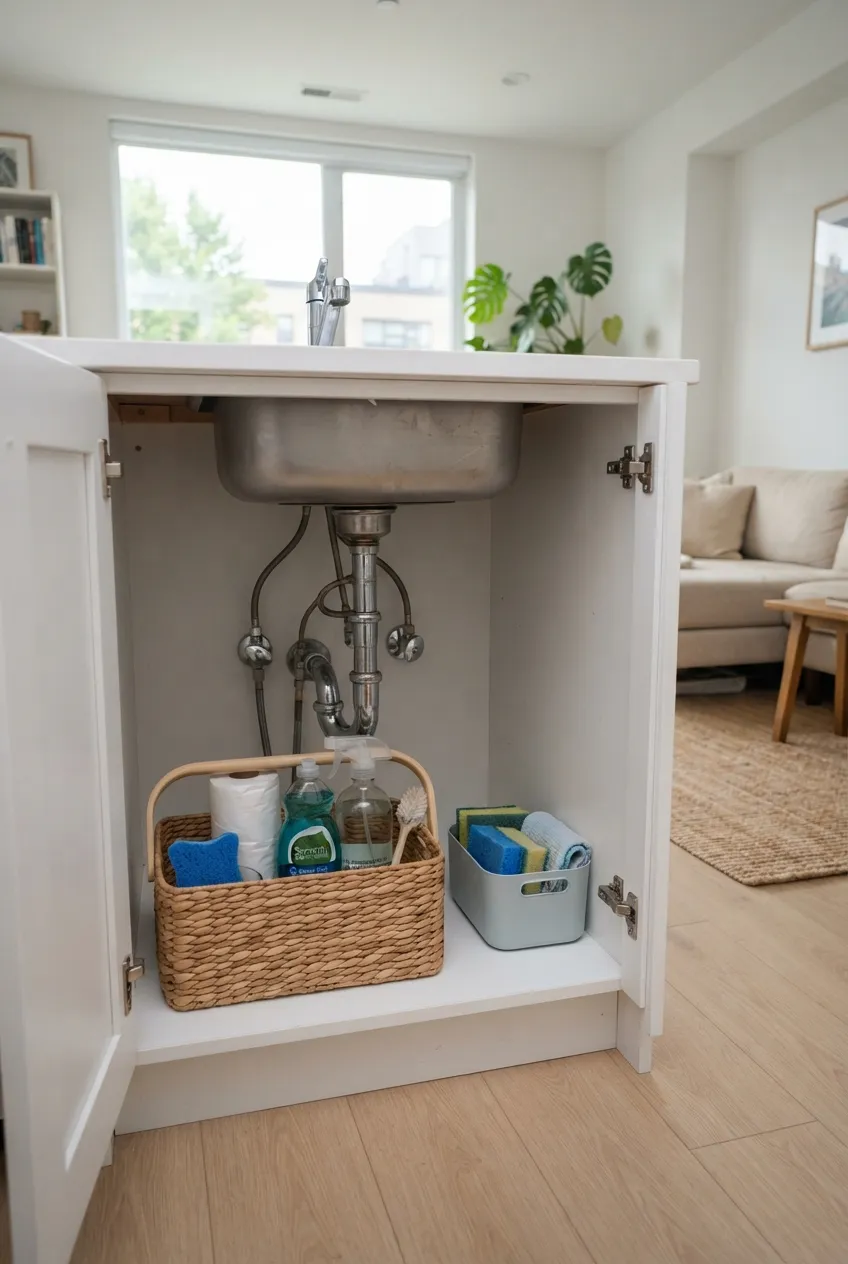
The area beneath the sink is often awkward because of pipes. A low caddy and a few small containers can organize sponges, bags, and cleaning products around the plumbing. Keep food and dishes elsewhere, away from possible leaks and cleaning chemicals.
Leave access to shutoff valves and pipe connections. Any bin or caddy should lift out easily if maintenance is needed, and the cabinet door must open fully. A slim caddy that fits around the pipe is more useful than a large shelf that blocks it.
 |  |
|---|---|
| |
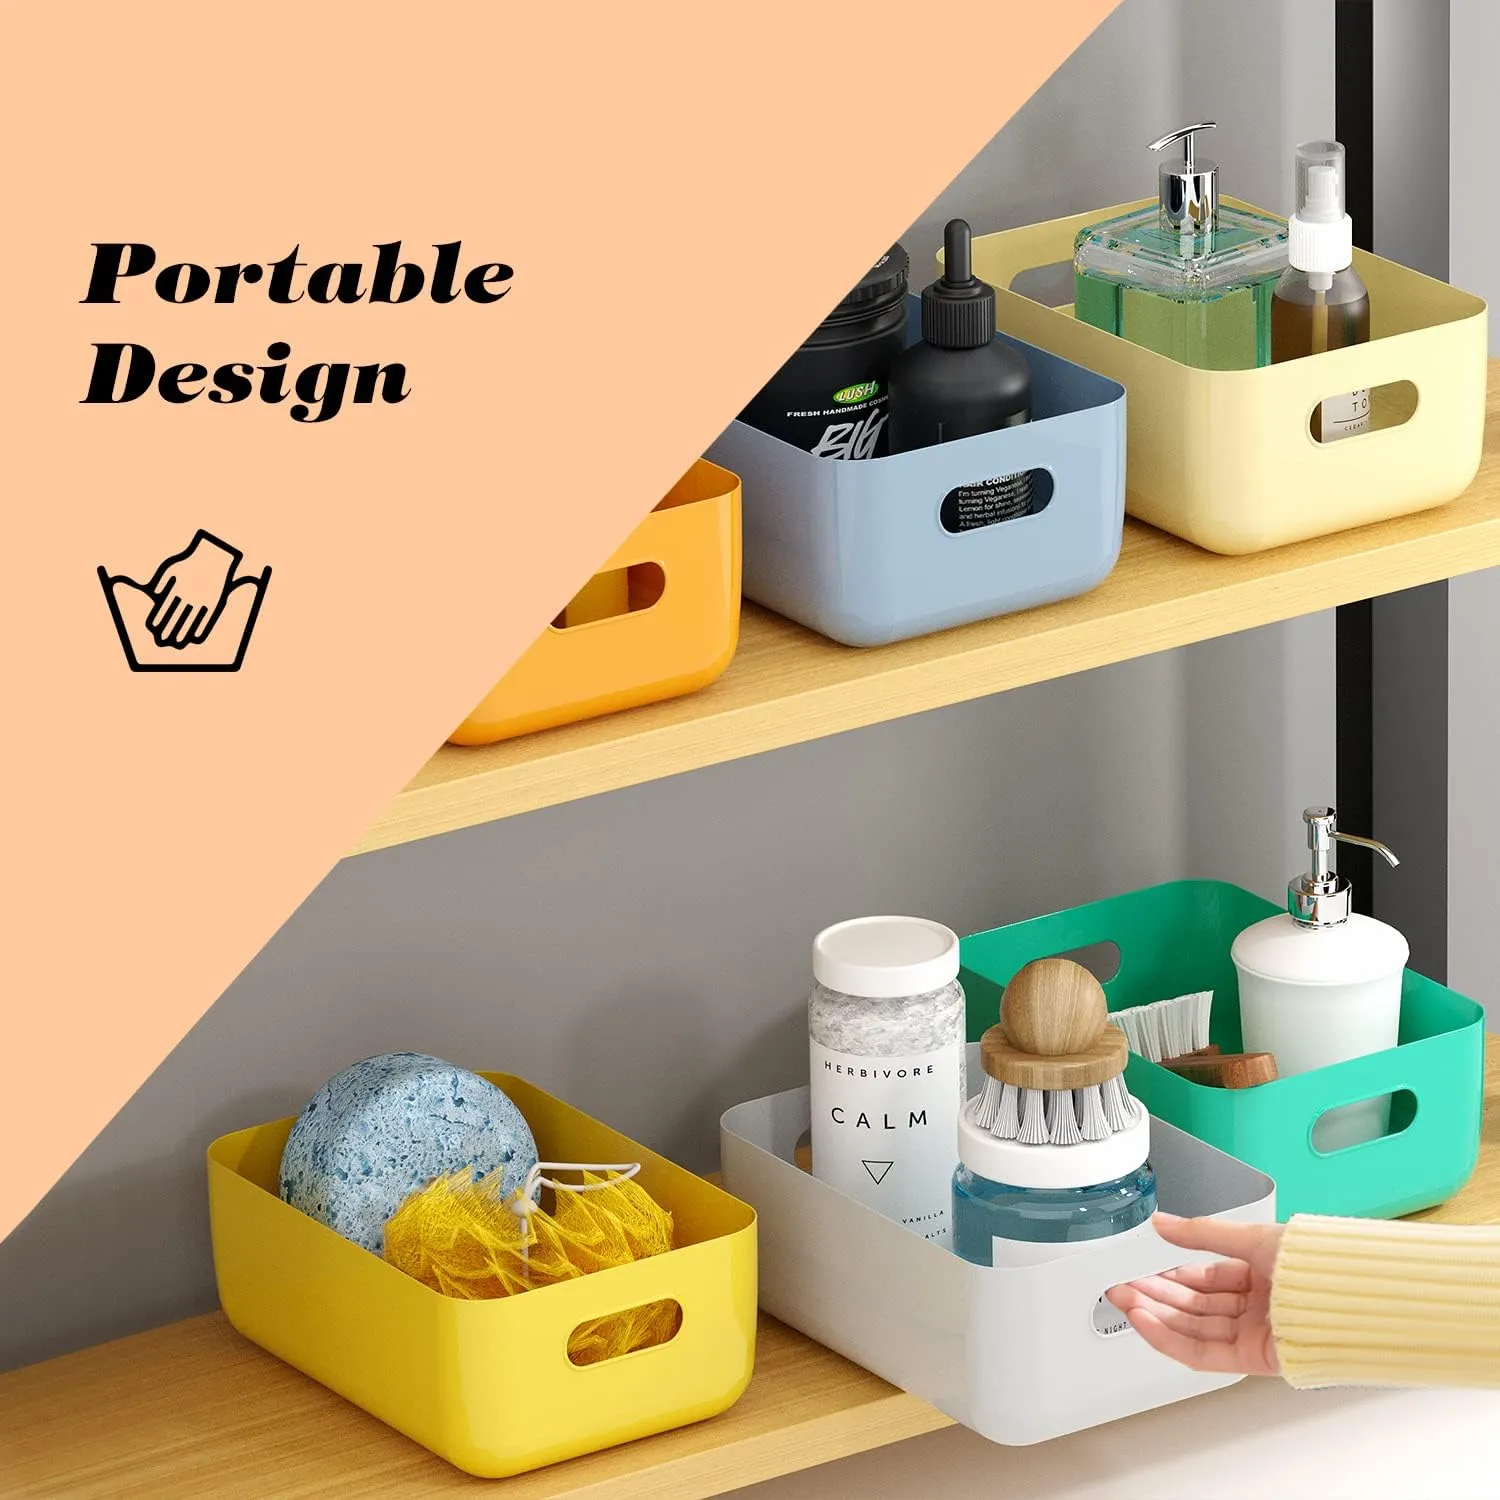
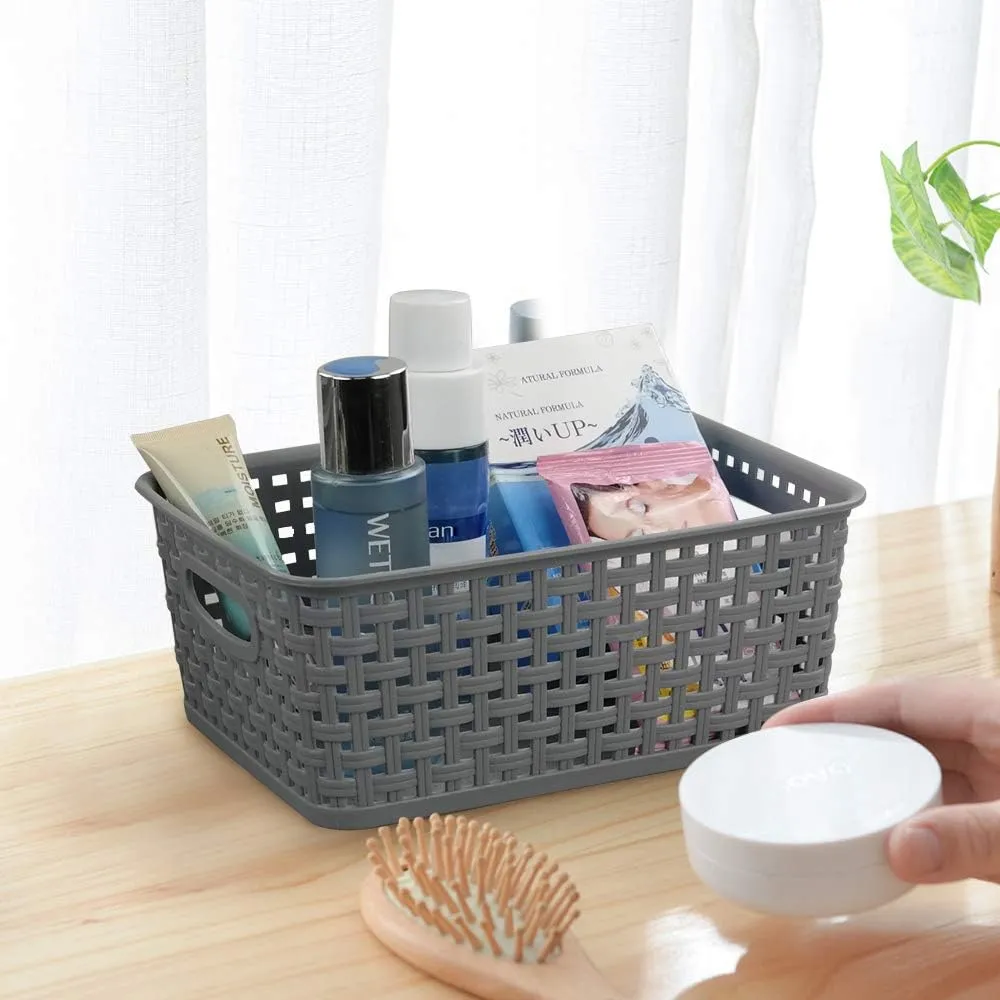
A storage basket with a handle makes it easy to remove cleaning supplies when you need to service the plumbing. You can find similar baskets on Amazon; choose one that fits well and place it next to the pipes so the shut-off valve remains easily accessible.
9. Give Dry Food One Clear Pantry Zone
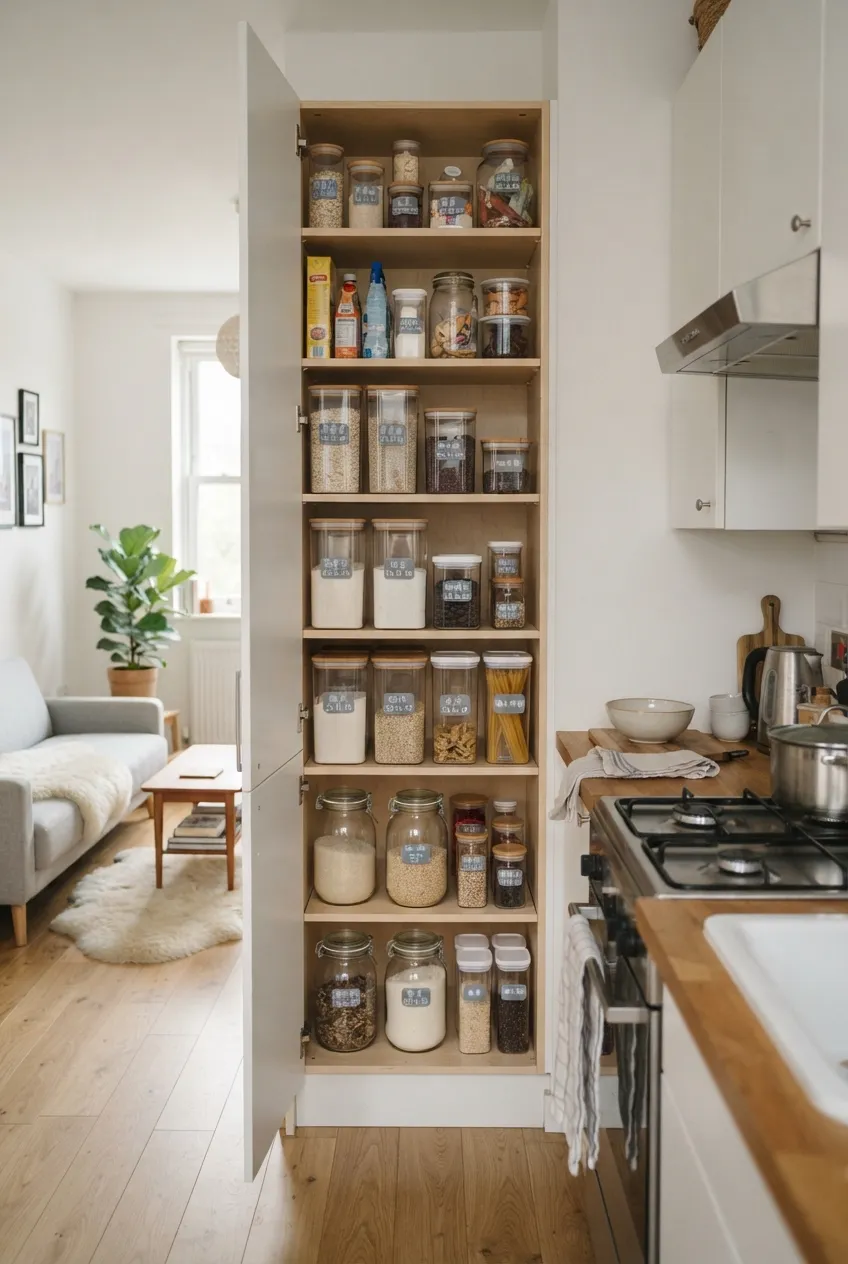
Group dry food in one cabinet or shelf rather than spreading half-open packets across several locations. Use bins to keep breakfast food, baking supplies, and meal ingredients together. Labels or visible fronts make it easier to see what is already there before shopping.
Use suitable sealed containers for foods that need them, and keep package information or dates when you decant. Place heavier containers lower, and keep the cabinet away from avoidable heat and moisture. Do not buy a matching container set before checking the shelf’s actual dimensions.
10. Use Refrigerator Bins Without Crowding the Shelves
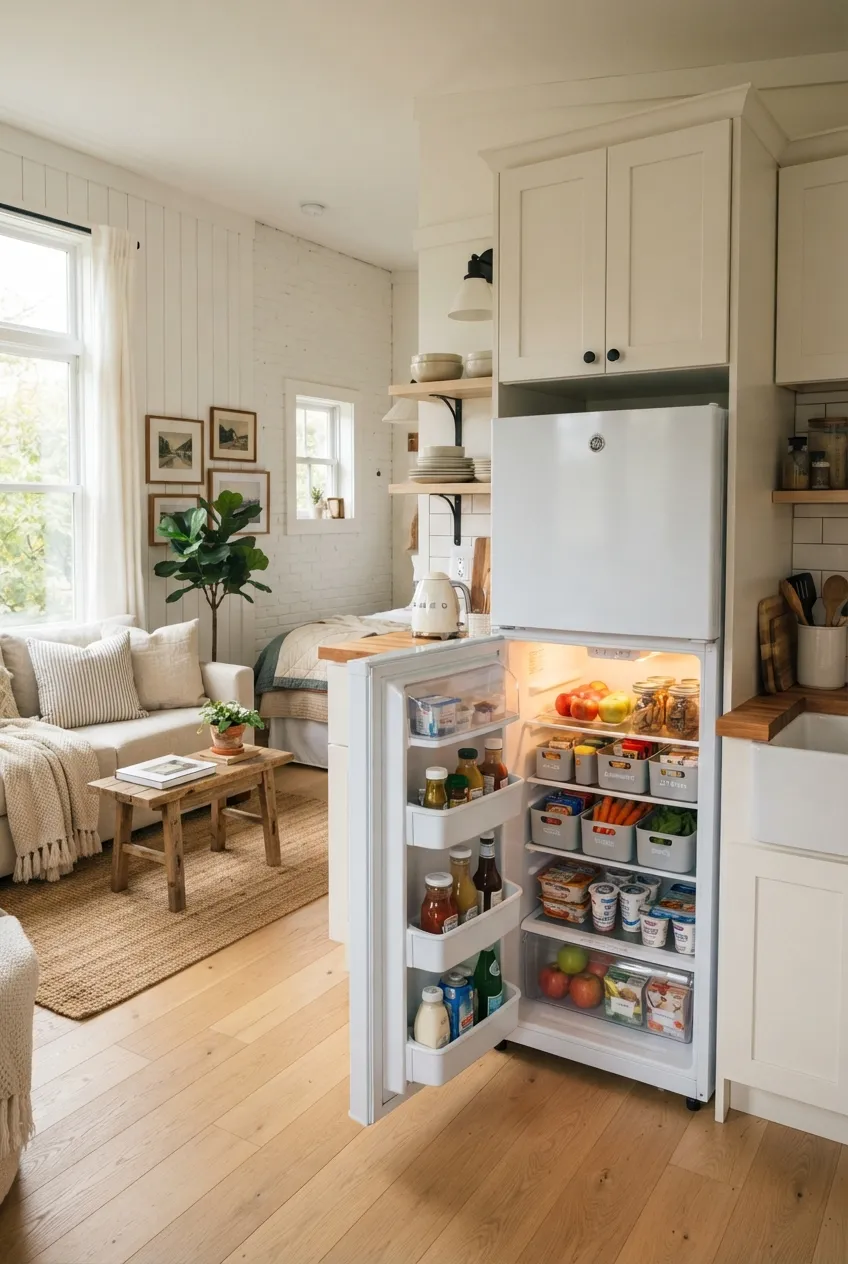
Small refrigerator bins can keep snacks, condiments, or produce from getting lost behind taller containers. Choose open, easy-to-remove bins that fit the shelves and let you see what needs using soon. A bin should make food easier to reach, not hide it in another layer.
Leave space for the door to close fully and follow the refrigerator maker’s guidance on airflow and storage. Do not pack bins against vents or move food that requires refrigeration into a room-temperature cupboard just to make the fridge look neat.
11. Put Backup Supplies in a Nearby Closed Cabinet
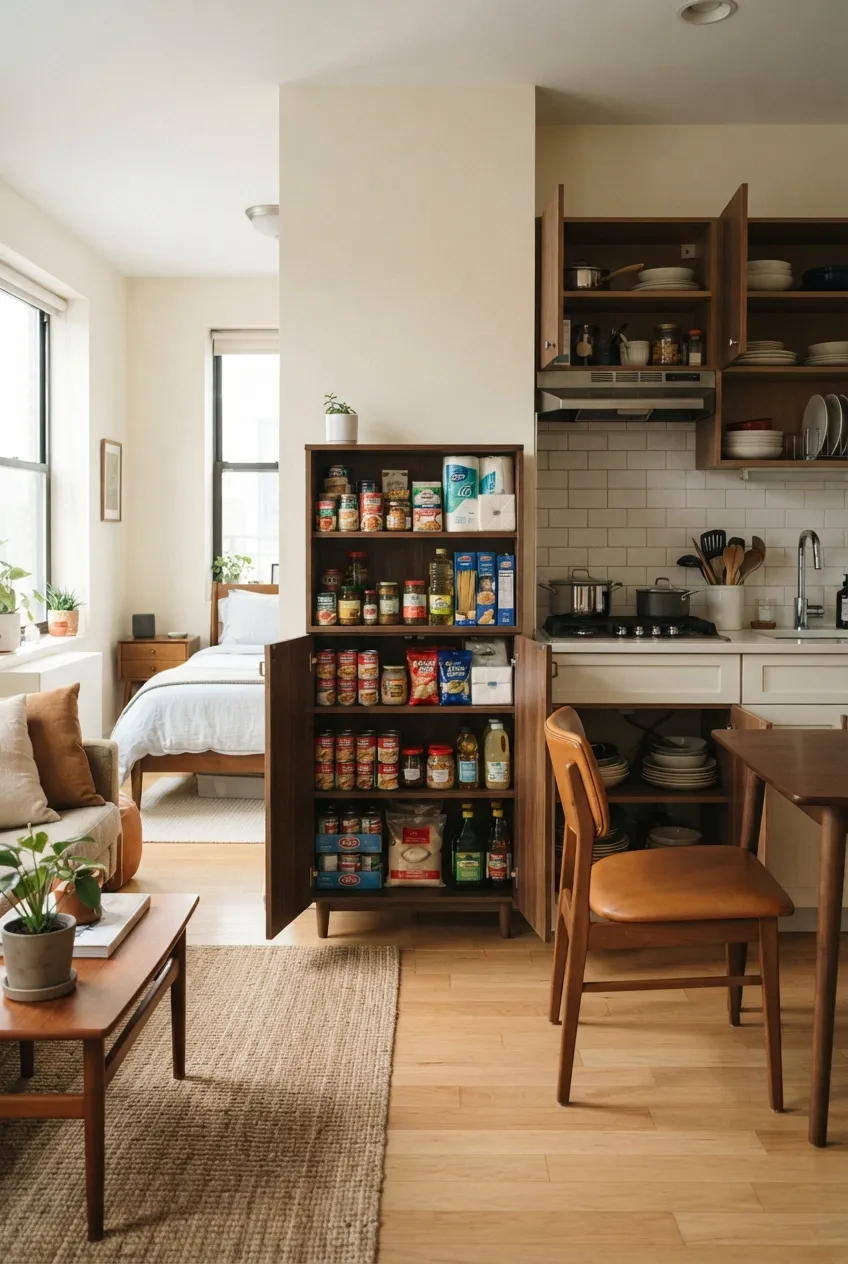
If the kitchen cabinets are genuinely full, reserve a closed cabinet immediately beside the kitchen for unopened backup food, extra paper goods, or rarely used serving pieces. This keeps the daily kitchen zone available for the things you use while cooking.
Keep the cabinet away from heat and moisture, place heavy items low, and check that its doors open fully without meeting a dining chair. It must not occupy the only route through the studio. For a broader approach to storage outside the cooking area, see the studio apartment storage guide.
12. Give Countertop Appliances a Real Home
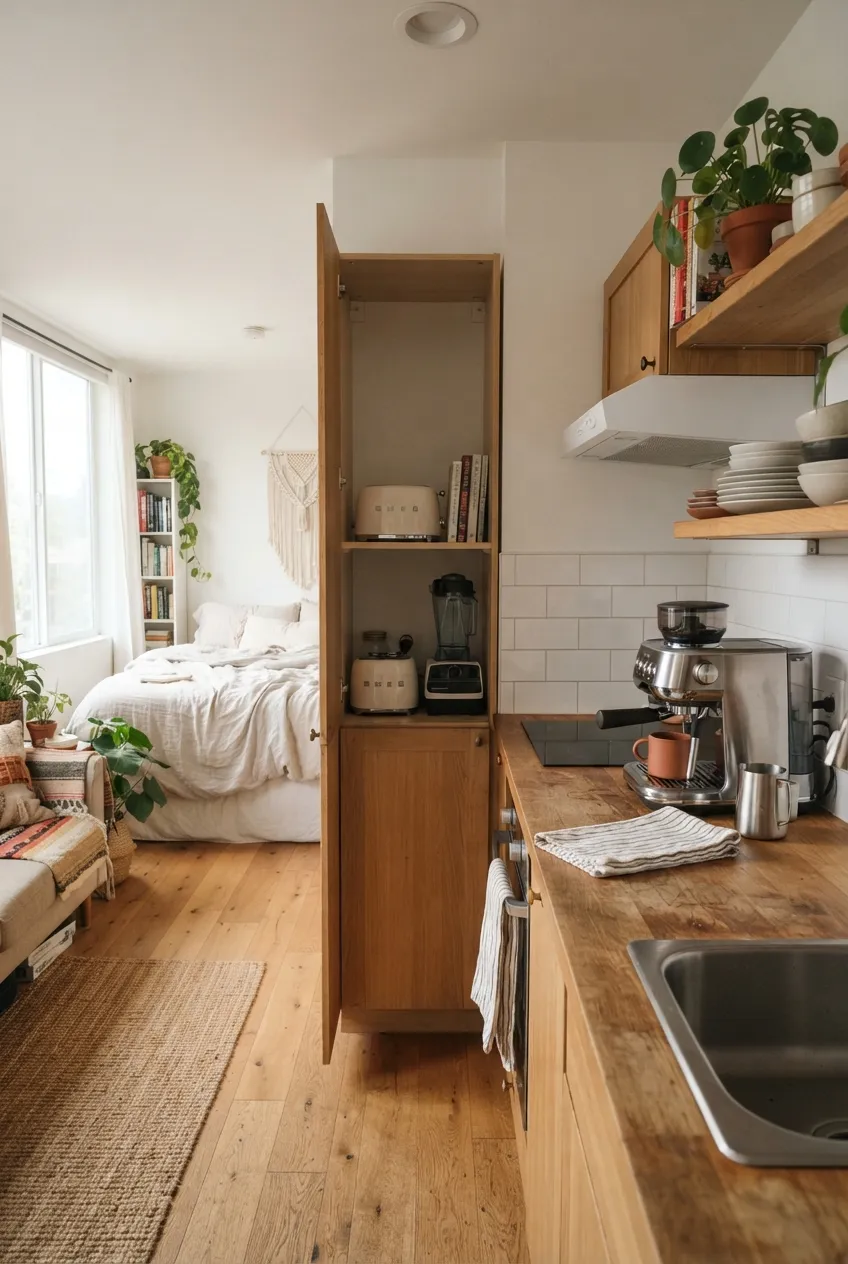
A toaster, blender, and coffee maker can take over a short counter before you start preparing food. Keep only the appliance you use often enough to justify its footprint on the counter. Put the others in a nearby cabinet where they can be lifted out without moving a stack of dishes.
Preserve a continuous area for chopping and setting down ingredients. Do not store an appliance where its cord crosses the sink, stove, or only walkway when in use; follow its operating and ventilation instructions. A clear prep area is the practical result of the storage plan.
Final Thoughts
A small studio kitchen works when everyday cookware and food are easy to reach, infrequent items have a sensible home, and the counter remains available for cooking. Start with the cabinets and drawers you already have. Measure their openings, move duplicates and backup supplies out of the prime spots, then add only the organizers that solve a specific access problem.
More Studio Apartment Ideas
 |  |  |
|---|---|---|
Studio Kitchens  | Studio Dining | Studio Layouts |