Shoes can take over a studio apartment faster than expected. The pairs you wear every day collect by the door, while work shoes, boots, and seasonal pairs compete with clothes for the same small closet. A bigger rack at the entrance may simply move the bottleneck into the walking route.
A better plan gives shoes different homes according to how often you use them and whether they are clean and dry. Keep a few daily pairs near the door, put the current rotation near where you get dressed, and move occasional pairs to protected storage elsewhere. These ideas focus on shoe capacity across the whole studio. For the rest of the arrival zone, see the studio entryway ideas.
1. Count Pairs Before Choosing Storage
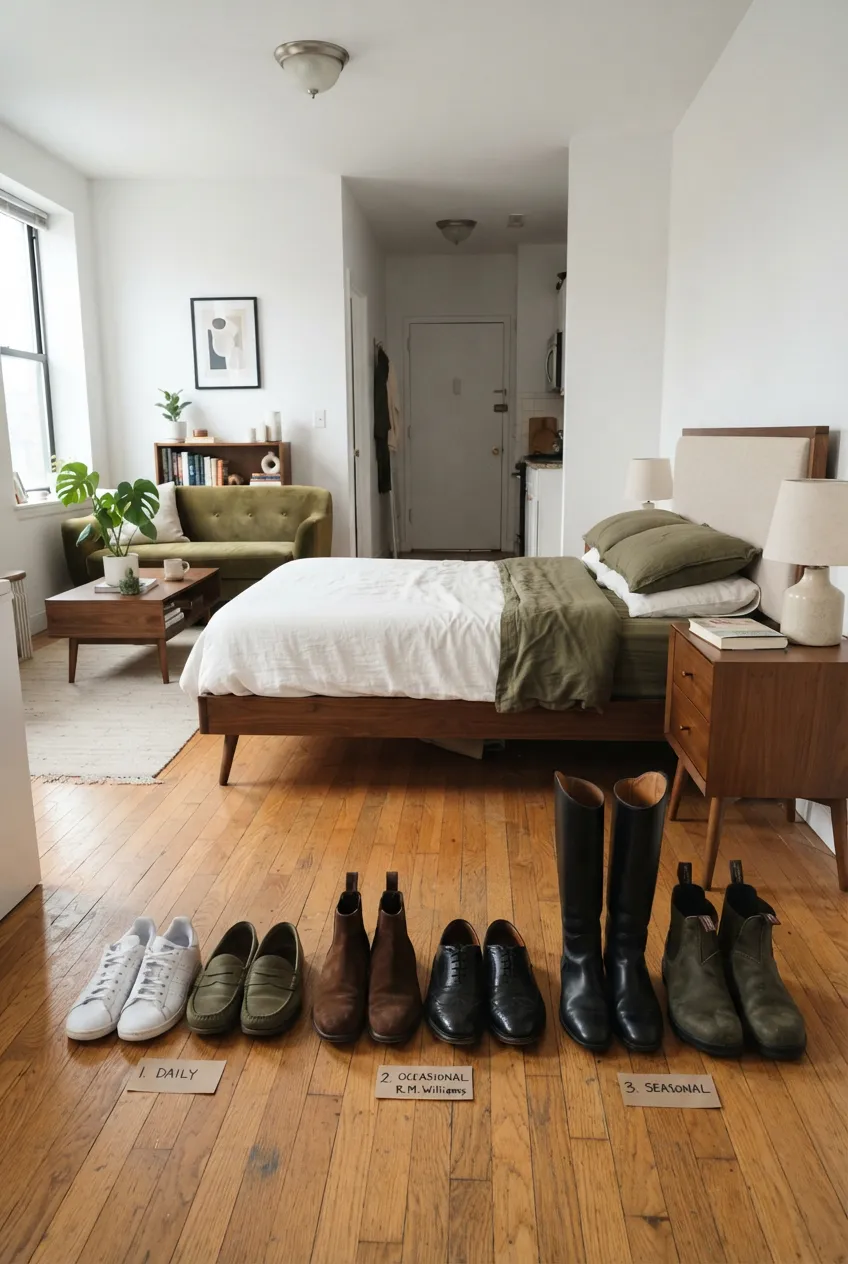
Gather your shoes and sort them into daily, weekly, occasional, and seasonal pairs. Count the pairs in each group and note their real dimensions. Sneakers, heels, and tall boots will not fit the same shelf spacing or box. Check which pairs need cleaning, repair, or disposal before reserving a place for them.
Measure the spaces you already have: the floor near the entrance, a closet’s lower section, a shelf, and the clearance under the bed. Include doors, drawers, and the route from the entry to the bathroom and bed. The goal is to match each group to an actual usable space, not to buy one organizer and hope it holds everything.
2. Give the Entry a Limit for Daily Pairs
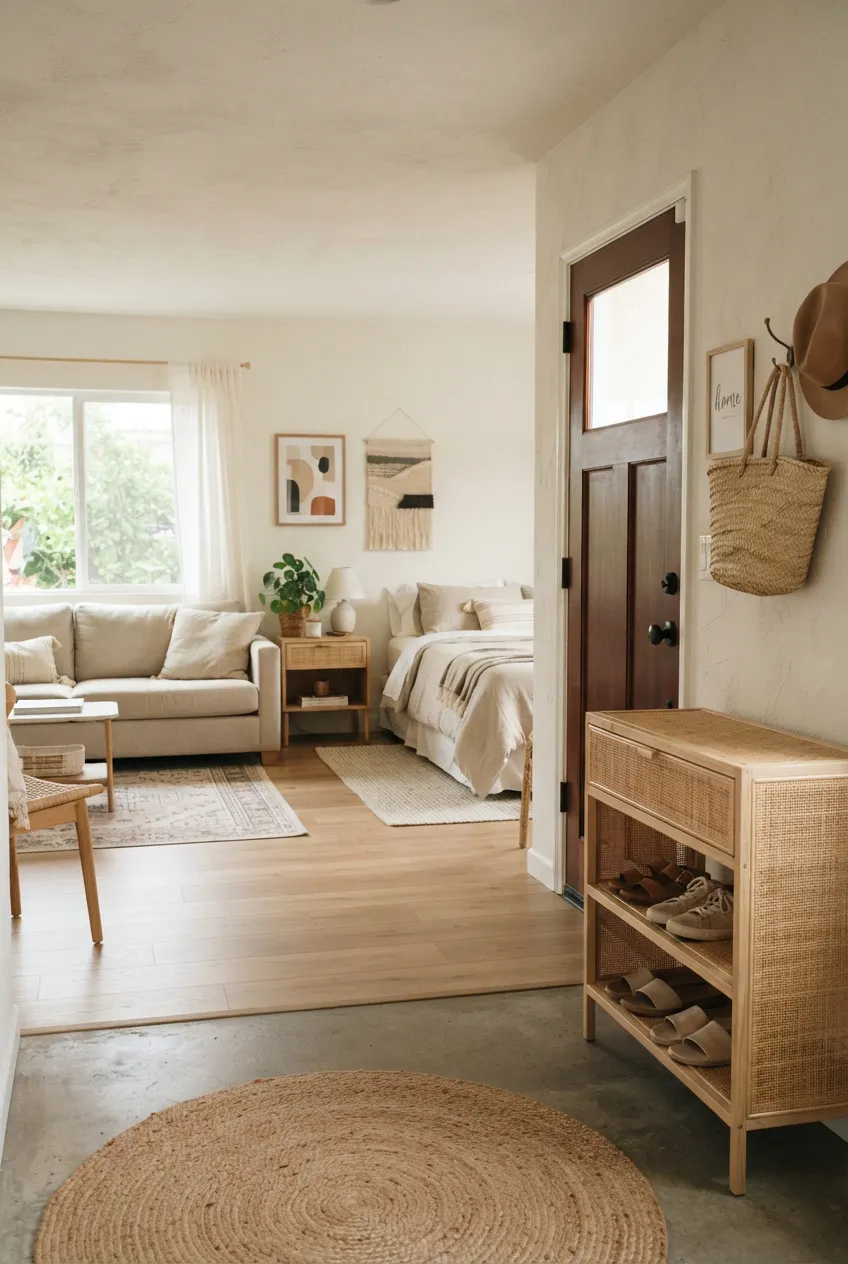
Keep only the pairs you reach for most often by the door. Decide how many fit without spilling past a tray, low shelf, or existing cabinet. When a different pair becomes part of the daily rotation, move one older pair back to its other home. This limit lets you put shoes away quickly without turning the threshold into the apartment’s entire shoe closet.
Open the front door fully and walk in with a bag. No pair or storage piece should catch the door or narrow the only path into the studio. The entrance setup can be simple; the entryway guide covers cabinets and benches as part of a wider arrival area.
3. Give Wet Shoes a Separate Landing Spot
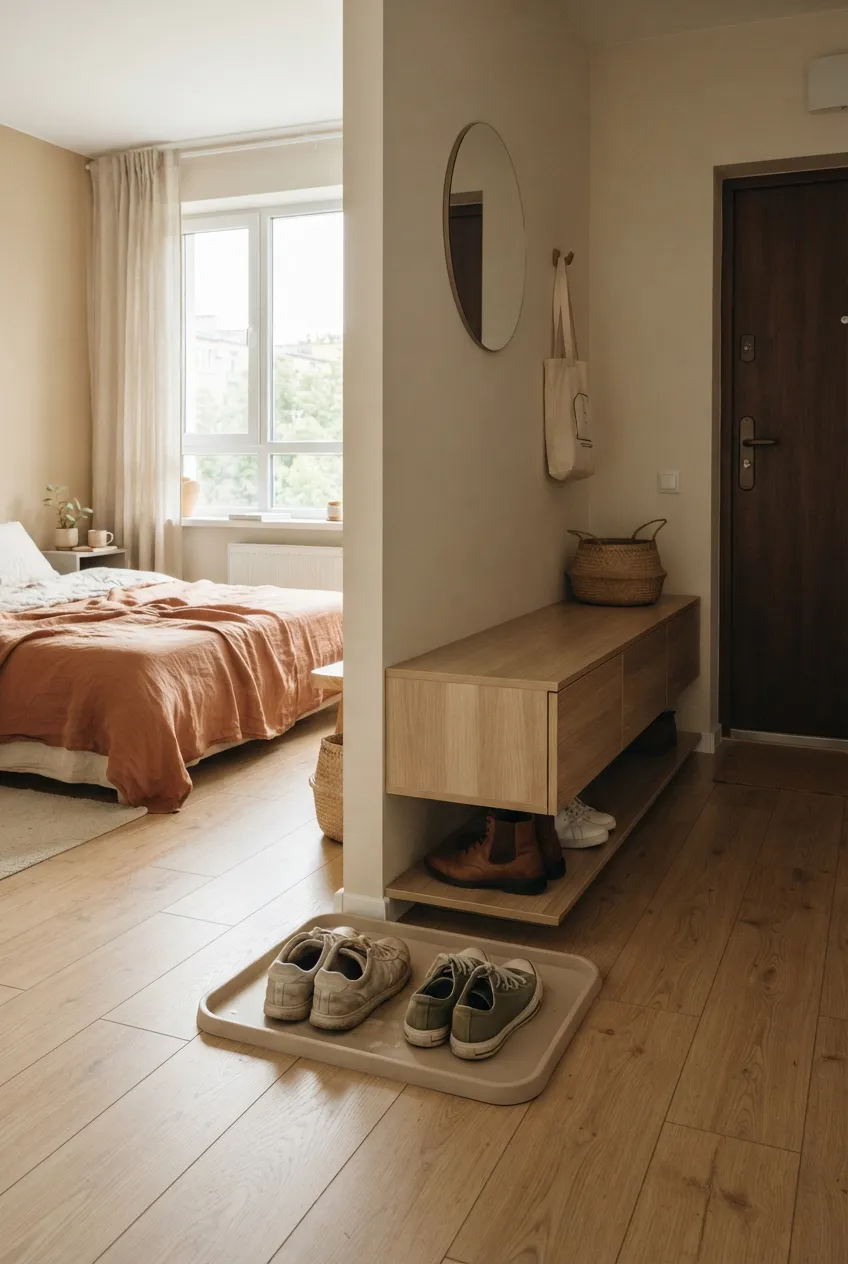
Wet or muddy footwear needs a place to drip and dry before it joins clean pairs. Put a contained, easy-clean surface near the entrance, away from the door swing and from anything that could be damaged by moisture. Leave space around the shoes to dry; do not close wet pairs inside a box or cabinet.
Measure the largest pair that will use the spot and check that the surface can be lifted out and cleaned. If you need a dedicated surface, browse shoe trays on Amazon and compare their outer footprint with your entry’s available floor area. Move the shoes to their normal storage once dry so this landing spot does not become another permanent pile.
4. Use a Low Closet Shelf for the Current Rotation
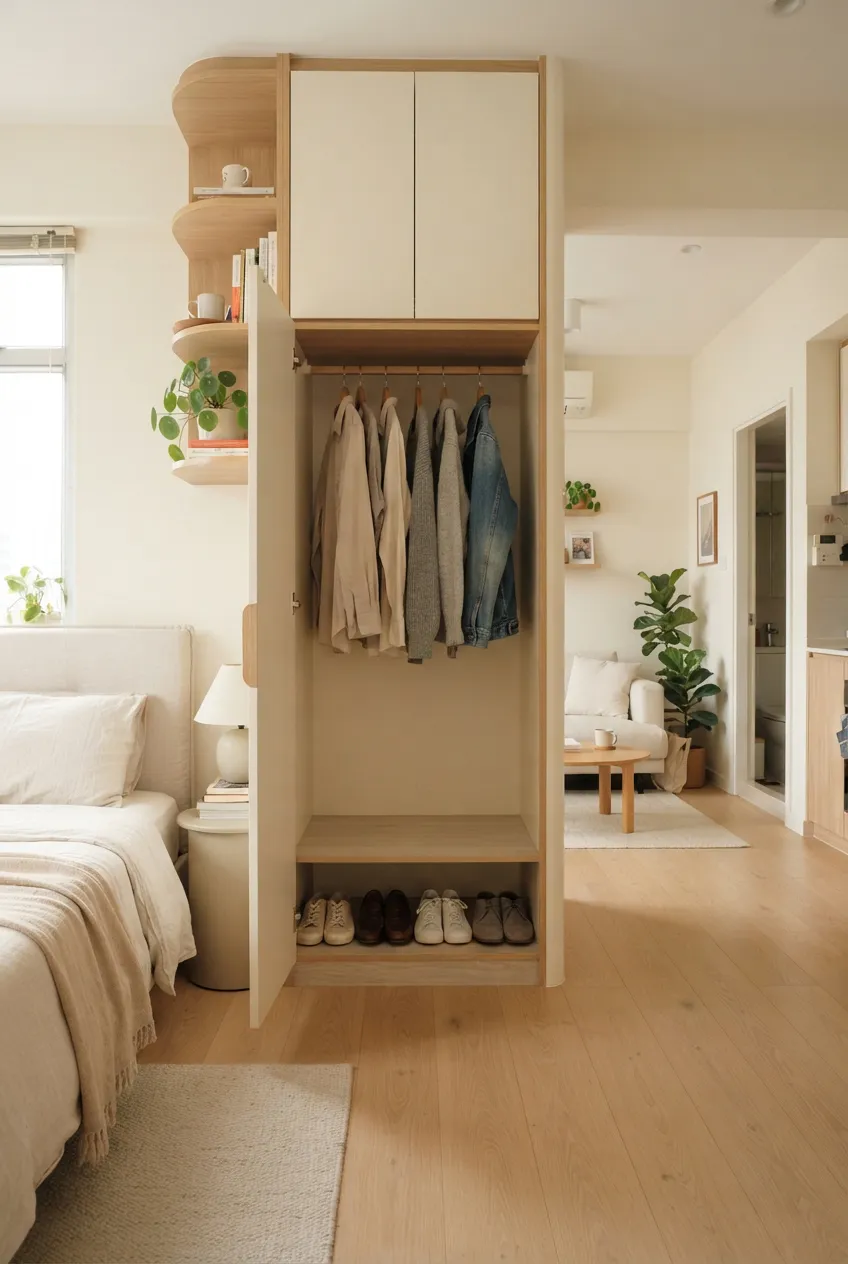
Clean pairs worn during the week can live on a low shelf or a defined part of the closet floor near your dressing area. Arrange them so you can see and lift each pair without unloading a stack. If you share the closet with clothing, keep shoe soles on a separate washable surface or shelf and leave room for hanging clothes to fall freely.
Check the closet door’s full opening and the space needed to reach the back. A low shelf that blocks a drawer or makes you move clothes to find shoes is not helping. If your studio has no closet at all, the no-closet storage guide explains how to distribute clothing and accessories across the room.
5. Put Overflow in a Slim Cabinet Away From the Door
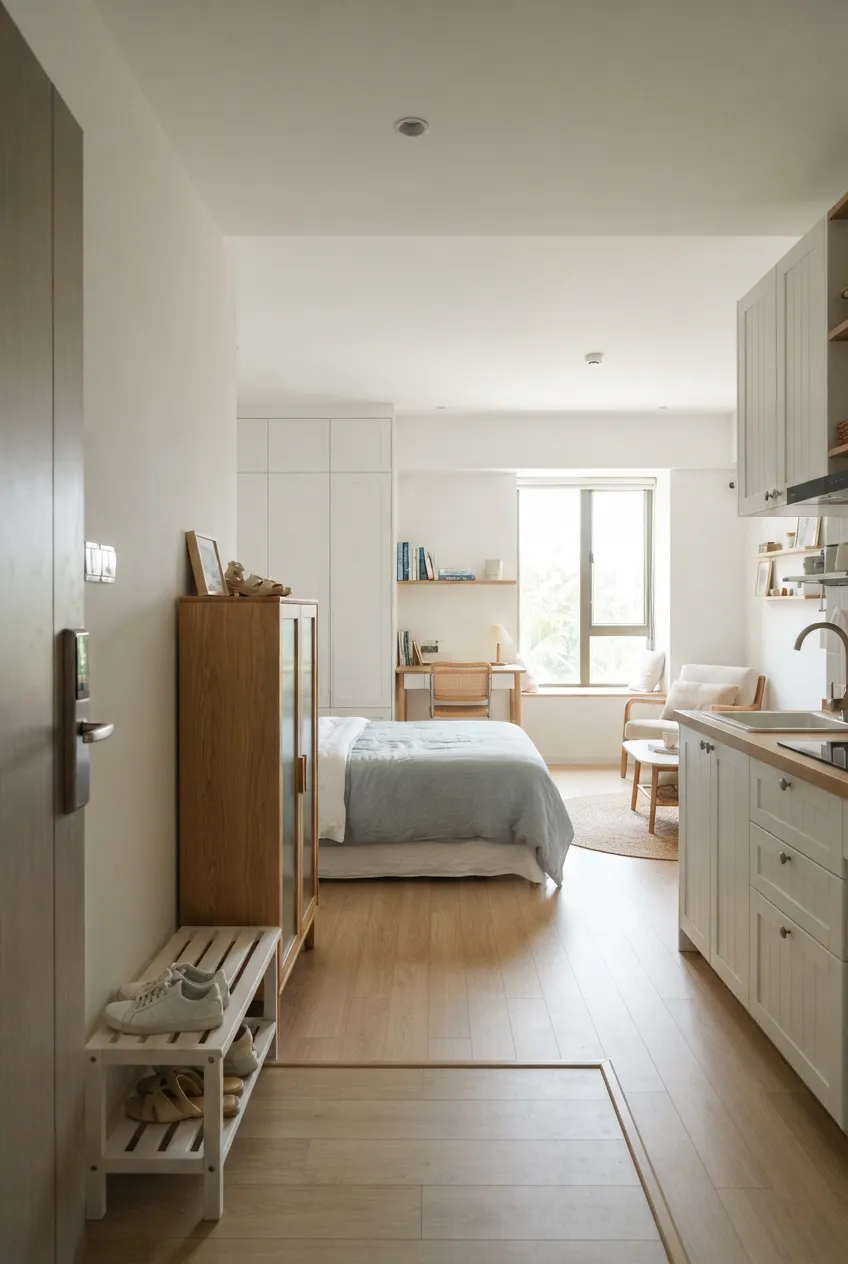
If the entrance cannot hold more than a few pairs, place a slim shoe cabinet or rack along another suitable wall. That can be near the dressing area or beside an existing wardrobe, rather than squeezed into the threshold. Store clean, dry pairs here and choose a position that does not make the bed, desk chair, or kitchen harder to use.
Measure the cabinet’s depth with doors or tilting compartments fully open, plus the space needed to stand in front of it. Confirm your shoe sizes and boot heights fit its internal layout. Follow the maker’s stability and anchoring directions; a tall, unsecured piece is not a small-space shortcut.
6. Put Occasional Pairs Under the Bed
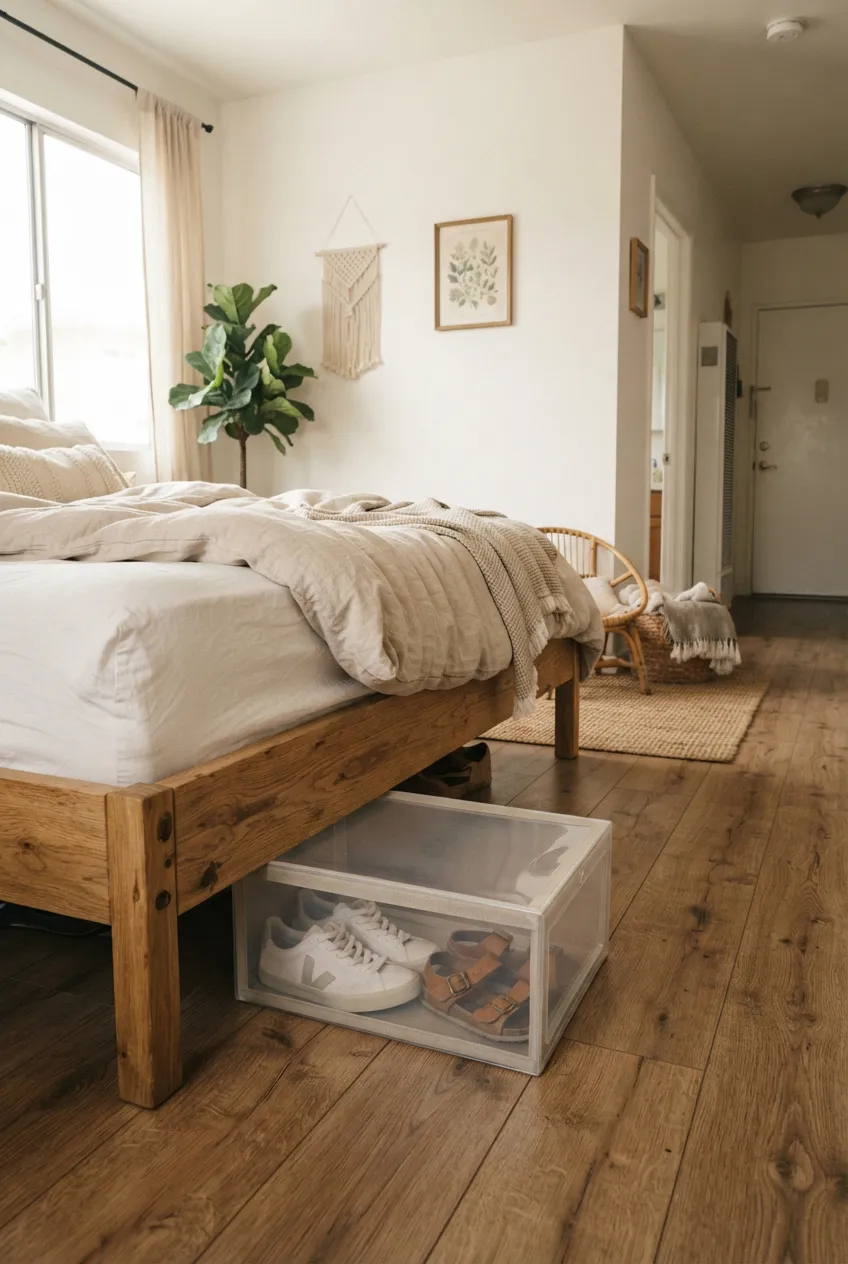
Under-bed space is better for shoes you do not need each morning than for pairs you wear every day. Clean and dry them first, then group pairs in a low container that can slide out without catching the bed frame. Leave access to any bed drawers and do not block ventilation or a heater near the bed.
Measure the actual clear height beneath the frame, including legs and crossbars, as well as the depth you can reach from the accessible side. If that space works, browse under-bed shoe storage organizers on Amazon and compare the container’s complete outer dimensions with your measurements. A container that technically fits but cannot be pulled out in your room will not add usable capacity.
7. Box Clean Off-Season Pairs on a Safe Shelf
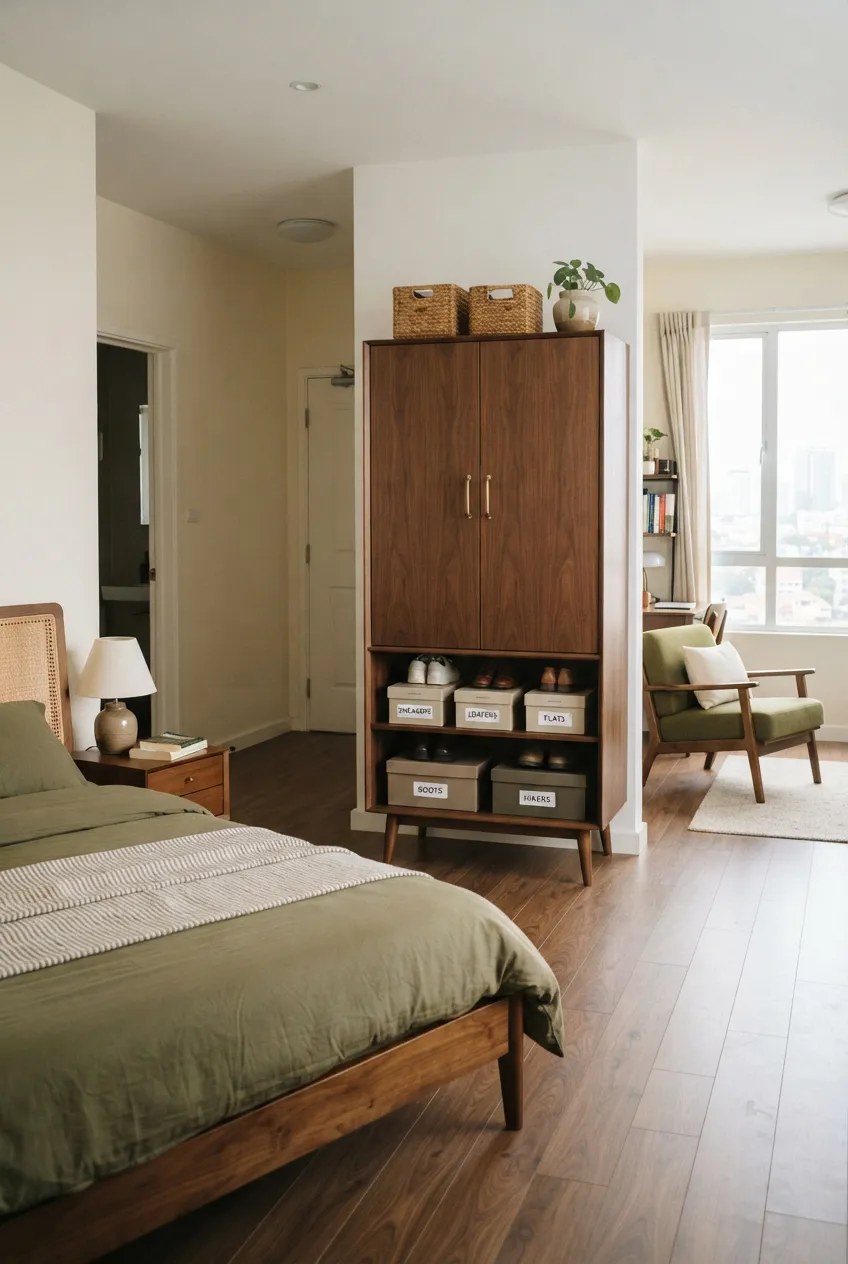
Once shoes are clean and dry, separate off-season or delicate pairs so they do not get crushed beneath other belongings. Boxes can go on an existing closet or wardrobe shelf where you can reach them safely. Label the front with the shoe type or a short name; you should not have to open every box to find one pair.
Check the pair’s length and height against each box’s inner dimensions, then check the shelf’s depth and load guidance. Stack only as the box maker allows and keep heavy items lower. If you need boxes for this shelf, browse stackable shoe storage boxes on Amazon and compare the usable inside space and safe stacking method before buying.
8. Reserve Full Height for Tall Boots
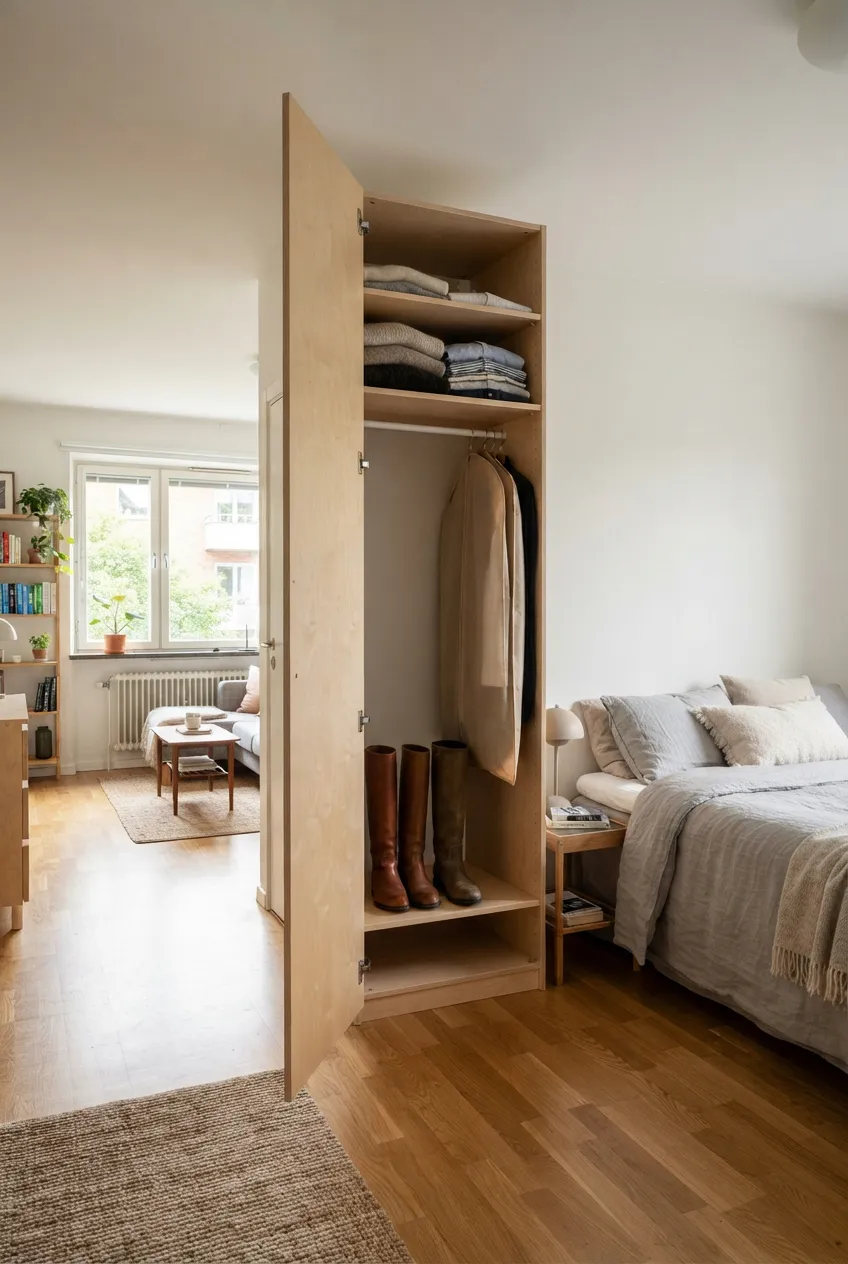
Tall boots often fail in ordinary shoe racks because the shaft folds or the shelf above sits too low. Give them an upright space on a closet or wardrobe floor, or on a shelf with enough vertical clearance. Let them dry first and keep their soles away from clean clothing. Use a boot support only if it fits the boot and the storage height.
Measure the tallest pair from sole to top and allow room to lift it out without scraping the shelf. Do not set boots where the closet door hits them. A few tall pairs may need more space than several low shoes; count them separately when deciding your total capacity.
9. Use the Back of a Door Only If It Still Works
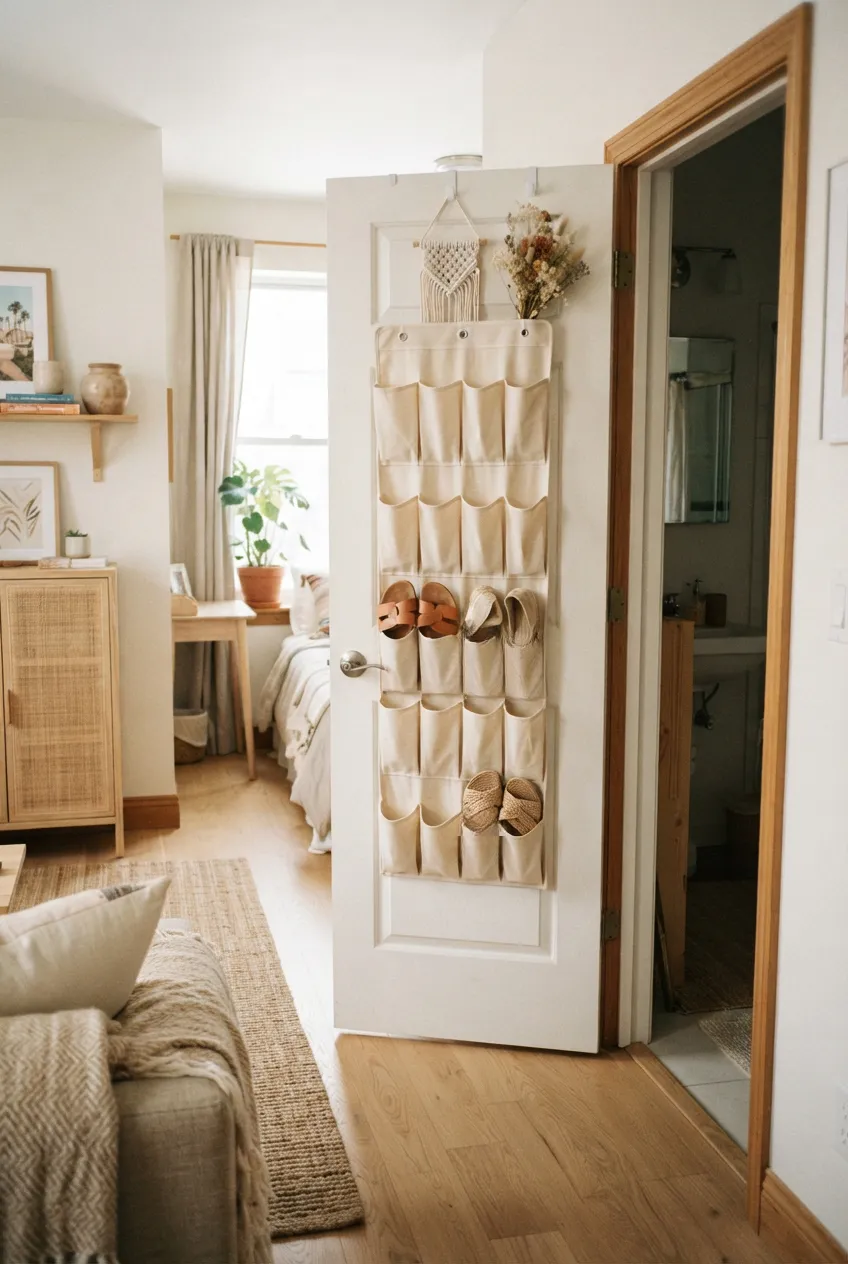
An over-door pocket organizer can hold lightweight flats or sandals when shelf space is scarce. Use it on a suitable interior door only if the top clearance and hardware allow the door to open, close, and latch completely. Keep heavier shoes elsewhere and follow the organizer’s load guidance.
Check what the door swings against on both sides; shoes in the pockets add thickness. Avoid the front door or any door where the setup interferes with a required exit or daily access. If a full door organizer does not pass the test, a small low shelf is a better use of space.
10. Adjust Shelf Spacing to the Shoes You Own
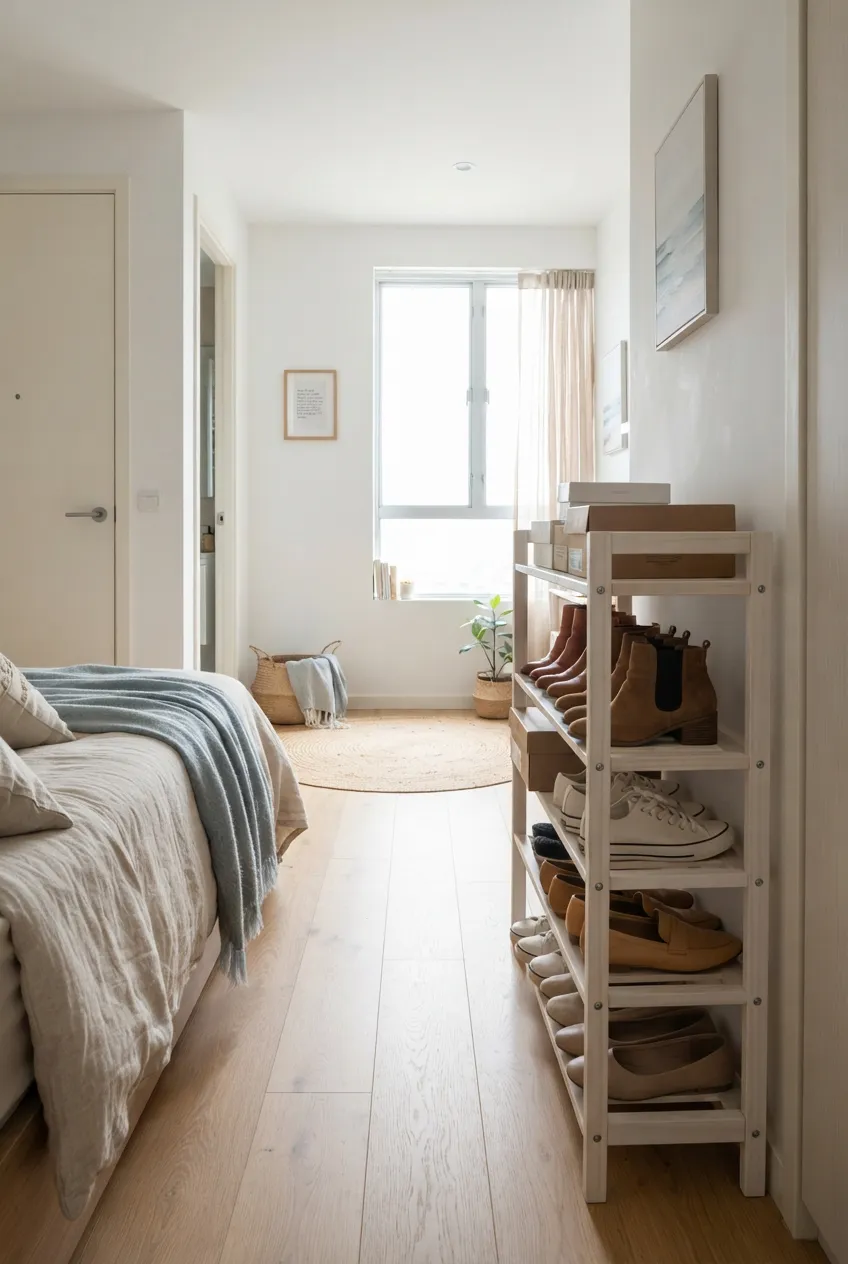
Standard shelf spacing can waste vertical room above flats while being too short for ankle boots. If an existing shelf system is adjustable, set one level for lower pairs and another for taller ones. Keep a little hand space above each pair so you can remove it without scraping or tipping neighboring shoes.
Do not add another shelf just to reach a theoretical pair count. Check stability, total load, and whether every tier remains accessible with the closet door open. A shelf that holds more pairs but hides the back row may make the daily rotation harder, not easier.
11. Swap the Accessible Pairs When Seasons Change
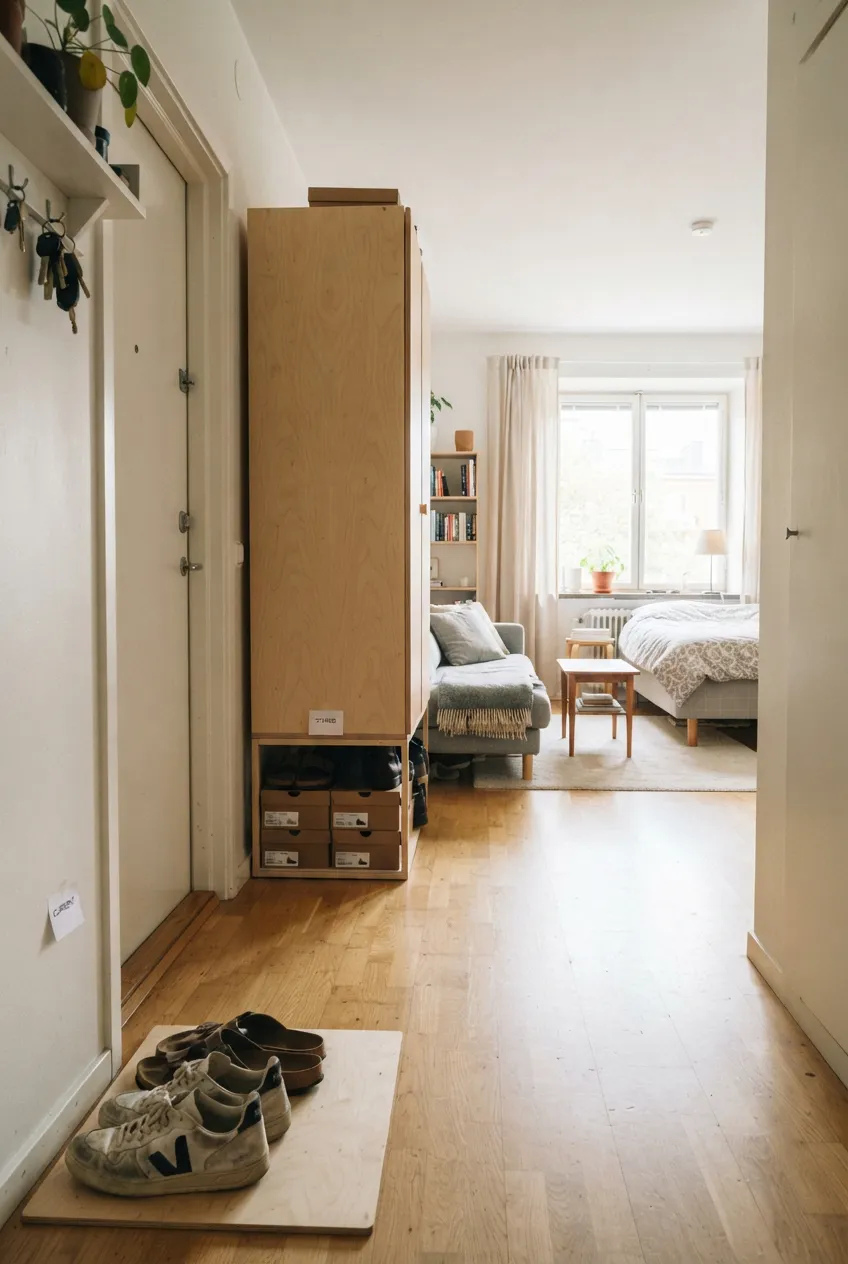
At a practical seasonal change, move the pairs you will actually wear next to the entry or low shelf. Clean and dry the outgoing pairs, then move them to the under-bed container or labeled shelf boxes. Keep the storage locations stable so you are changing the contents, not rebuilding the system each season.
Check condition during the swap and note anything that needs repair before the next season. This short rotation prevents the daily shoe zone from growing to hold every type of weather at once.
12. Review Pairs That No Longer Earn Their Space
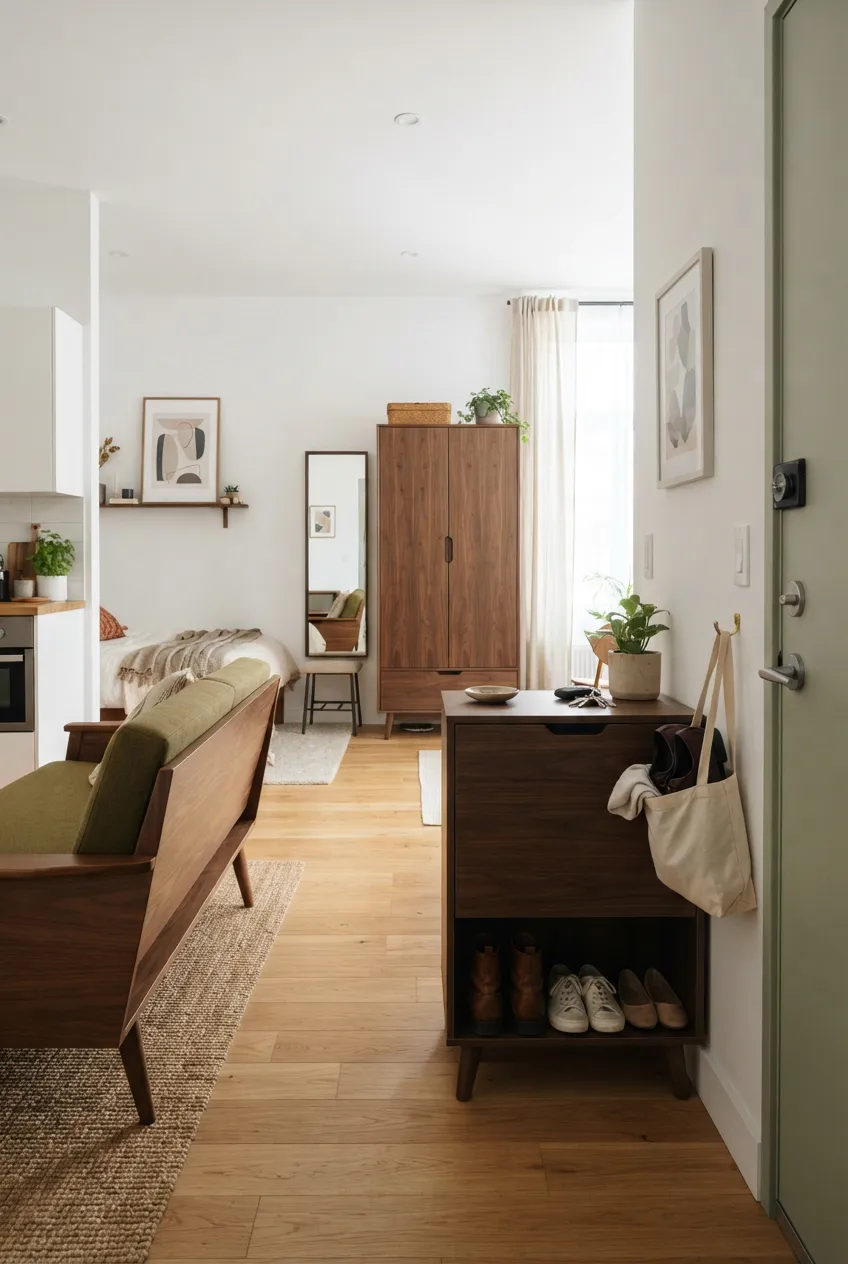
After the shoes have assigned homes, notice which pairs still sit outside them. A pair may need a more convenient place, but it may also be unworn, uncomfortable, or beyond repair. Decide what to clean, repair, donate if suitable, or discard responsibly before adding another rack.
Leave an easy-to-reach home for the pairs you keep and a small, temporary exit spot for shoes leaving the apartment. Keep that spot outside the door swing and walking route. Shoe storage works when the capacity matches what you actually wear, not when every inch of floor is filled.
Final Thoughts
A studio shoe plan works best in layers: a small daily zone by the door, reachable storage for the current rotation, and protected space for occasional or seasonal pairs. Measure the shoes as well as the furniture, let wet pairs dry before enclosing them, and test every door and walking route. That gives each pair a workable home without making the entrance carry the whole collection.
More Studio Apartment Ideas
 |  |  |
|---|---|---|
Storage Ideas | Studio Entryways | Studio Layouts |