In a studio apartment, the bed is visible from much of the room. It needs to be comfortable to use at night and easy to live beside during the day. That means more than deciding which wall it touches. You need a place for water and a book, a way to get dressed, room to change the sheets, and somewhere for the things that otherwise land on the mattress.
These ideas focus on the small working area around an existing bed. If you are still choosing the bed’s position, start with the studio bed placement guide. Once the position works, build the bedside around your actual routines.
1. Give the Pillow End a Modest Headboard

A headboard can make the bed read as one settled area within a larger room and provide a comfortable backrest for sitting up. In a studio, a low or medium-height profile usually leaves more wall and light visible than a tall, winged shape. If the existing bed already has a sound headboard, it may only need a clean cover or a tighter arrangement of pillows.
Before adding one, check the bed frame’s compatibility, the total depth behind the mattress, and whether the headboard must be fixed to the wall. A renter should confirm permission and the required hardware before drilling. If the measurements and installation method suit your bed, browse low-profile headboards on Amazon and compare full width, depth, and attachment requirements.
2. Keep One Reachable Surface Beside the Bed
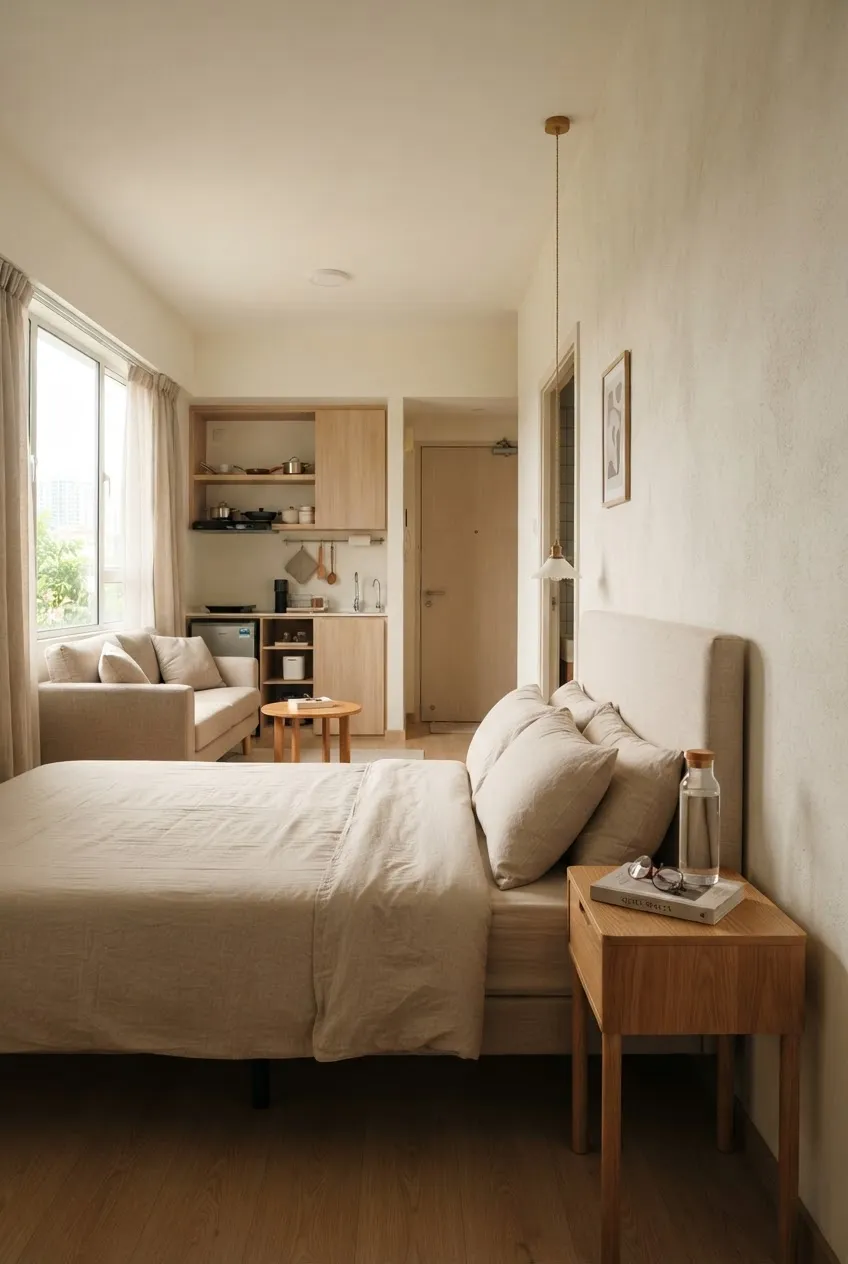
Water, a book, and glasses need a predictable resting place. A bedside surface should be reachable from a normal sleeping position without leaning over a walkway. It does not need to match the bed or hold decor; a stable, small table is enough when there is clear floor beside the mattress.
Measure the gap from the bed to the nearest path, then test the table with its drawer fully open and a person standing beside it. If a table fits without narrowing that path, browse narrow bedside tables on Amazon and compare top height, depth, and the space needed to open any drawer. If it cannot fit, use an existing shelf or a secure bed-side pocket rather than forcing in a table.
3. Give Chargers a Safe, Repeatable Route
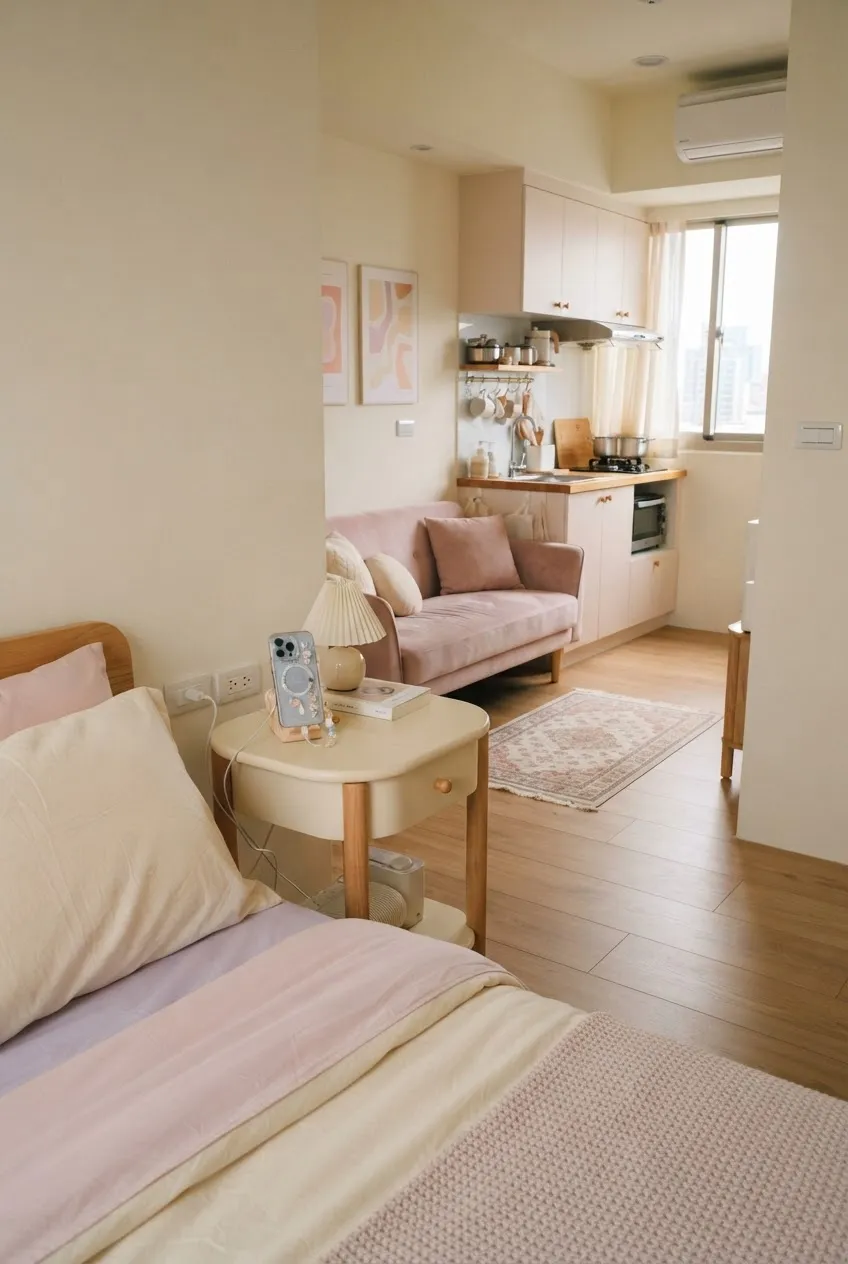
Phone and lamp cords often migrate across the pillow or the floor because no cable route was planned. Put the charger on the bedside surface or an appropriate nearby shelf, run its cable along the wall or furniture edge, and keep the outlet accessible. Leave enough slack for normal use without making a loop where feet land.
Use the charger and extension equipment according to their instructions; do not tuck powered devices or cables under bedding, pinch them behind the bed, or run them across the route to the bathroom. A simple repeatable location also means the phone is easier to find in the morning. This is a bedside organization decision, rather than a change to the room’s overall lighting.
4. Aim a Reading Light at the Page, Not the Whole Studio
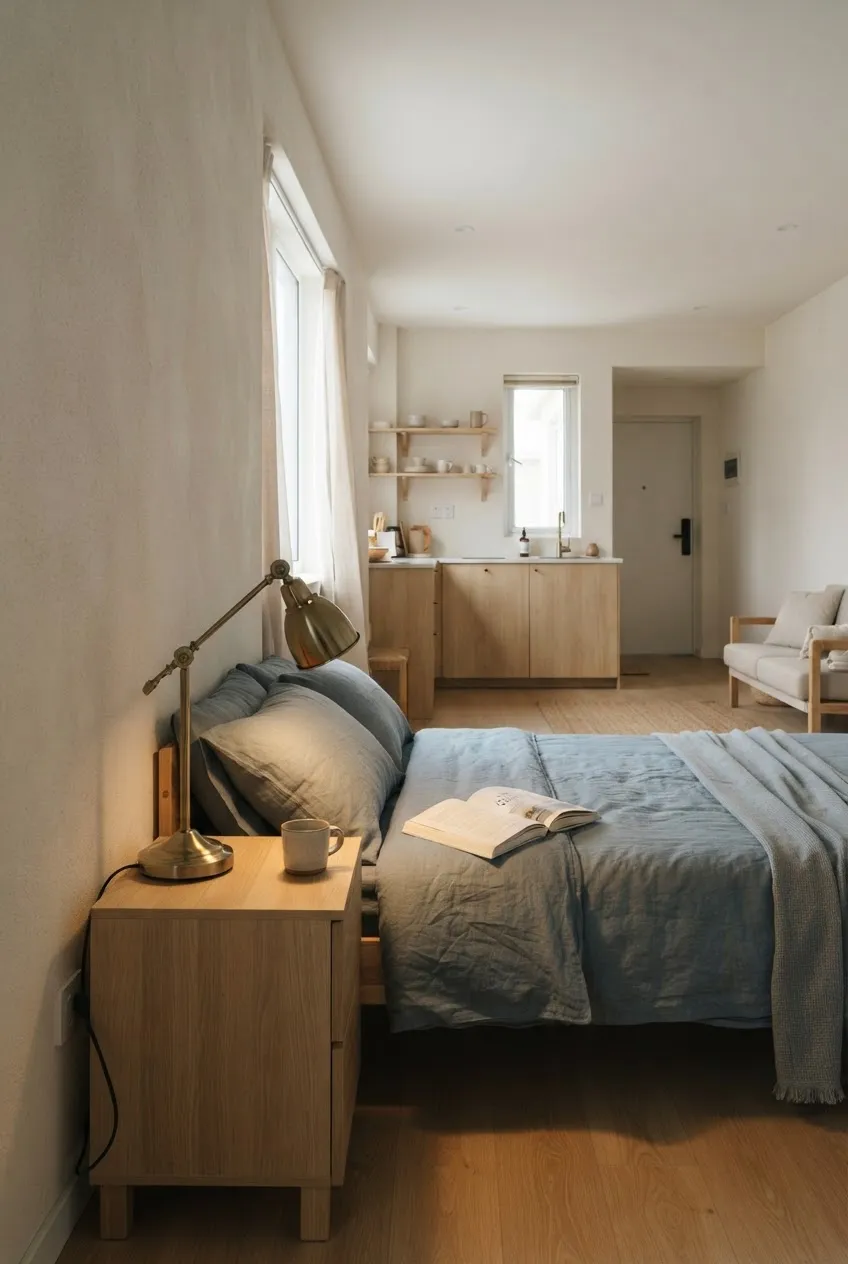
If you read in bed, a small directional light can serve the pillow area without making the kitchen and sitting area equally bright. A bedside lamp needs a stable surface; a clip-on light needs a secure, compatible edge and a cable that stays away from bedding. Keep the light within reach so turning it off does not require climbing over the other sleeper.
Test the beam from a real reading position. It should illuminate the page without shining into the eyes of someone on the other side of the bed or producing glare in the main seating area. Check the lamp’s placement with the bed made and the drawer or closet door open; the light is useful only if it does not compromise those everyday movements.
5. Make Both Sides Work When Two People Share the Bed
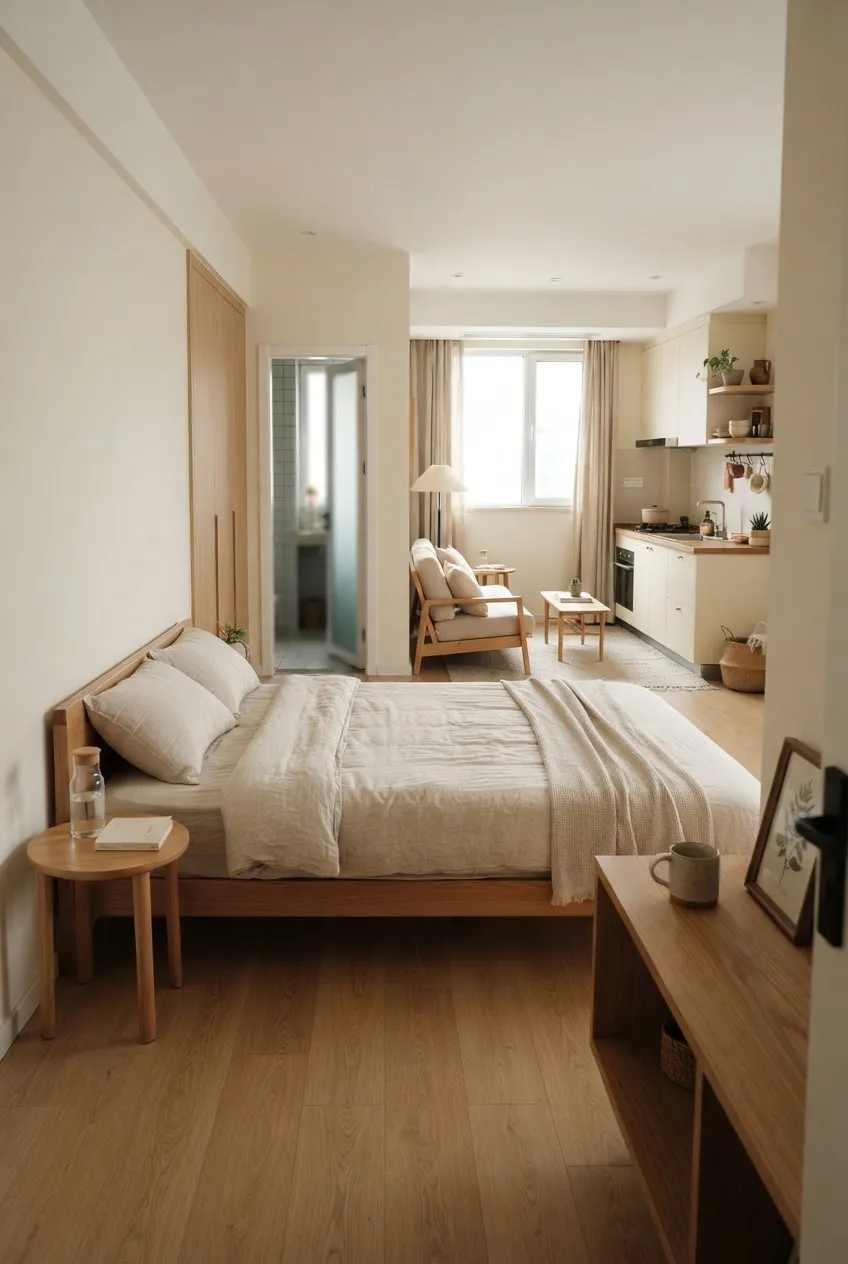
A shared studio bed needs a fair route in and out. Where both sides are accessible, give each sleeper a small landing spot for essentials, even if one is a shelf rather than a second nightstand. Keep the less-used side clear enough for changing sheets and reaching storage, not just for squeezing into bed.
If one side must touch a wall, agree on who climbs over whom and whether that remains comfortable in daily life. Recheck the door and bathroom route with both people getting up. The studio ideas for couples cover the rest of a shared room, but the bedside is where unequal access becomes obvious first.
6. Choose Bedding That Fits the Bed and Wash Routine

Oversized loose covers can spill onto the walking side, while a fitted sheet that pops off makes the area look untidy by midday. Check mattress size and depth before buying sheets, and choose a duvet cover that fits the insert. A simple set you can wash and put back on the same day is more useful than a pile of decorative layers.
Make the bed once at your usual pace and see what has to be moved. If every reset requires shifting many pillows or a large throw to the sofa, reduce the number of pieces. Keep the everyday bedding comfortable and maintainable instead of adding layers solely for a photograph.
7. Store Spare Linen Where a Change Is Easy
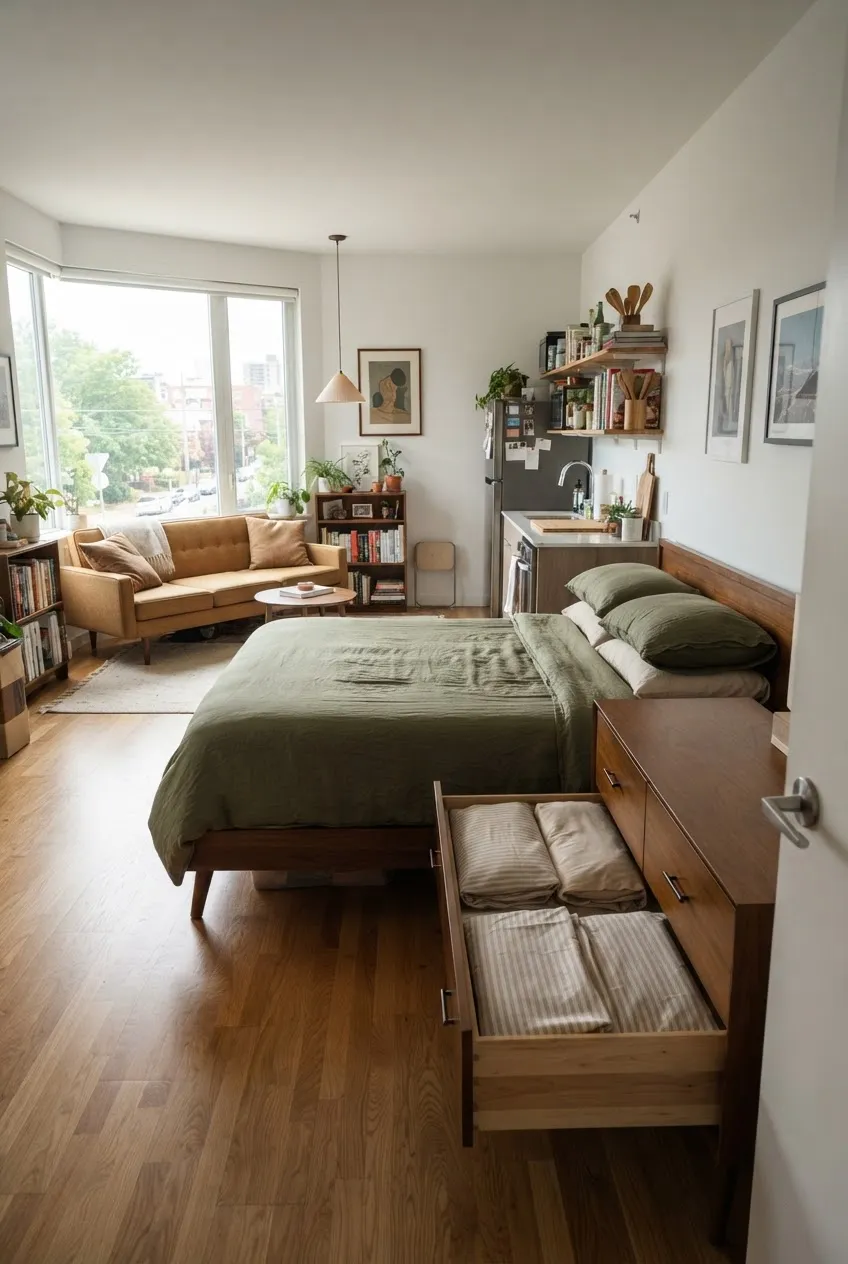
A fresh pillowcase or sheet set should be nearby when you strip the bed, but it does not need to live on the mattress or in an exposed pile. Reserve one reachable drawer, shelf, or lidded bin for a spare set. Fold the pieces together so you can retrieve the whole change at once.
Check that the drawer or bin opens fully with the bed and any bedside table in their normal positions. If the only storage is under the bed, leave enough clearance to pull it out without shifting the main walkway. This is a small working supply, not a reason to turn the bedroom area into a linen closet.
8. Leave a Clear First Step Onto the Floor
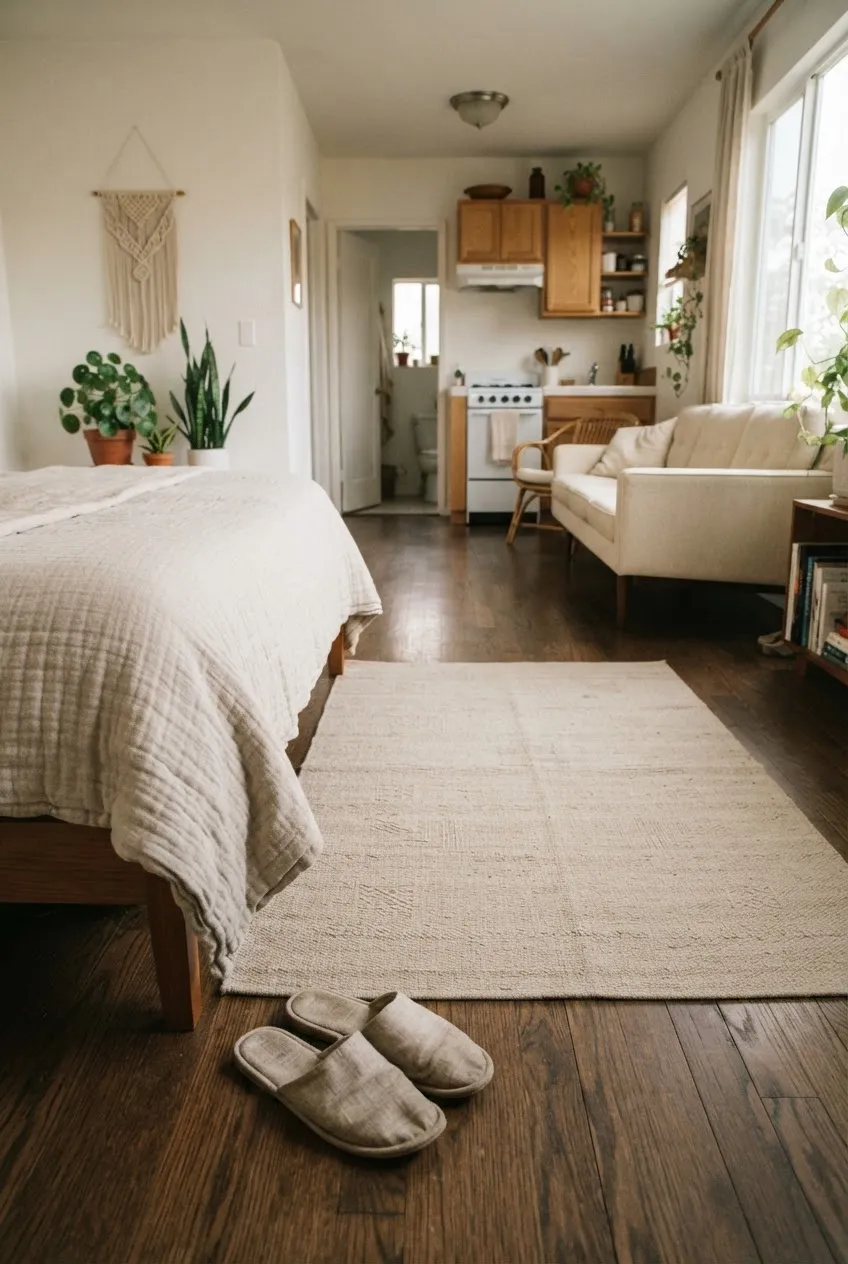
The first place your feet land should be uncluttered and stable. A small bedside rug can make the area feel distinct, but it must lie flat and stay put on the existing floor. Keep its edge away from a door swing and avoid stacking a mat on another loose rug.
Test the route from the bed to the bathroom in ordinary night lighting and with the bedcover hanging as it normally does. Slippers, a basket, or charging cable should have a fixed place outside this first step. The aim is a predictable landing area, not a decorative border around the bed.
9. Protect a Standing Spot for Getting Dressed
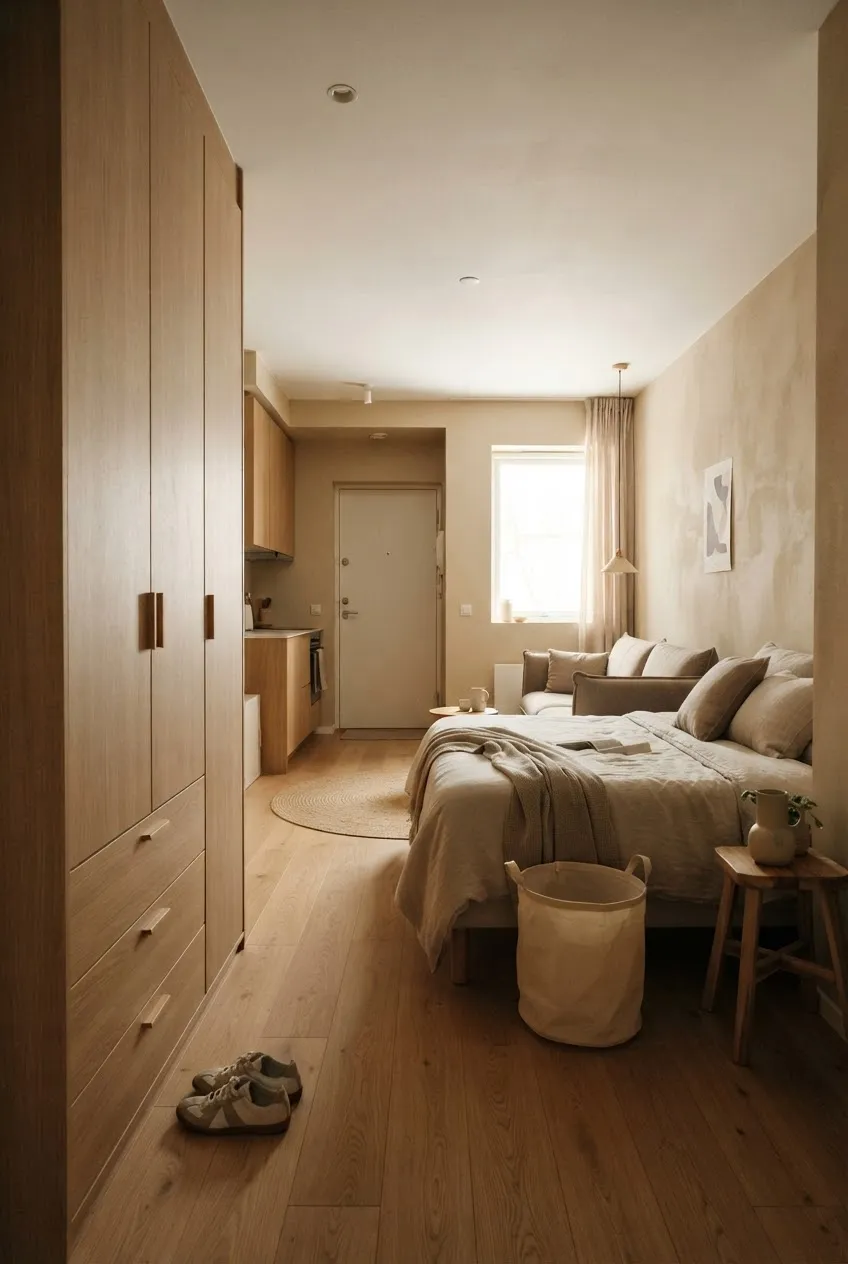
Once the bed and bedside surface are in place, you still need room to stand, pull on clothes, and reach the wardrobe. Keep one usable floor patch beside the bed or between bed and closet. It should remain available when the wardrobe door or drawer is fully open.
Try the routine with a laundry basket in its normal spot and shoes on the floor. If a chair becomes a clothing pile in that patch, move it or remove it. For privacy and guest sightlines, the studio privacy guide covers what others can see; here the priority is space to move.
10. Put a Hamper Near the Change-of-Clothes Route

Clothes often collect on the bed because the hamper is across the room. Put a modest hamper near the place where you change, while keeping it out of the bedside landing spot and the entrance-to-bathroom path. A narrow hamper might fit beside a wardrobe; a lidded one may suit a bed area visible from the sofa.
Make sure the opening is easy to use and the hamper can be carried to the laundry area without scraping furniture. If it needs to move every time you open a closet, it needs a different home. The studio laundry storage ideas cover the broader wash and drying workflow.
11. Give Tomorrow’s Clothes One Temporary Home

The bed becomes a staging surface when there is nowhere to put the clothes you intend to wear next. Reserve a single hook, small rail section, or one clear shelf near the wardrobe for the next day’s outfit. Keep it limited to one planned set so it does not turn into another clothing pile.
If a hook requires drilling, check the wall and rental rules; an existing wardrobe rail may be simpler. Do not hang clothes from a lamp, a door that must close, or the bed frame where they will catch when you change the sheets. The temporary home should make the morning easier and be empty again afterward.
12. Finish the Bed’s Living-Room-Facing Side

Because a studio bed may face the sofa or dining table, the side seen from the rest of the room deserves a simple, tidy finish. Keep the duvet contained on the mattress, use one or two pillows that return to the bed each day, and put bedside clutter behind a drawer or in a small tray. A restrained palette can link the bed to nearby upholstery without making everything match.
Stand at the entry and in the main seat to check the view. If you see dangling cords, laundry, or an overstuffed storage bin first, address those specific things. You do not need to build a partition just to make the bedroom area look intentional. For full-room connections, see the studio layout guide.
Final Thoughts
A usable studio bedroom area is built from small, repeatable actions: reaching water, charging a phone, reading, changing sheets, getting dressed, and clearing the bed for daytime. Start with the routines that currently leave things on the mattress or floor. Give each one a place that fits the room’s real clearances, then keep the visible side simple.
More Studio Apartment Ideas
 |  |  |
|---|---|---|
Studio Beds | Studio Privacy | Studio Layouts |