In a studio apartment, one misplaced item can seem to belong to every room. Mail lands on the dining table, a worn sweater settles on the chair, and a charger travels between the desk and bed. The problem is often less about the amount of storage than about what happens between using something and putting it away.
These ideas build a repeatable system for that in-between moment. Start with the habits that create clutter most often, keep the route from the entrance to the bed and bathroom clear, and adjust the system to the furniture you already own. If you first need places to store larger categories of belongings, see the studio apartment storage ideas.
1. Watch Where Clutter Actually Collects
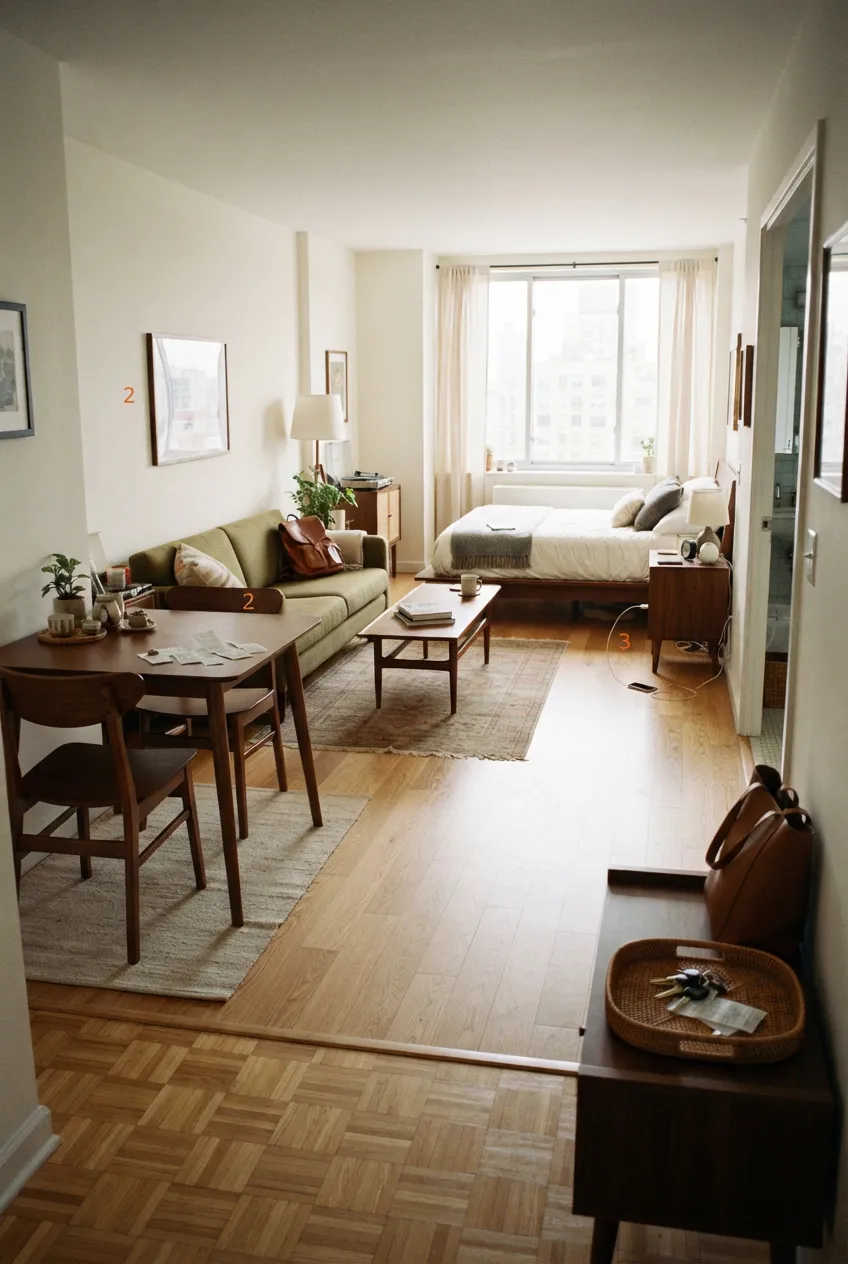
Before buying containers, notice where items pile up for several ordinary days. Is the same bag always beside the sofa? Do receipts gather on the kitchen counter? Write down the item, where it appears, and what you were doing just before you left it there. Those patterns show where a useful home belongs.
Choose two or three recurring hotspots rather than trying to reorganize the whole apartment at once. A system that works on a tired weekday matters more than a perfectly styled shelf on cleaning day. Keep the floor route and door swings clear while observing; do not treat the walking path as a temporary storage area.
2. Give Daily Items a Home at the Point of Use
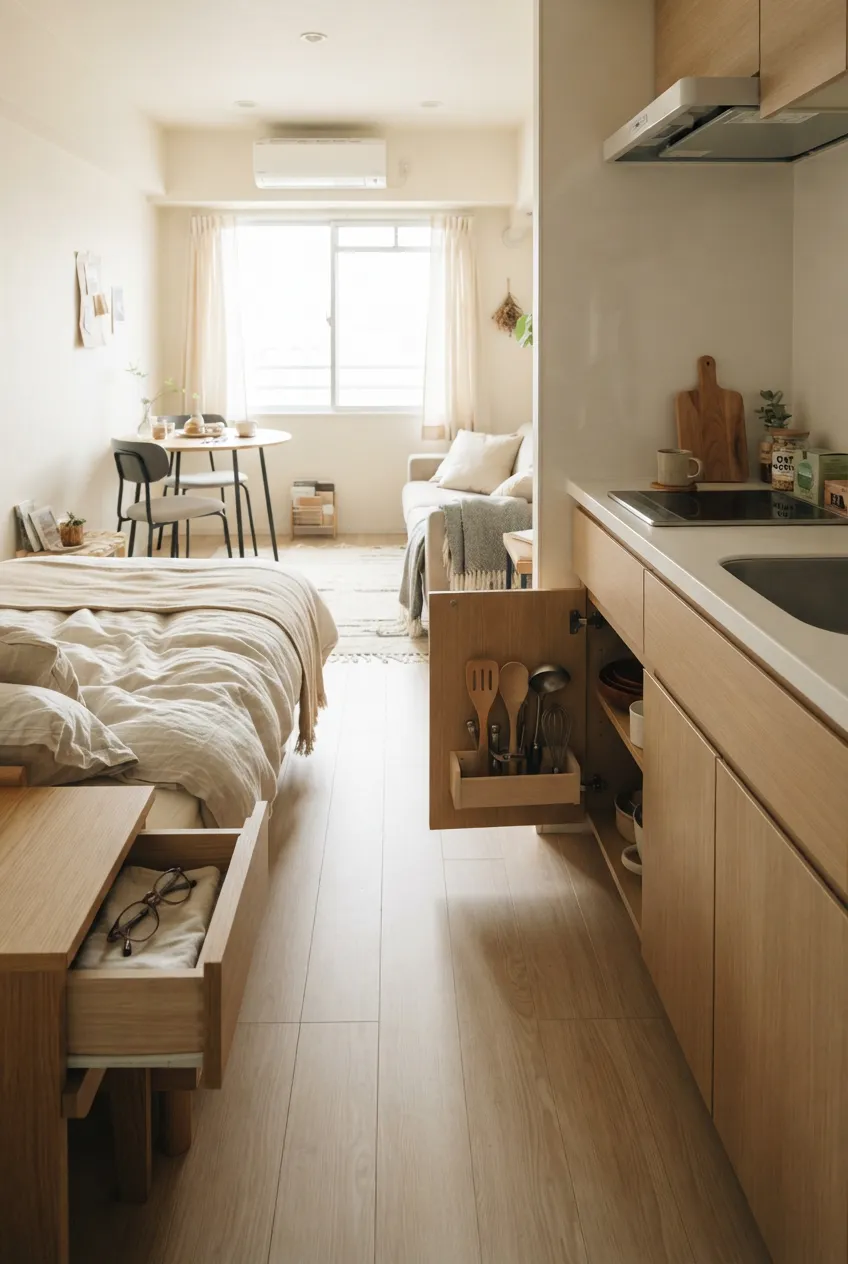
A storage spot is easiest to maintain when it is close to the action. Put glasses near the bed, cooking tools near their work area, and your work notebook where you actually sit. If returning an item requires crossing the studio or moving three other things, it is likely to be left out.
Use one accessible place for each frequently used category, and make sure the drawer or cabinet can open fully. Reserve high or awkward storage for things used less often. This is a decision about where an item goes after use, not a reason to add another shelf to every wall.
3. Make an Arrival Routine at the Entrance
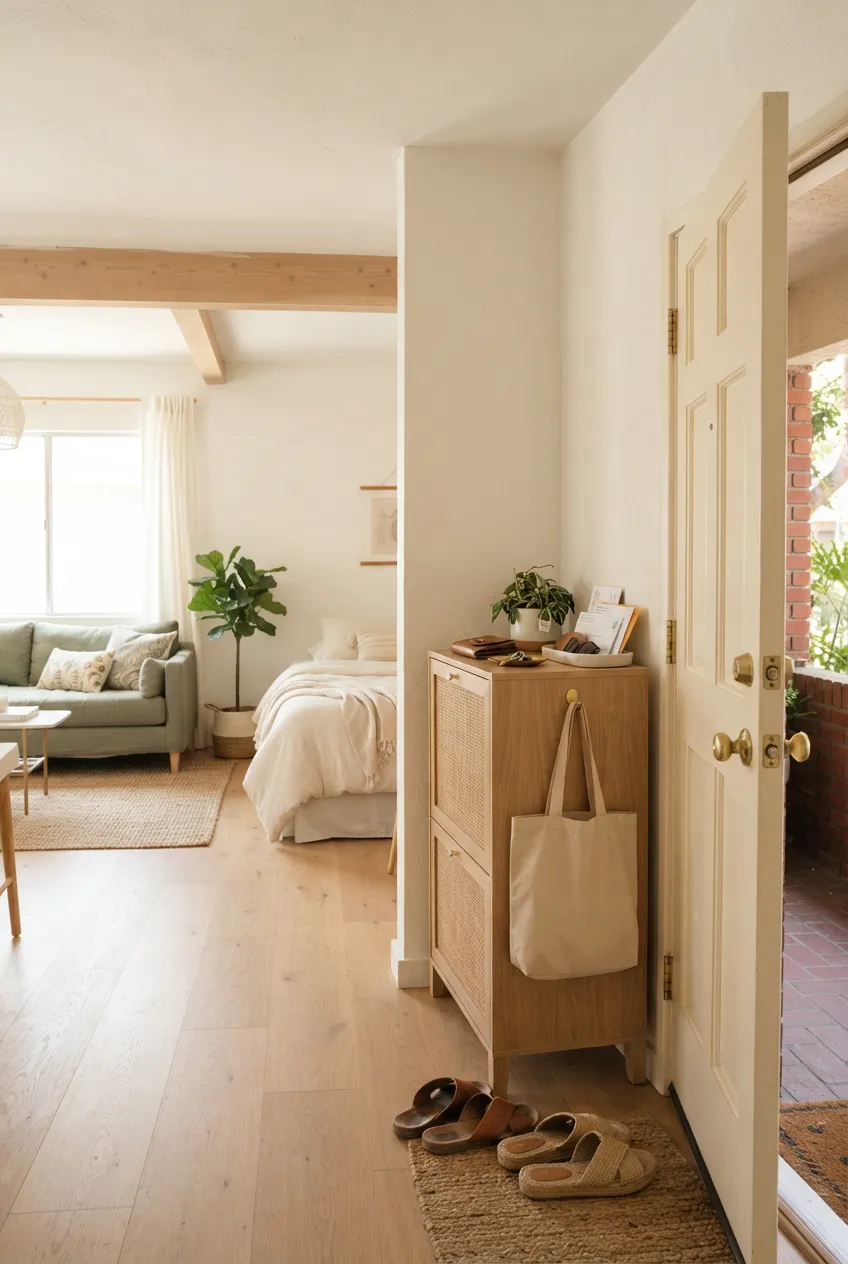
The first minute after coming home can determine where clutter spreads. Decide where keys, wallet, bag, shoes, and incoming mail go before they reach the dining table or bed. A small existing drawer, a hook where permitted, or part of a nearby cabinet can be enough; each item needs an obvious destination.
Leave room to open the entrance door completely and walk past the setup. If the entrance has no dedicated hall, the studio apartment entryway ideas can help you find a suitable place. The organization habit is to finish the arrival sequence, including moving mail to its next step.
4. Sort Mail and Paper Before They Form a Pile
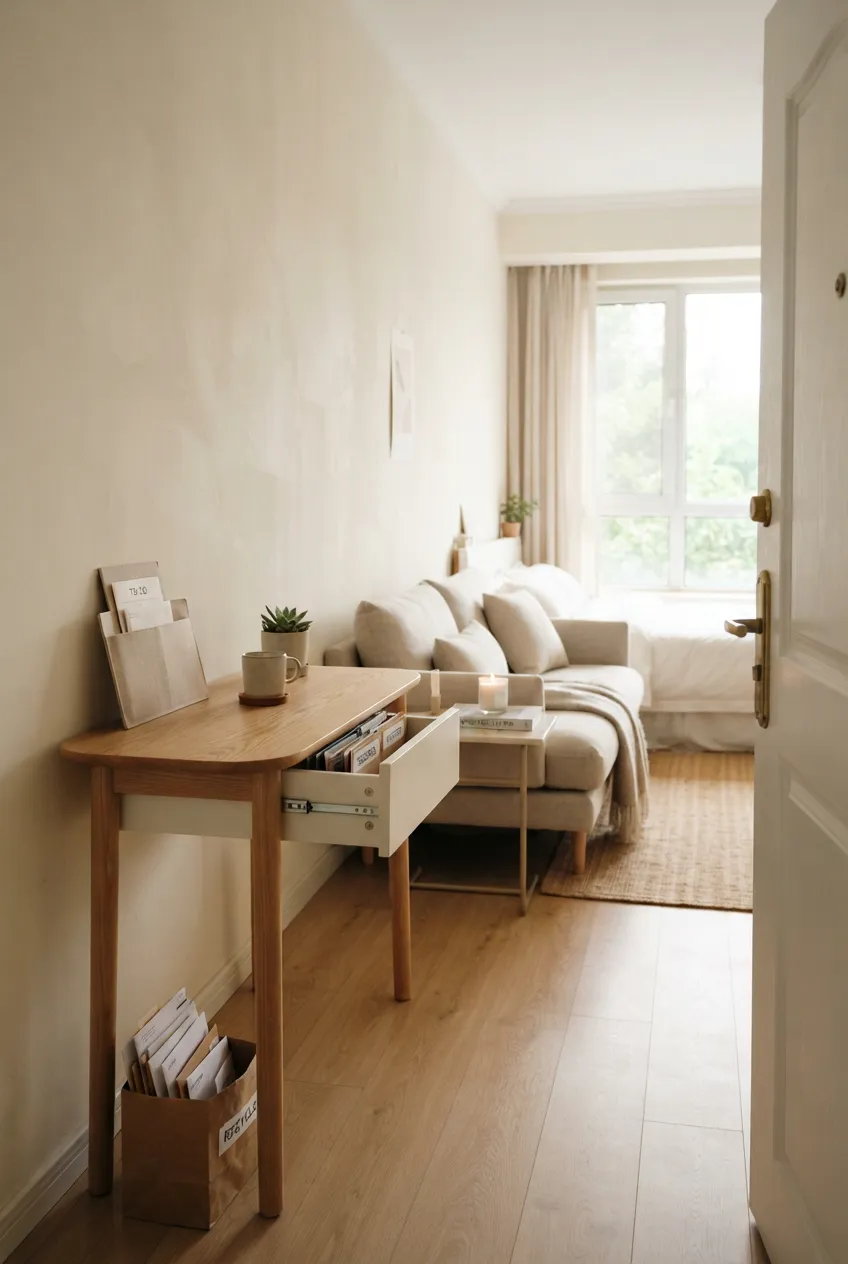
Paper tends to wait in plain sight because the next action is unclear. At the place where you bring it in, sort each piece into three decisions: act on it, keep it, or recycle it. Give active papers one limited folder or drawer and put a date on anything that needs a response. File the rest in one known location.
Deal with private papers appropriately before disposal, and keep essential records according to your own needs. The point is not to process every form instantly; it is to prevent an undefined stack from taking over the only table.
5. Reset a Shared Table When the Activity Changes
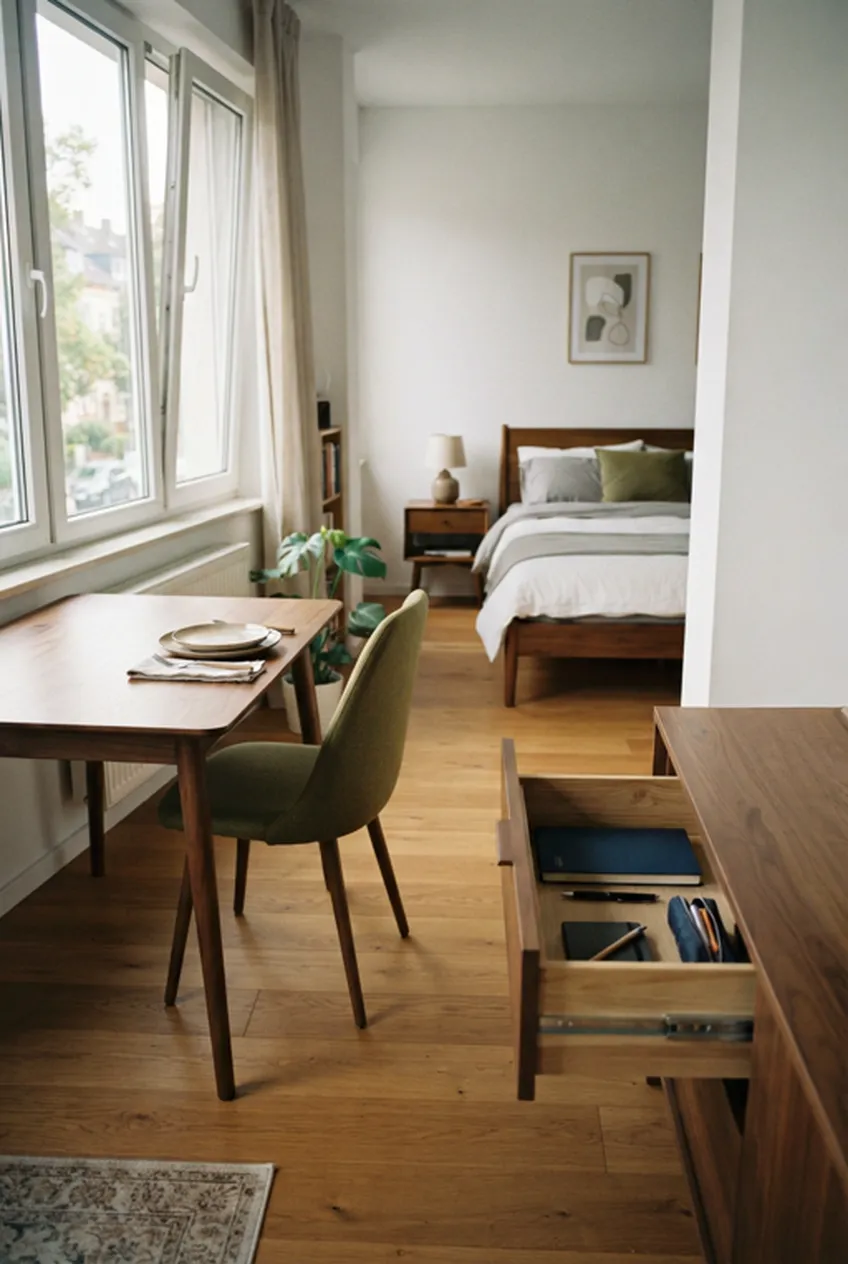
In a studio, the dining table may also be the desk, craft station, and folding surface. Before switching activities, return the previous activity’s tools to their assigned homes. Clear enough space to eat or work without balancing things on the bed or floor.
Make the transition easy: keep one small area for current work and a separate place for supplies that can wait. If the table must be cleared several times a day, shorten the return trip for the items you use most. For furniture placement and table size, see the studio workspace ideas.
6. Give Rewearable Clothes One Bounded Spot
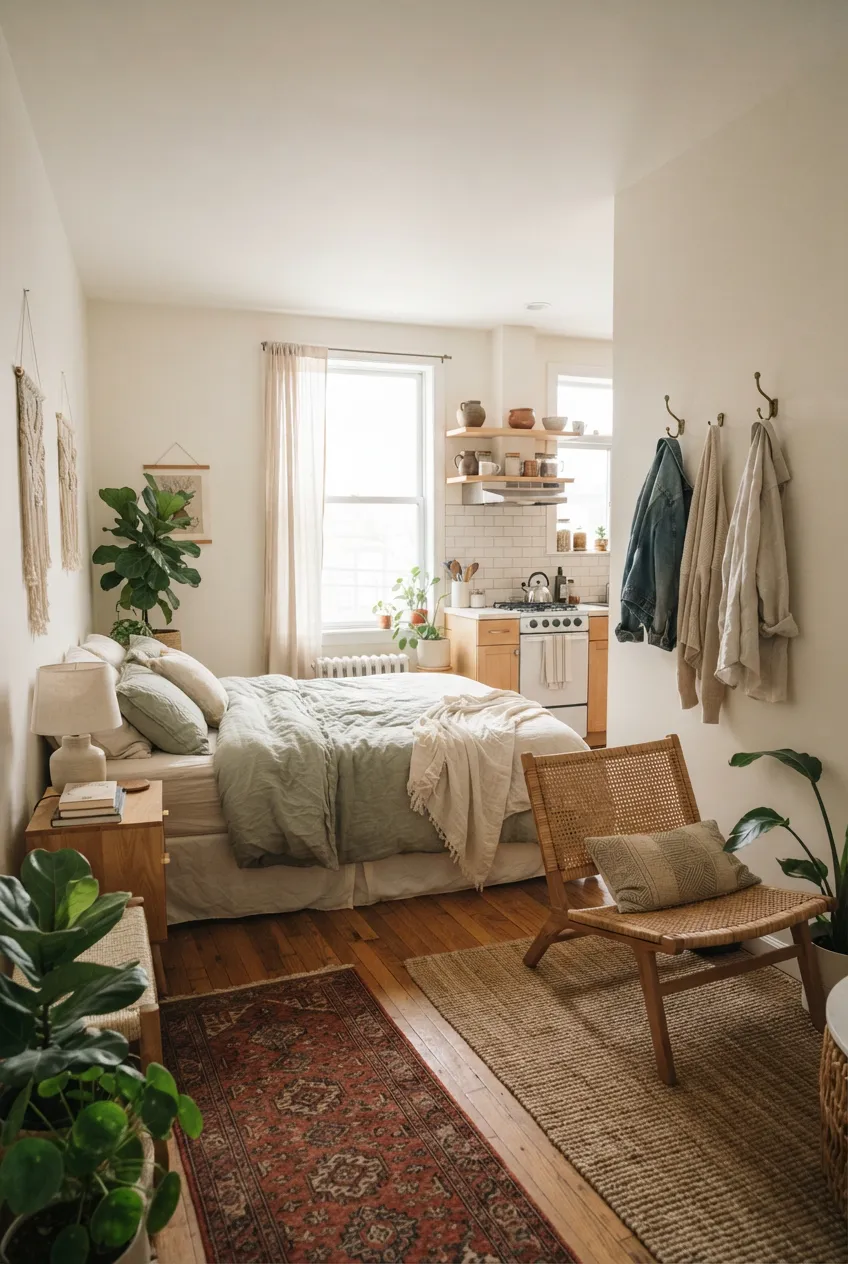
Clothes that are clean enough to wear again but not ready to fold with fresh laundry often create the chair pile. Choose one hook, a short rail segment, or one drawer section for them. Keep the limit visible: when that spot is full, decide what to rewear or wash before adding more.
Keep the spot away from the kitchen work area, door swing, and main passage. Only put dry, aired clothing there; damp items belong in the wash. If the studio lacks a closet, the no-closet storage guide covers the larger clothing setup.
7. Make the Laundry Decision Immediate
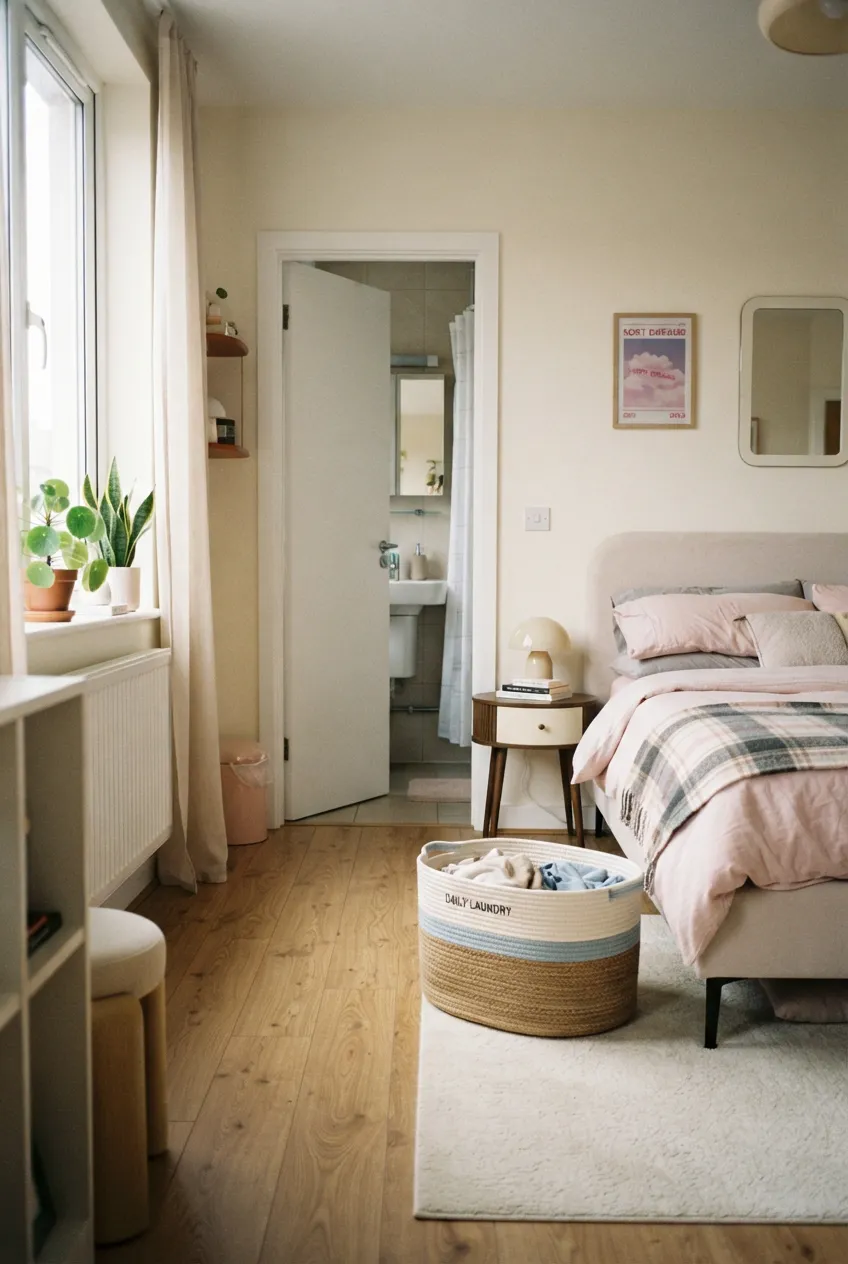
Give dirty clothes a clear destination near the place you change, without blocking the bed or bathroom route. If you separate laundry, use only the categories you actually wash separately; too many piles make sorting harder. Set a practical trigger, such as washing when the hamper reaches a level you can carry, rather than waiting until clothes spill onto the floor.
Check that the container can be reached and emptied without dragging it through a narrow gap. Keep wet towels or damp clothes from sitting in a closed hamper for long periods. This is a daily decision system, not a plan to fit a full laundry room into a studio.
8. Use One Return Basket for Stray Items
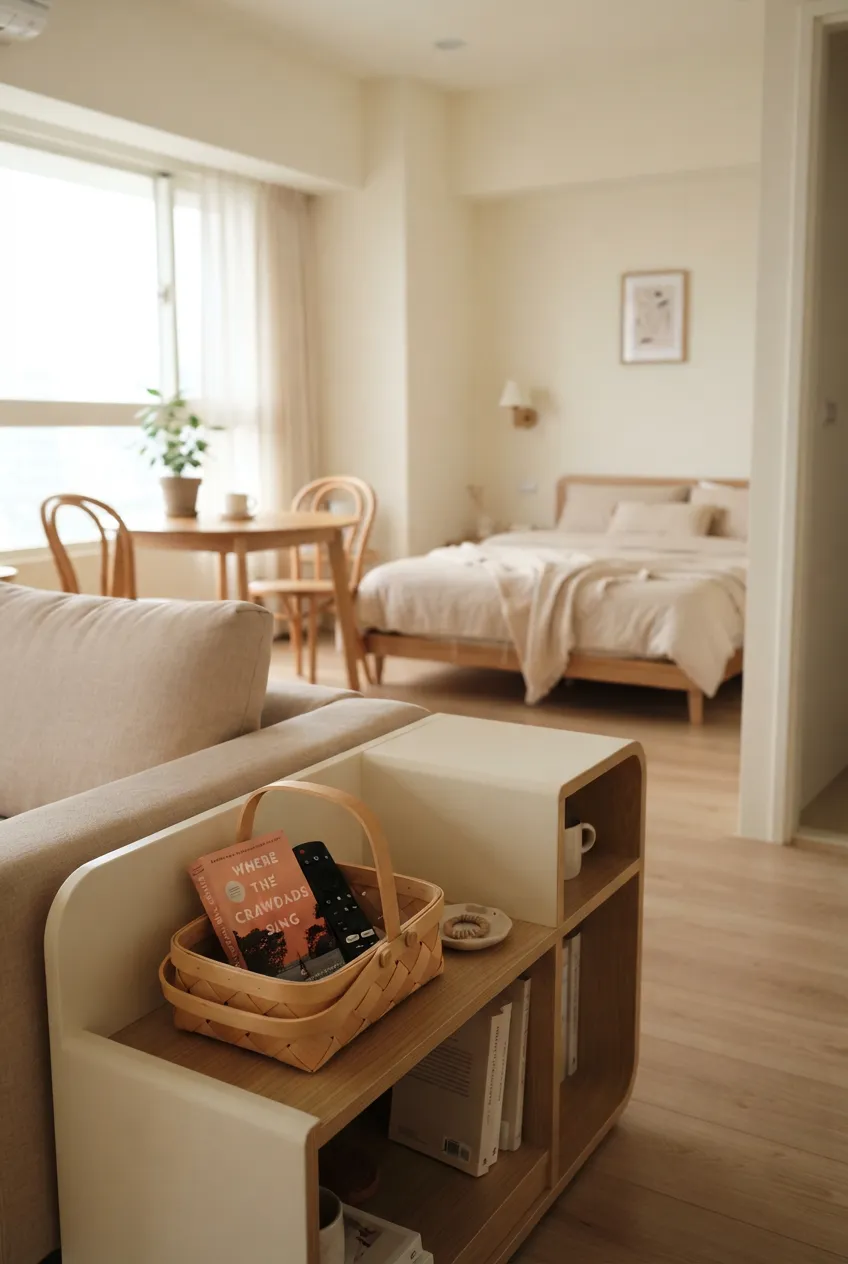
When an item belongs elsewhere but you cannot put it away immediately, place it in one portable basket. During an evening pass, carry the basket through the studio and return each item to its real home. The basket is a short stop, not permanent storage; empty it before it becomes another mixed pile.
Choose a basket that is easy to carry with one hand and that fits its parking spot without narrowing the only walking route. If you need one for this routine, browse small handled storage baskets on Amazon and compare their dimensions with your shelf or cabinet.
9. Label Closed Storage by What Belongs Inside
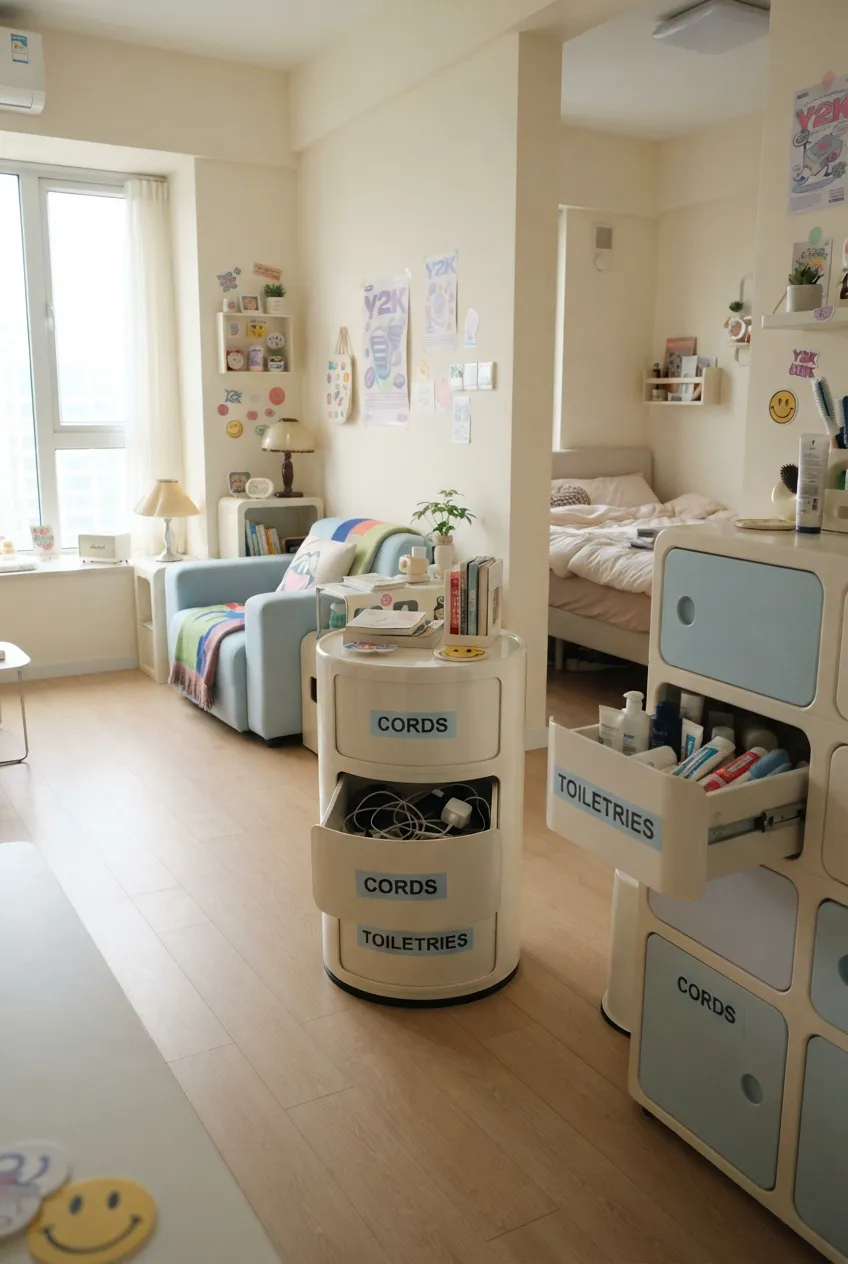
Closed bins and drawers can hide clutter, but they are hard to maintain when nobody remembers what goes where. Give each container a short, specific label such as “charging cords” or “spare toiletries.” Place it where you can read it without unloading other containers, and change it when the contents change.
Start with categories that are confused most often, rather than labeling everything in the apartment. If several people use the space, agree on the names together. For containers whose contents change, browse removable storage labels on Amazon and check that the label suits the surface before applying it.
10. Give Chargers and Cables a Parking Spot
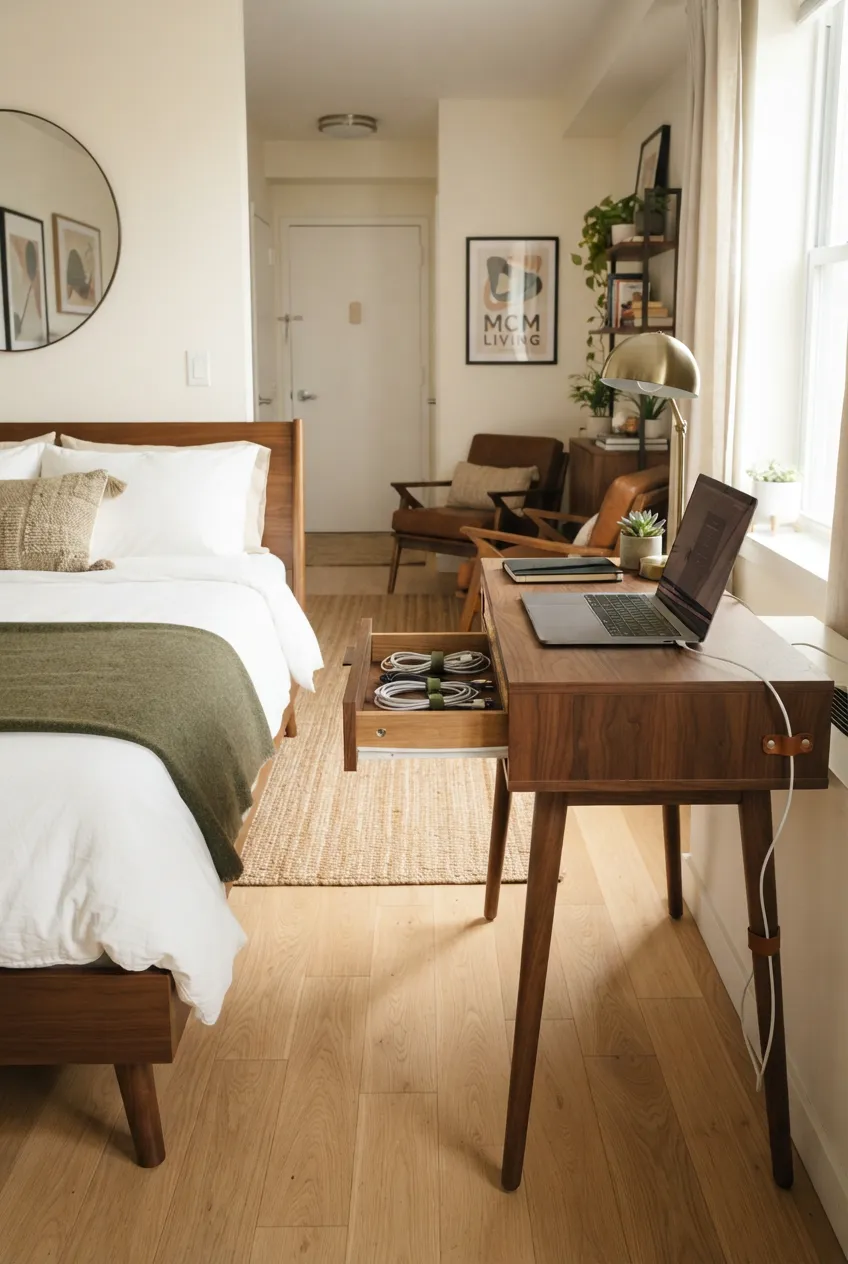
Loose chargers migrate between the bed, desk, and sofa because they lack a predictable place. Decide which device charges where, then keep its cable coiled or guided at that station. Unplug and store spare cables in one labeled spot so they do not become a drawer of unidentified cords.
Keep cords out of doorways and walking routes, do not pinch them behind furniture, and follow the device and cable makers’ guidance. For cords that need to be gathered without permanent installation, browse reusable cable ties on Amazon and compare their size with the cables you actually use.
11. Keep a Small List of Backstock
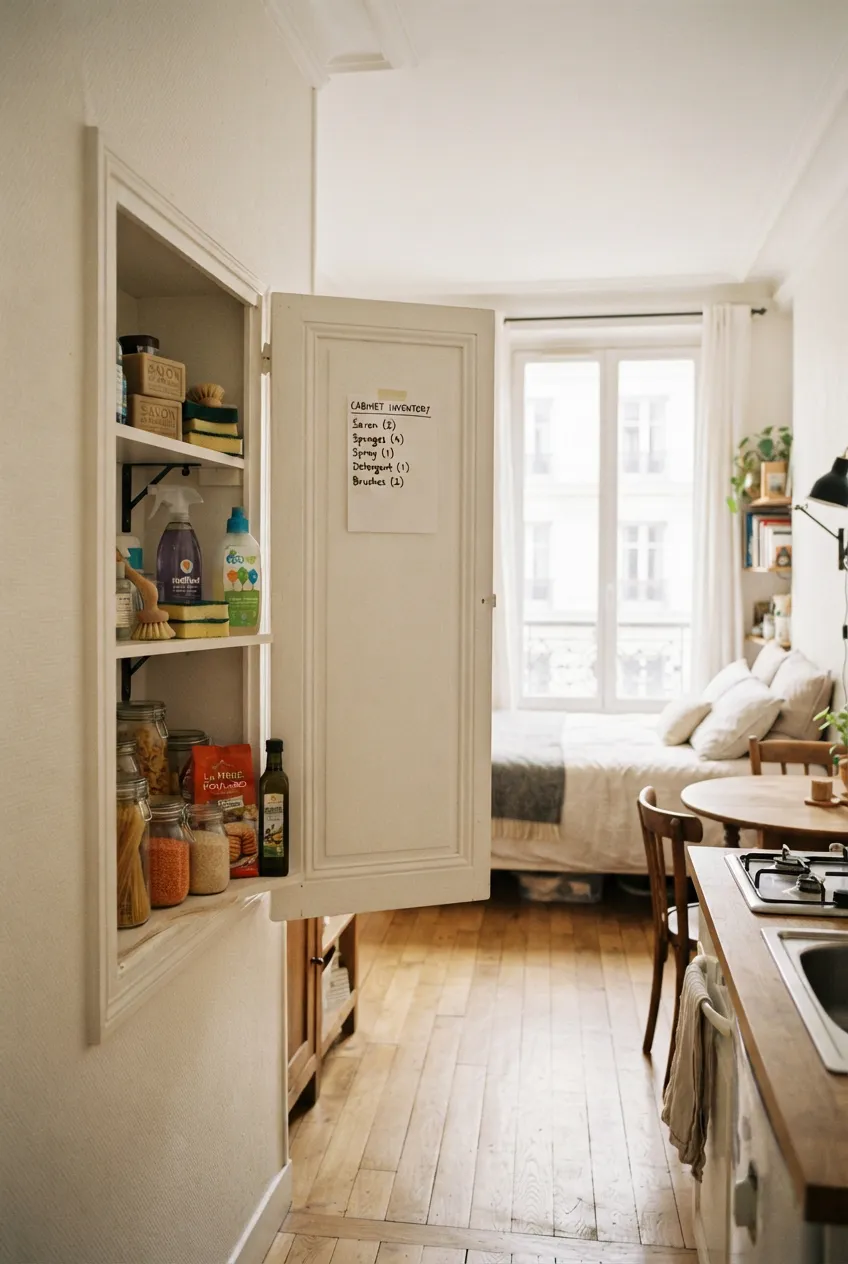
Duplicate soap, cleaning supplies, and pantry staples can quietly fill a studio cabinet. Keep a short list of what is already in reserve, on paper or on your phone, and check it before shopping. Choose one known backstock location so the list reflects what you can actually find.
Review dates and storage needs for food and other products. Buy in bulk only when the quantity will fit and be used; a bargain that crowds the walkway or hides essentials is a poor fit for a small home. This is about controlling duplicates, not buying more organizers.
12. Set a Capacity Limit for a High-Churn Category
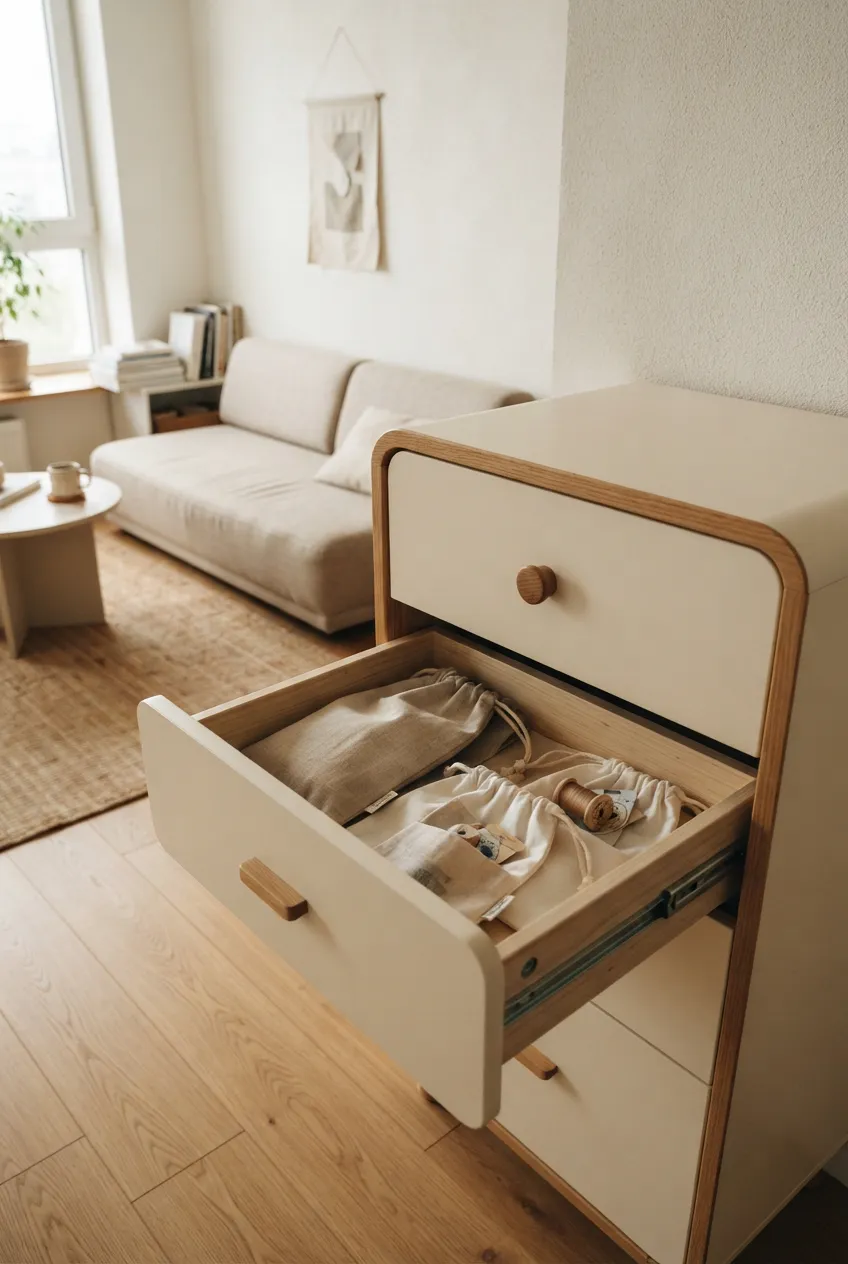
Pick one category that expands easily, such as hobby supplies, reusable bags, or takeout containers. Give it an existing drawer, shelf section, or container and decide that it must fit there comfortably. When it reaches the edge, review what is useful before finding it a second home.
The limit should match your real needs, not an arbitrary minimalist target. Keep frequently used items reachable and avoid stacking anything so high that a cabinet door cannot close fully. The boundary makes future decisions simpler.
13. Pause Before Bringing Something New In
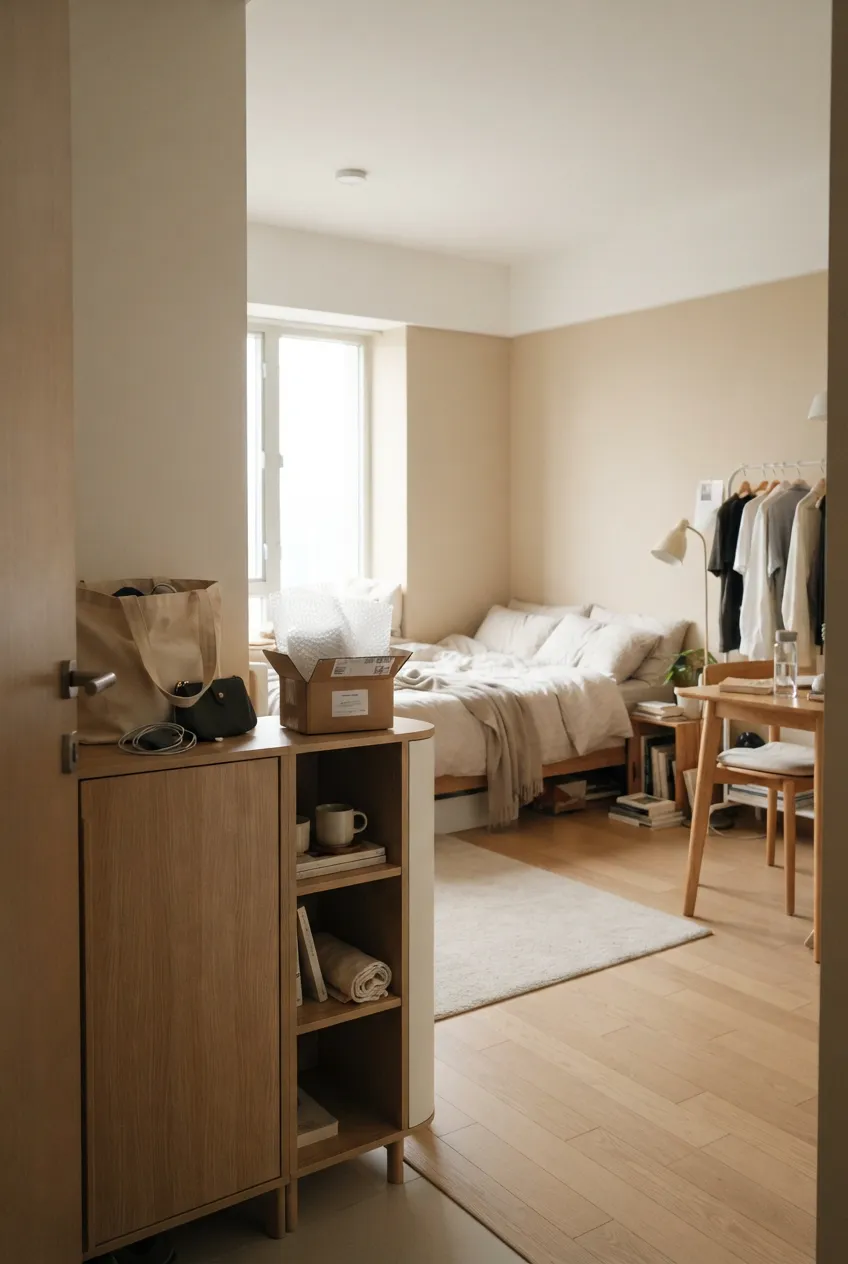
Organization becomes easier when fewer unnecessary items enter the apartment. Before buying or accepting another item, ask where it will live and whether it solves a current problem. For a category already at capacity, decide what can leave or be used up first. This is a useful check for decor, gadgets, and duplicates; necessities do not need a rigid one-in-one-out rule.
If an item has no workable home, reconsider it before it becomes a bag on the floor. This small pause protects the systems you have already built without requiring a full decluttering project every weekend.
14. Follow a Short Evening Reset Route
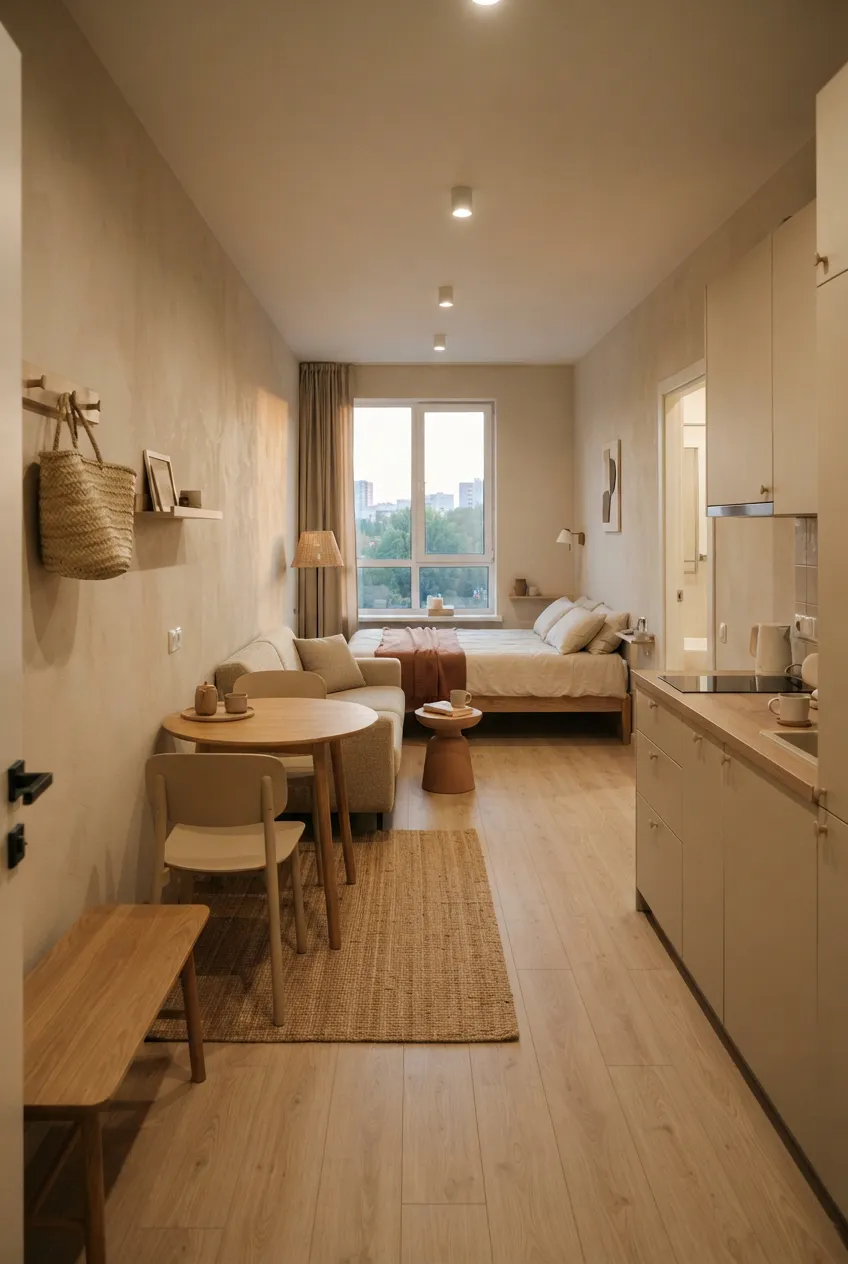
At the end of the day, walk the same simple route: entrance, table, seating area, bed, then kitchen counter. Return stray items, clear the one surface needed tomorrow, and remove any trash. Keep the routine short enough to repeat on a busy night; a few reliable minutes are more useful than an ambitious routine you skip.
This is different from clearing the shared table between activities. The evening pass checks the whole open room and leaves the only walking route clear. If another person shares the studio, agree on which tasks belong to whom so the reset does not depend on one person noticing everything.
15. Review What Still Has No Home Each Week
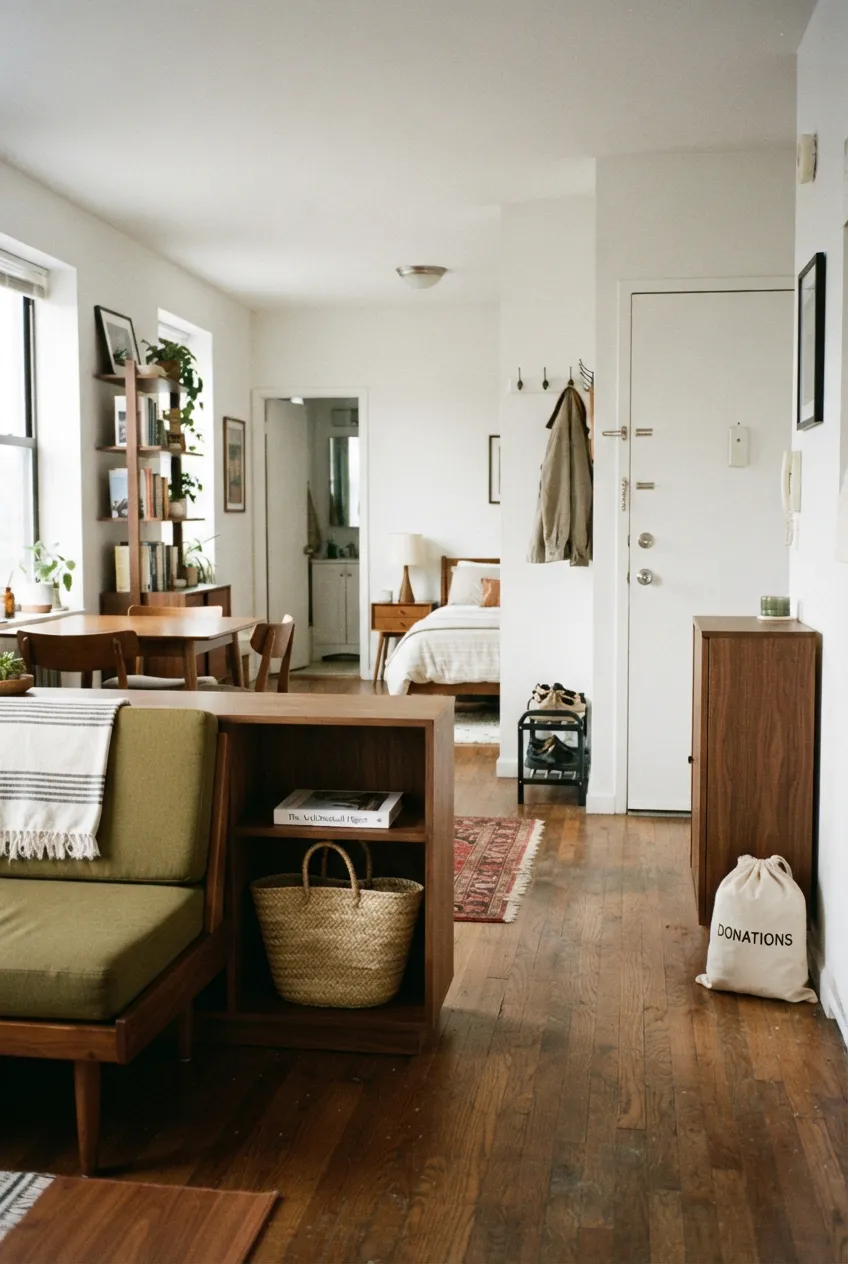
Once a week, look at the return basket, the entry, and the surfaces that still gather the same items. A repeat offender usually means its assigned home is too far away, too full, or too hard to open. Move the home closer, reduce the category, or change the label, then test the new arrangement for another week.
Put donations and returns in a designated exit spot and actually take them out on your next trip. Keep that spot small and out of the doorway. A useful organization system can change with your routines; the weekly review keeps it from becoming a set of rules nobody follows.
Final Thoughts
A studio stays easier to manage when every recurring item has a workable next step. Notice where clutter begins, give daily items nearby homes, and use short arrival, transition, and evening routines to return them. Start with one or two hotspots, then adjust the system when real life shows you where it fails. The result should make the apartment easier to use, not merely look tidy for a photograph.
More Studio Apartment Ideas
 | 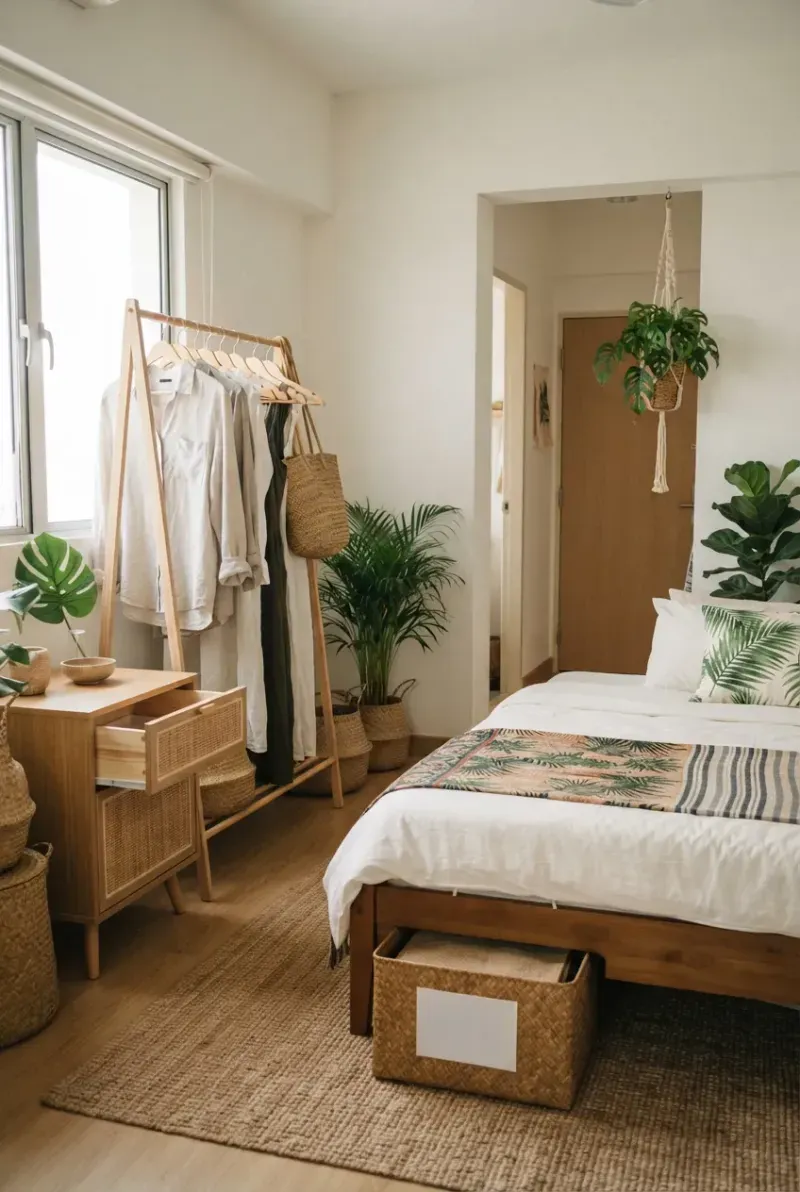 | 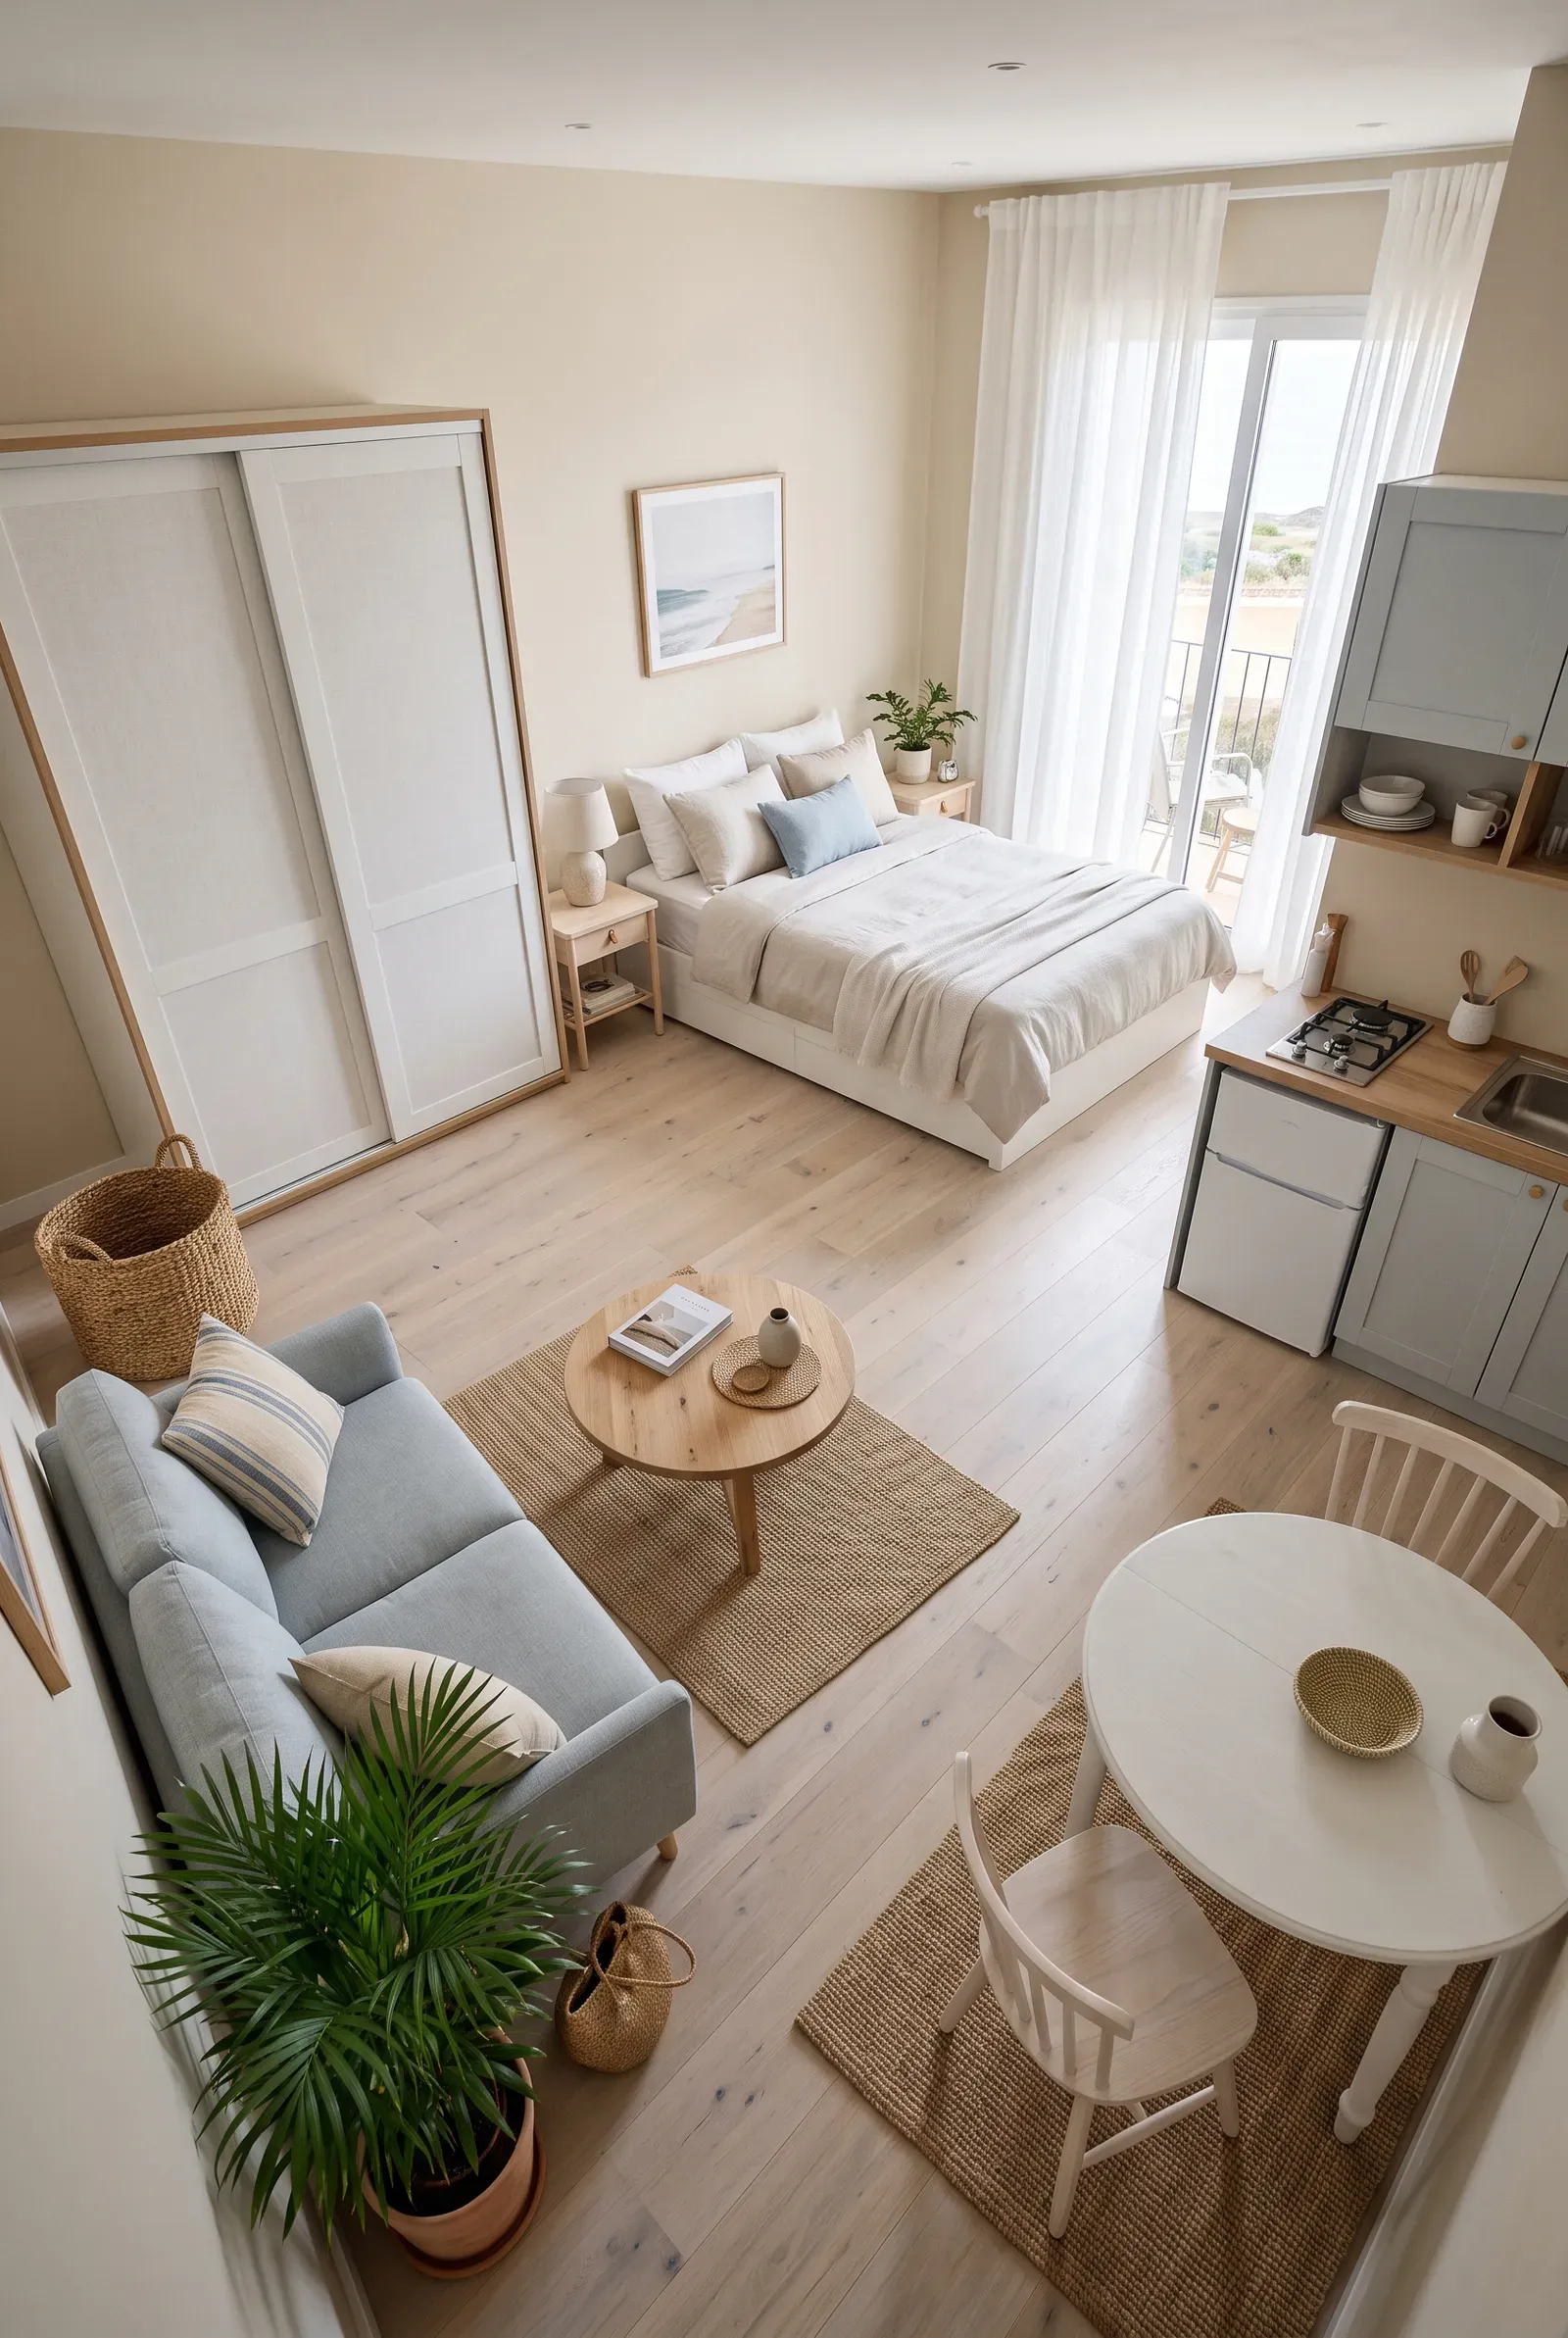 |
|---|---|---|
Storage Ideas | Closetless Storage | Studio Layouts |