A long, narrow studio can have plenty of floor area on paper and still feel difficult to use. The bed, sofa, table, and storage may each fit by themselves, while their combined depth leaves a squeezed route from the entrance to the window or bathroom. A piece placed across the width can also cut daylight off from the rest of the room.
Start with the actual rectangle, not a furniture list. Mark the entry, bathroom, kitchen, windows, outlets, heaters, and every door swing. Then draw one continuous route through the open room and test furniture at its full size. The ideas below address this specific shape; the broader studio apartment layout guide covers other floor plans.
1. Draw the Long Axis and Every Bottleneck First
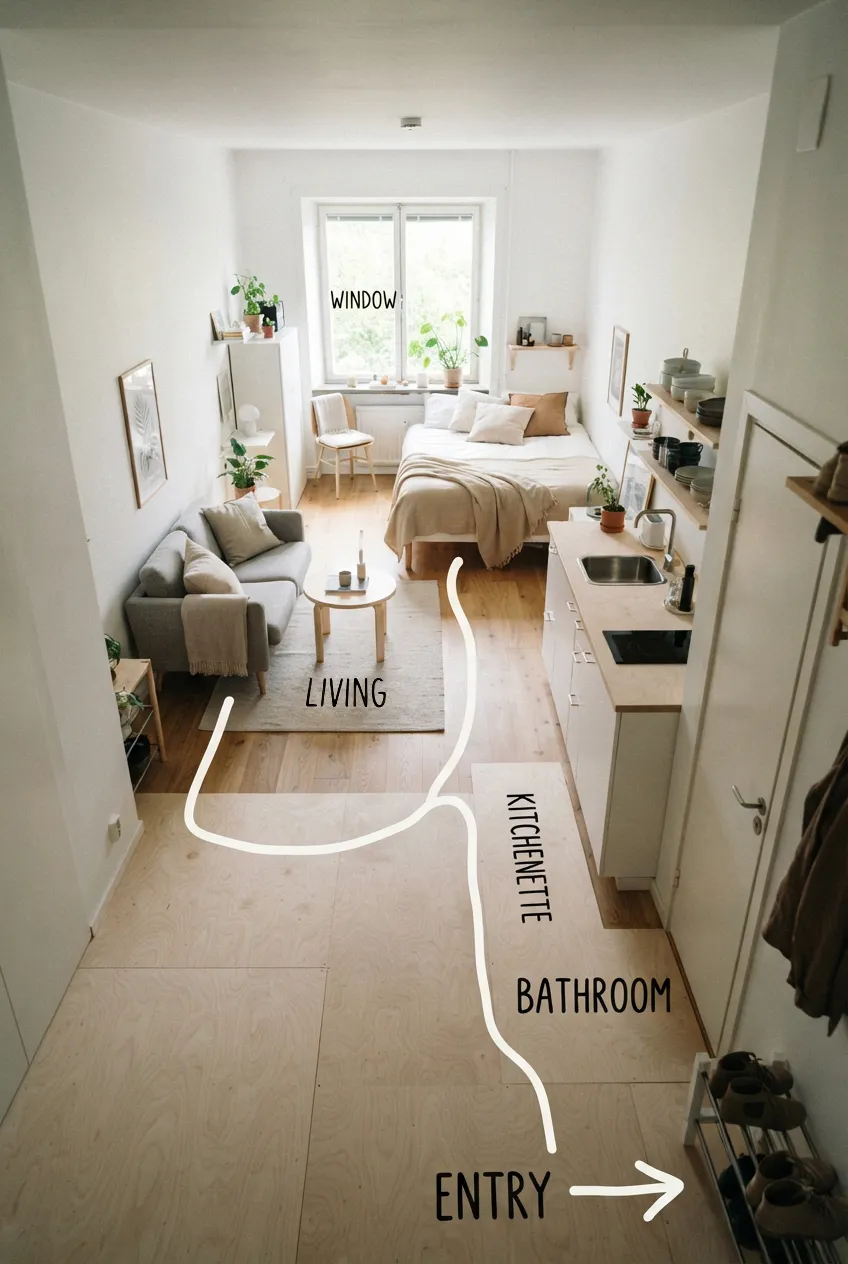
Sketch the studio’s long walls and shorter end walls. Mark the fixed points that interrupt them: the bathroom door, kitchen cabinets, a radiator, an outlet, or a window that must open. Then trace the path you take from the entrance to the kitchen, bathroom, bed, and window. The narrowest part of that path, not the widest stretch of empty floor, sets the practical limit for furniture.
Measure furniture with drawers, doors, and chairs in use. A shallow cabinet can still fail if its door opens into the only passage. Before shopping, mark proposed footprints with paper or a surface-safe tape tested on your floor; walk the route carrying a laundry basket. Keep exits and access to fixtures clear.
2. Keep One Continuous Aisle Along a Side
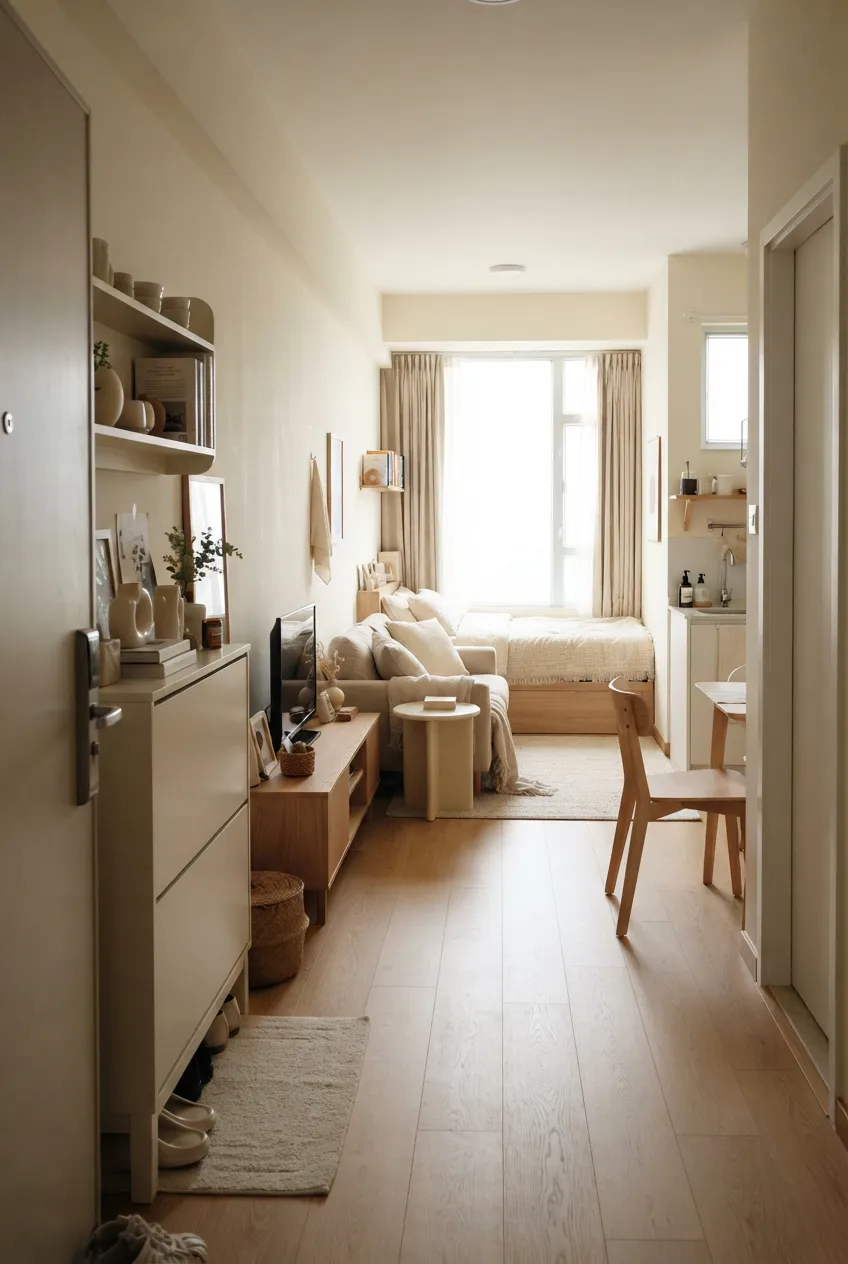
In many narrow studios, a route that stays on one side of the room works better than a zigzag between pieces on both walls. Place the main furniture so the aisle runs from entry toward the far end and branches to the bathroom and kitchen. The aisle should remain usable with a chair pulled back or a drawer open, not only when everything is closed.
Do not assume the aisle must be on the same side in every home. Its best side depends on doors, cabinets, and window access. Test both options on a floor sketch. If either version forces you around the foot of the bed or across the kitchen work area, revise the placement rather than narrowing the route further.
3. Put the Deepest Pieces Lengthwise, Not Face to Face
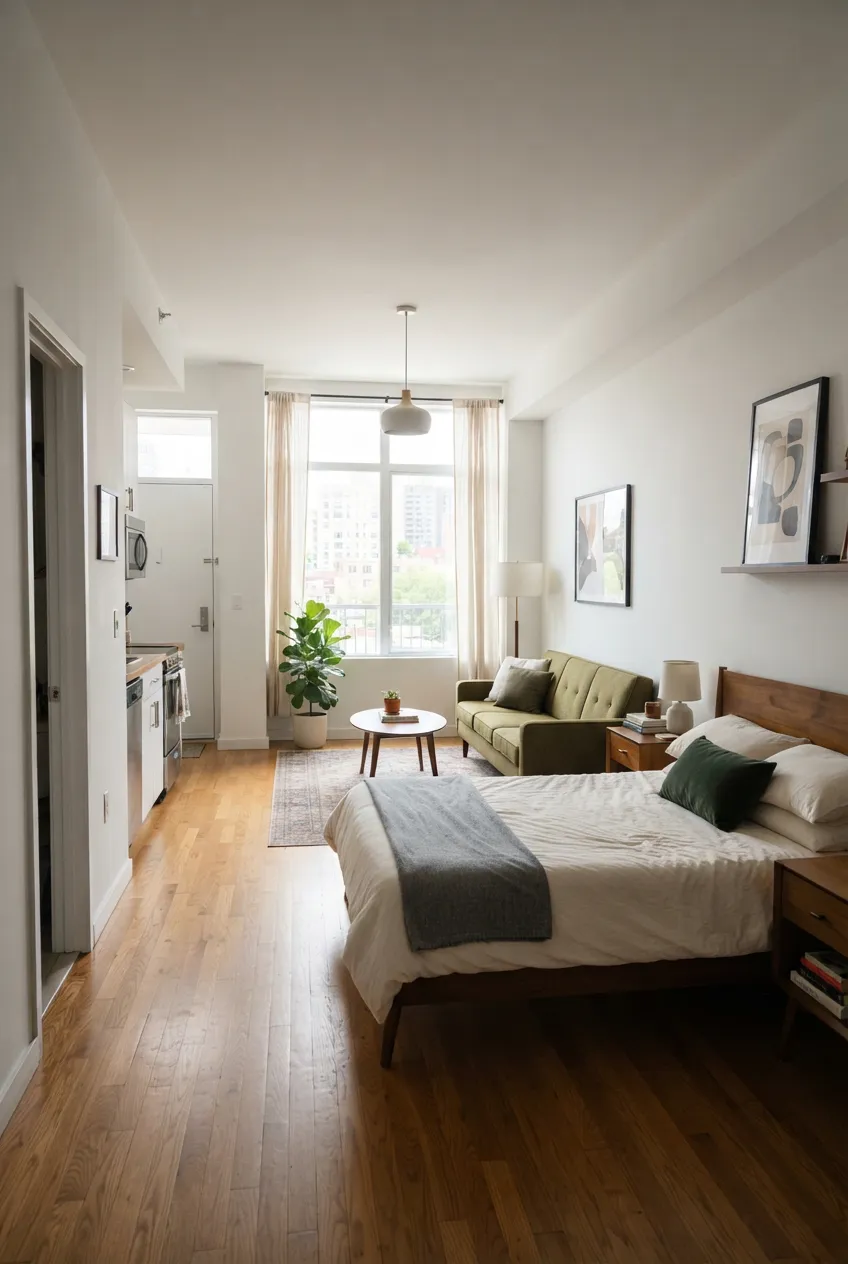
A bed and sofa projecting from opposite long walls can consume nearly all the width. Where the room allows it, place the deeper pieces lengthwise along one long wall or in different stretches of the room, leaving a continuous route beside them. Keep enough space to make the bed, sit and stand at the sofa, and open nearby storage.
This is a width decision, not a rule that the bed and sofa must always touch or share a wall. Measure both pieces and the gap in real use before committing. The bed and sofa layout guide compares their relationship in more detail; here the priority is the narrow room’s uninterrupted passage.
4. Sequence Activities Instead of Forcing Two Rows of Rooms
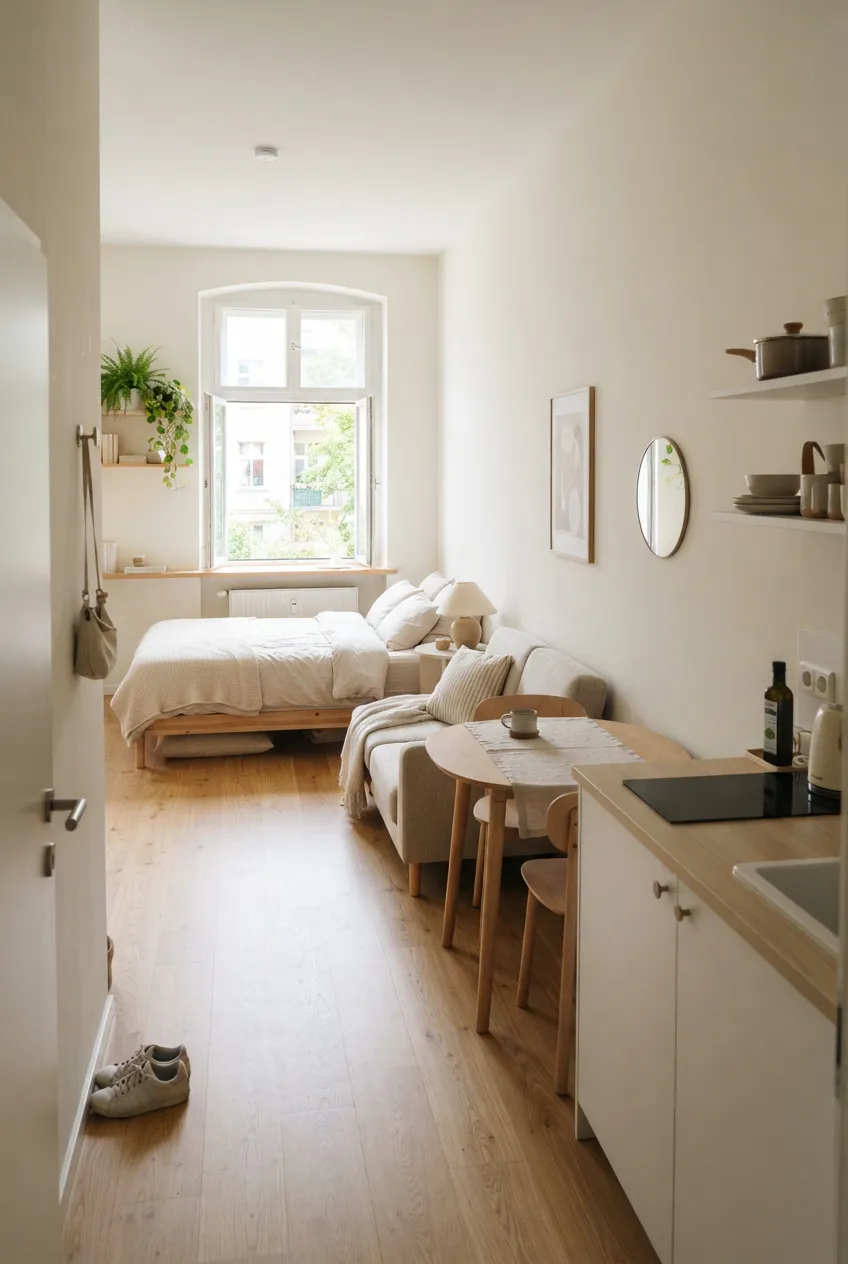
Think of the studio as a series of usable stretches along its length: an arrival point, a place to eat or work, a sitting area, and a sleeping area. Arrange the sequence around the actual kitchen, bathroom, and window rather than assigning one entire wall to each activity. A zone can be defined by where a sofa faces or where a table sits; it does not require a divider across the room.
Put activities needing daylight near the available window when possible, while keeping the window reachable and operable. If the kitchen is by the entrance, keep food preparation close to it rather than carrying meals through the bed area. A clear sequence reduces backtracking and makes the long room feel like one connected home.
5. Keep the Entrance’s First Stretch Shallow
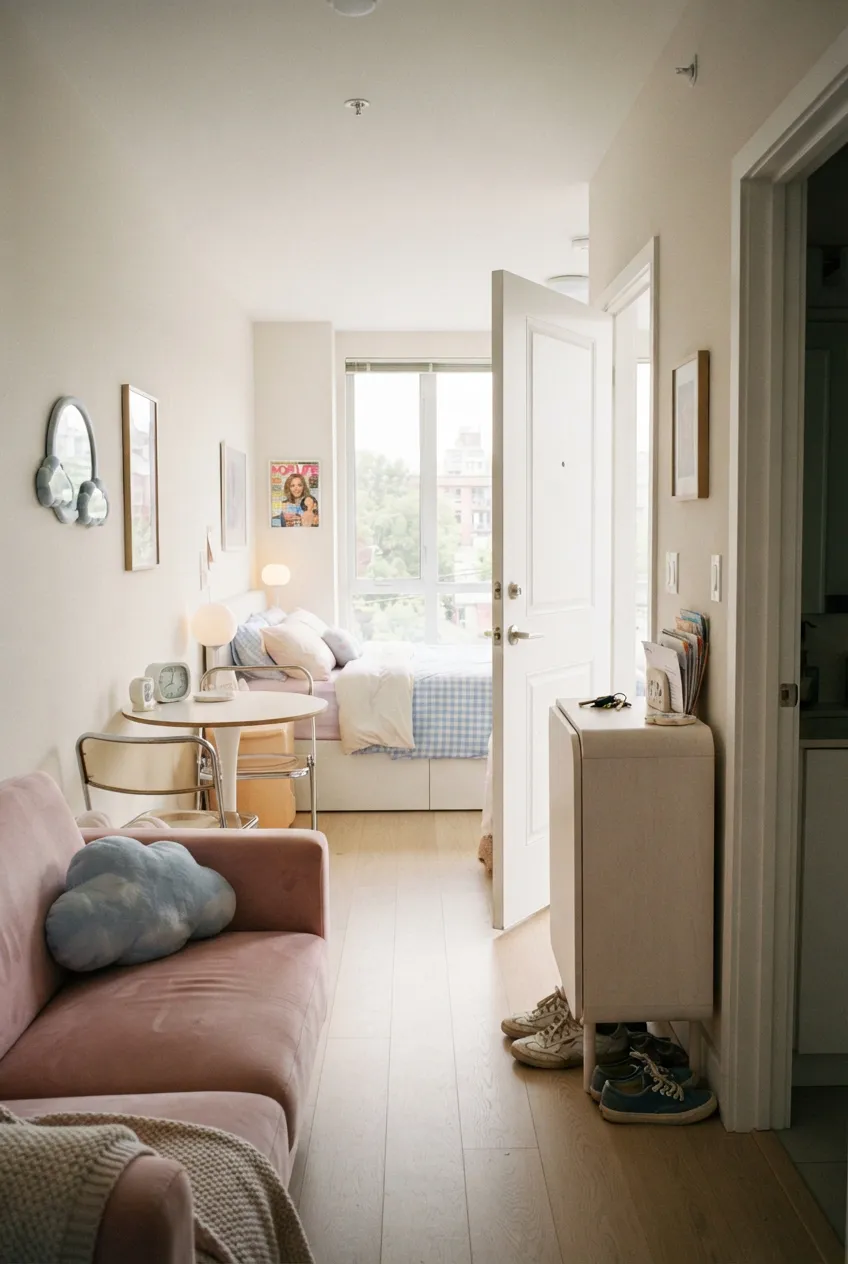
The entrance often opens directly into the narrowest working part of a long studio. Use an existing slim surface or a small part of a nearby cabinet for keys and mail, and keep everyday shoes within a defined footprint. Avoid a deep bench or coat stand that turns the first step inside into a squeeze.
Open the front door completely and carry a bag through before deciding the setup fits. Leave space to reach any bathroom or kitchen door near the entrance. For more choices about what belongs at the threshold, see the studio entryway ideas; the narrow-room test is whether the entry still feeds the continuous aisle.
6. Run the Work Surface Parallel to a Long Wall
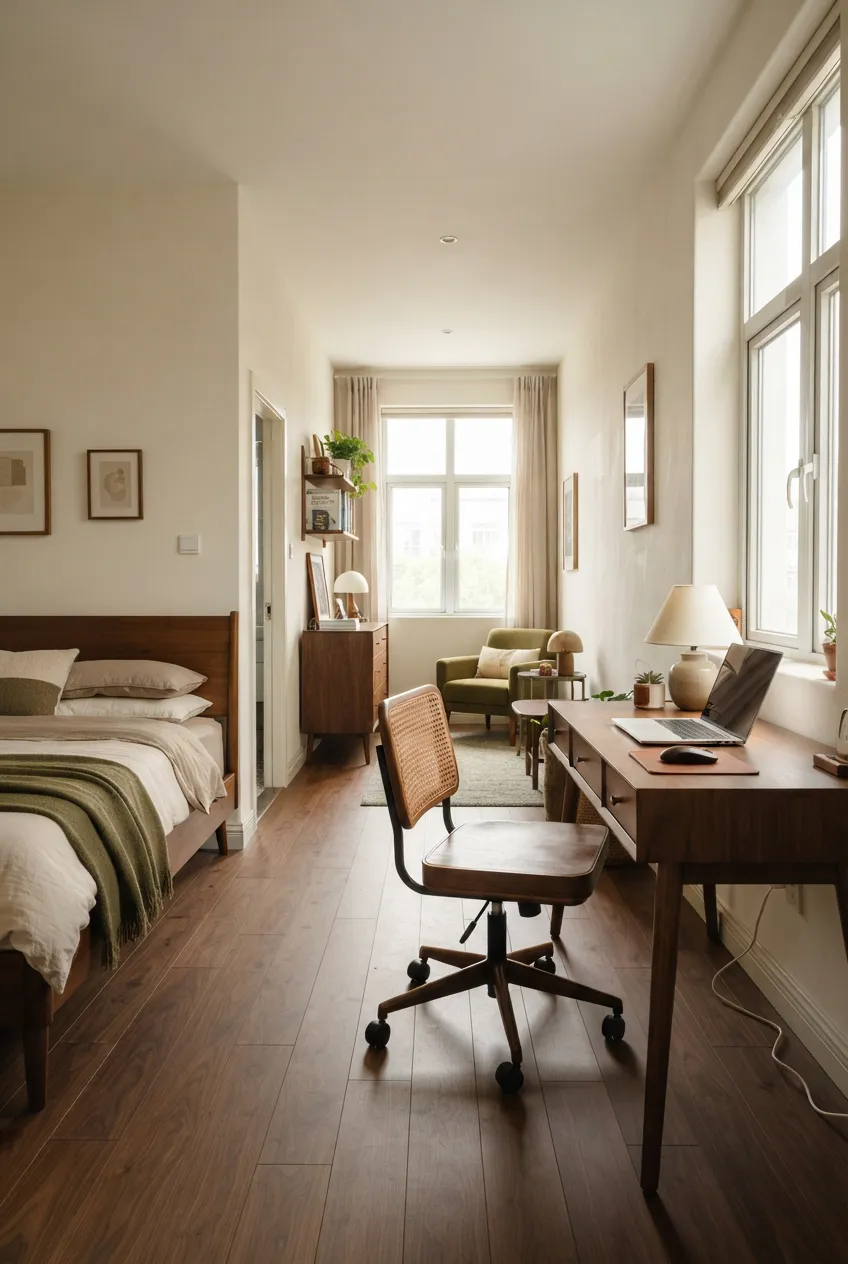
A desk that projects across the room can sever the only route. Place a modest work surface parallel to a long wall, preferably where daylight reaches it without screen glare. Keep the chair’s pulled-back position on your floor plan; the desk’s footprint alone does not show how much width working requires.
If the desk is also the dining table, plan for both uses and a nearby place to put work materials away. Check outlet access without running a cord across the aisle, and leave any window, radiator, or cabinet usable. The studio workspace ideas cover desk sizes and positions beyond this narrow-room arrangement.
7. Let Dining Expand Only When Needed
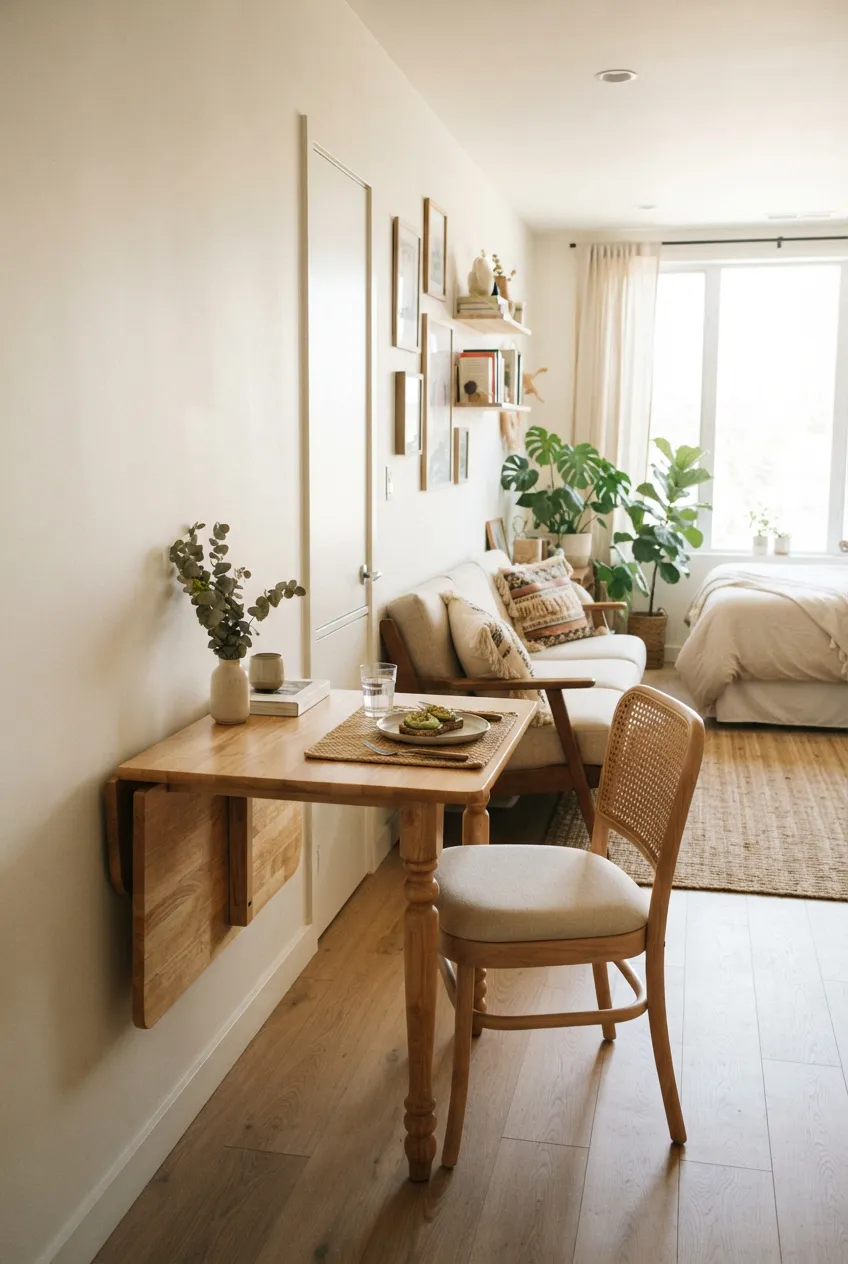
A fixed table in the middle of a narrow room may block the route even if it looks compact. Try placing a small table against a long wall or using an existing surface for daily meals. If you regularly need a larger top, a drop-leaf table can stay smaller between meals and open when there is room to pull out the chairs.
Measure the table both folded and open, including legs and chair clearance. Test the aisle with the leaf raised and someone seated; if that closes the only route to the bathroom, the table must move or be used in another spot. If the open configuration works in your room, browse small drop-leaf dining tables on Amazon and compare both sets of dimensions before choosing one.
8. Choose Storage by Depth and Door Swing
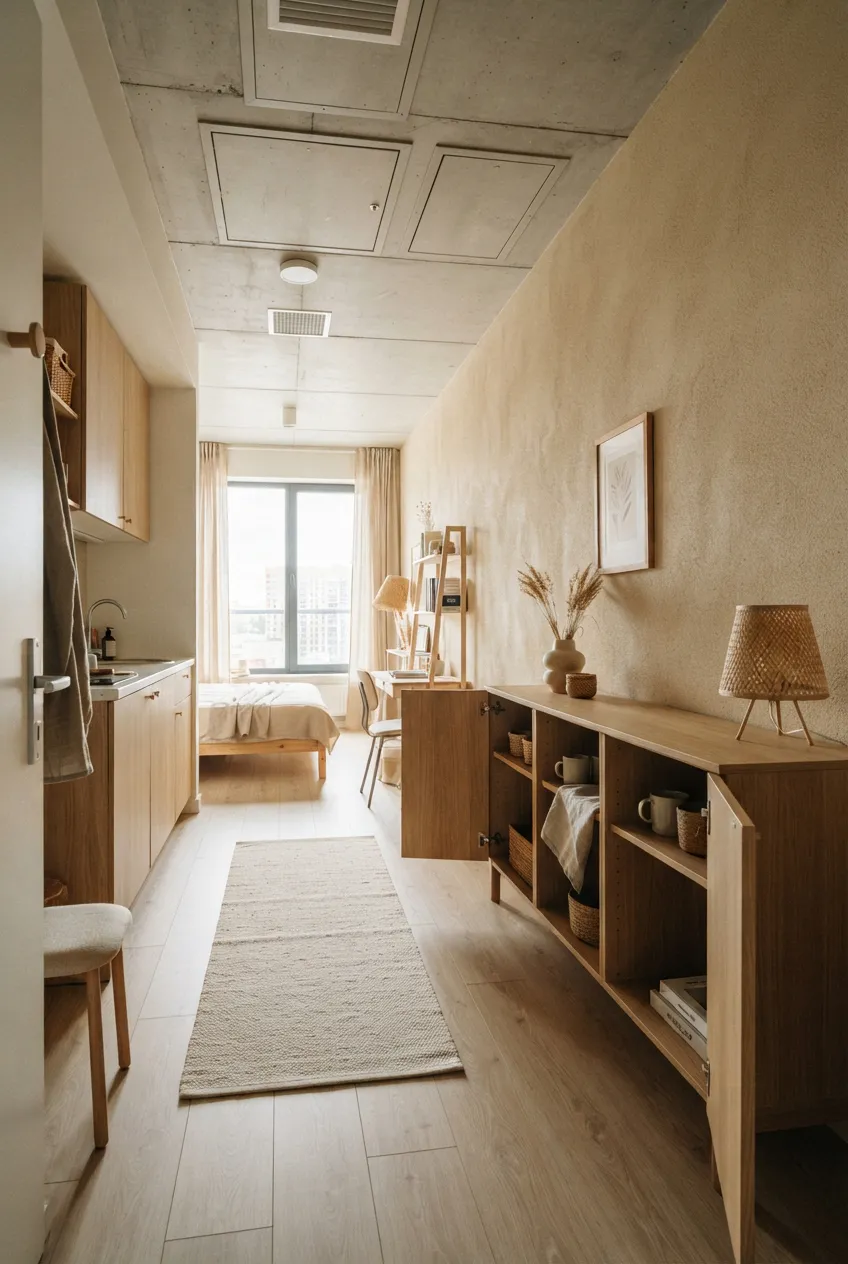
Long walls invite a run of cabinets, but their combined depth can make the center passage too tight. Use the shallowest storage that holds the category you actually need, and group it where it does not compete with the bed, desk chair, or kitchen cabinets. A lower or visually lighter piece can preserve sightlines, but its real depth and stability matter more than its appearance.
Measure the cabinet with doors or drawers fully open, plus the space needed to stand in front of it. Follow the maker’s stability and anchoring guidance, and do not block a vent or access panel. If a shallow unit fits the measured spot, browse shallow storage cabinets on Amazon and compare outer depth, opening direction, and usable inner space.
9. Mark Zones Without Cutting Across the Light
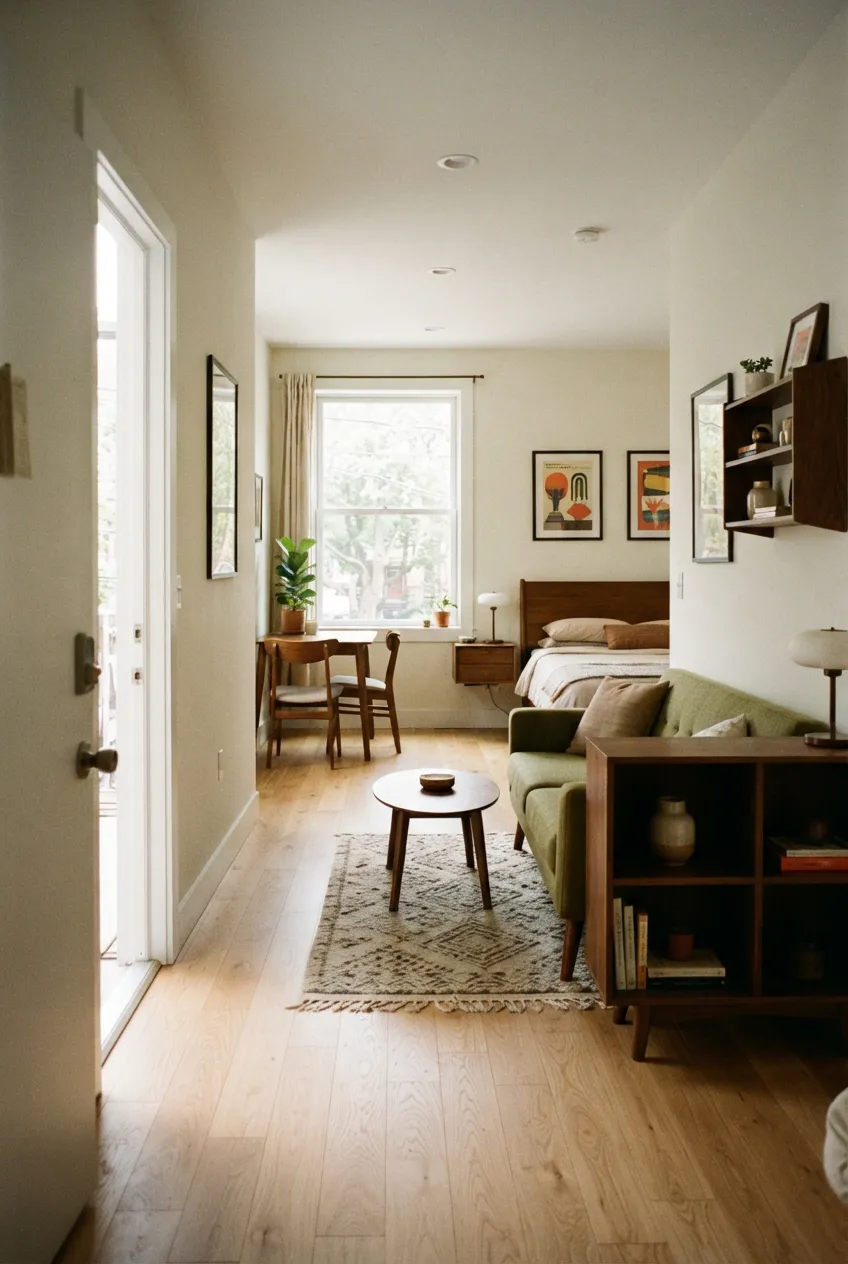
In a long studio with a window at one end, a tall solid divider across the width can leave the middle darker and interrupt the aisle. First try a change in furniture orientation, a low open piece, or a rug that stays within the seating footprint. These cues can make a sitting area distinct while preserving a view down the room.
If you use a low shelf as a boundary, keep it stable and follow its anchoring instructions. Confirm it does not block the only path, cabinet openings, or light to the work area. The room divider ideas cover more separation options; in this shape, a boundary should never become a new wall across the route.
10. Leave the Far End Accessible
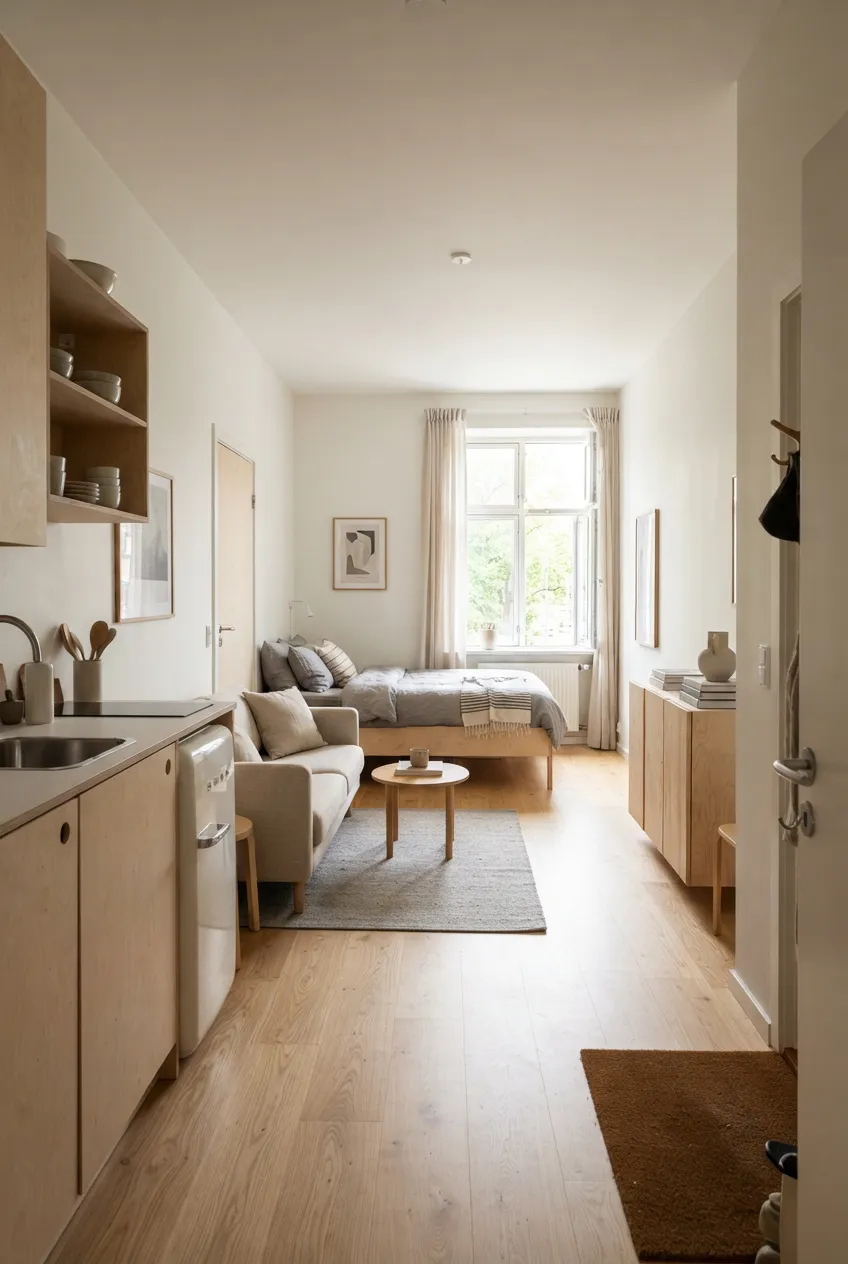
The short wall at the end of the room can look like an ideal place for a bed or storage, but the window there may need to open and be cleaned. Keep a reachable route to it and enough space to stand beside or in front of any end-wall furniture. Do not let the last piece turn the aisle into a dead end that requires climbing over the bed.
Stand at the entrance and check the full length of the room, then walk to the window, kitchen, and bathroom with furniture in use. Open every door and drawer completely. If the far end works only when the sofa is pushed back or a chair is moved, revise the layout before buying anything else.
Final Thoughts
The strongest long, narrow studio layout is usually built around one clear route and furniture that respects the room’s limited width. Map fixed obstacles, place deep pieces lengthwise, let smaller activities share surfaces, and test every opening in use. The goal is a home you can move through and live in comfortably, not simply a line of furniture that fits on a plan.
More Studio Apartment Ideas
 |  |  |
|---|---|---|
Studio Layouts | Lounge & Sleep | Maximize Space |