When a studio apartment runs out of floor space, looking upward can reveal useful storage. The empty area above a short shelf, the second level inside a cabinet, and the back of a suitable door may all hold things without adding another wide piece of furniture. The challenge is to gain capacity while keeping items reachable and the room safe to use.
These ideas focus on using height within an existing footprint, mostly with freestanding furniture and removable organizers. They are different from filling every wall with mounted shelves. Start by checking what you own, how often you need it, the height you can reach safely, and the doors and windows that must still open. For a wider room-by-room plan, see the studio apartment storage ideas.
1. Measure Usable Height Before Adding Storage
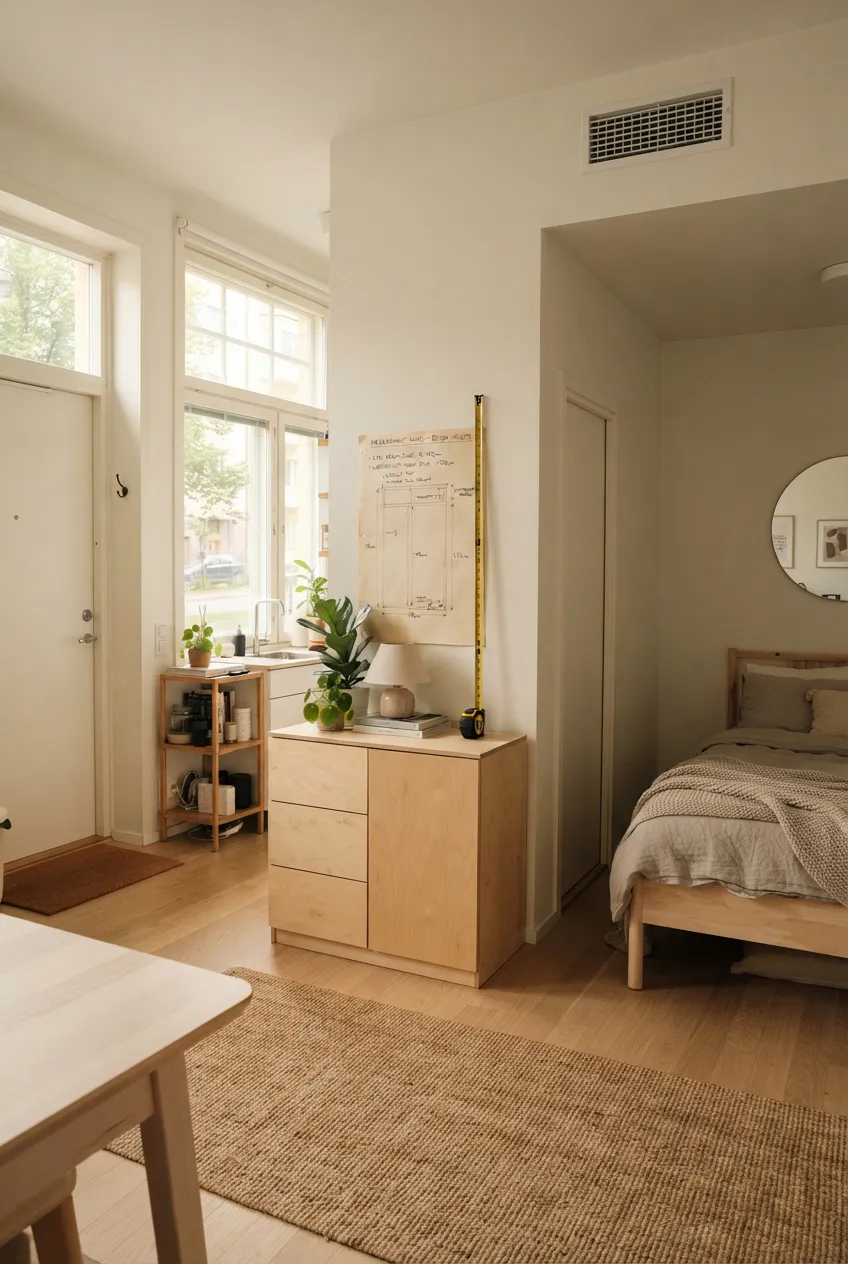
Measure from the floor to the ceiling, then note windows, vents, outlets, light switches, and doors. More height on paper does not always mean more usable storage: a tall unit can block daylight or prevent a door from opening. Sketch the proposed furniture footprint and check the route from the entrance to the bathroom and kitchen.
Divide the available height into three practical zones. Keep heavy and daily items within easy reach, use upper shelves for lighter things accessed less often, and leave the ceiling and vents clear. This simple map prevents the common mistake of buying a tall unit whose top half cannot be used safely.
2. Give One Wall a Slim Tall Bookcase
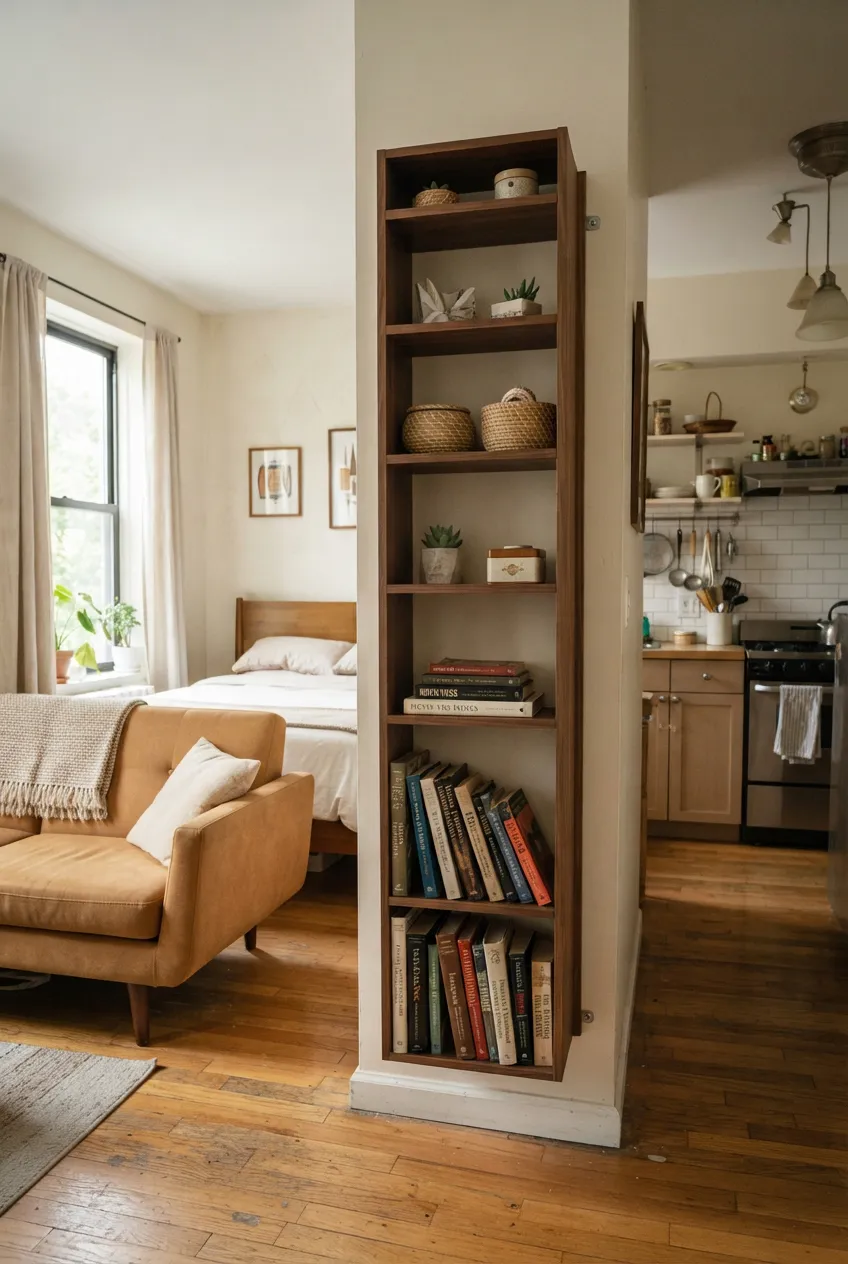
A narrow bookcase can put several shelves into a small patch of floor beside a sofa or desk. Choose one that fits the wall without covering an outlet, window, or door swing. Open shelves work best when books and boxes have defined places rather than being piled to the top.
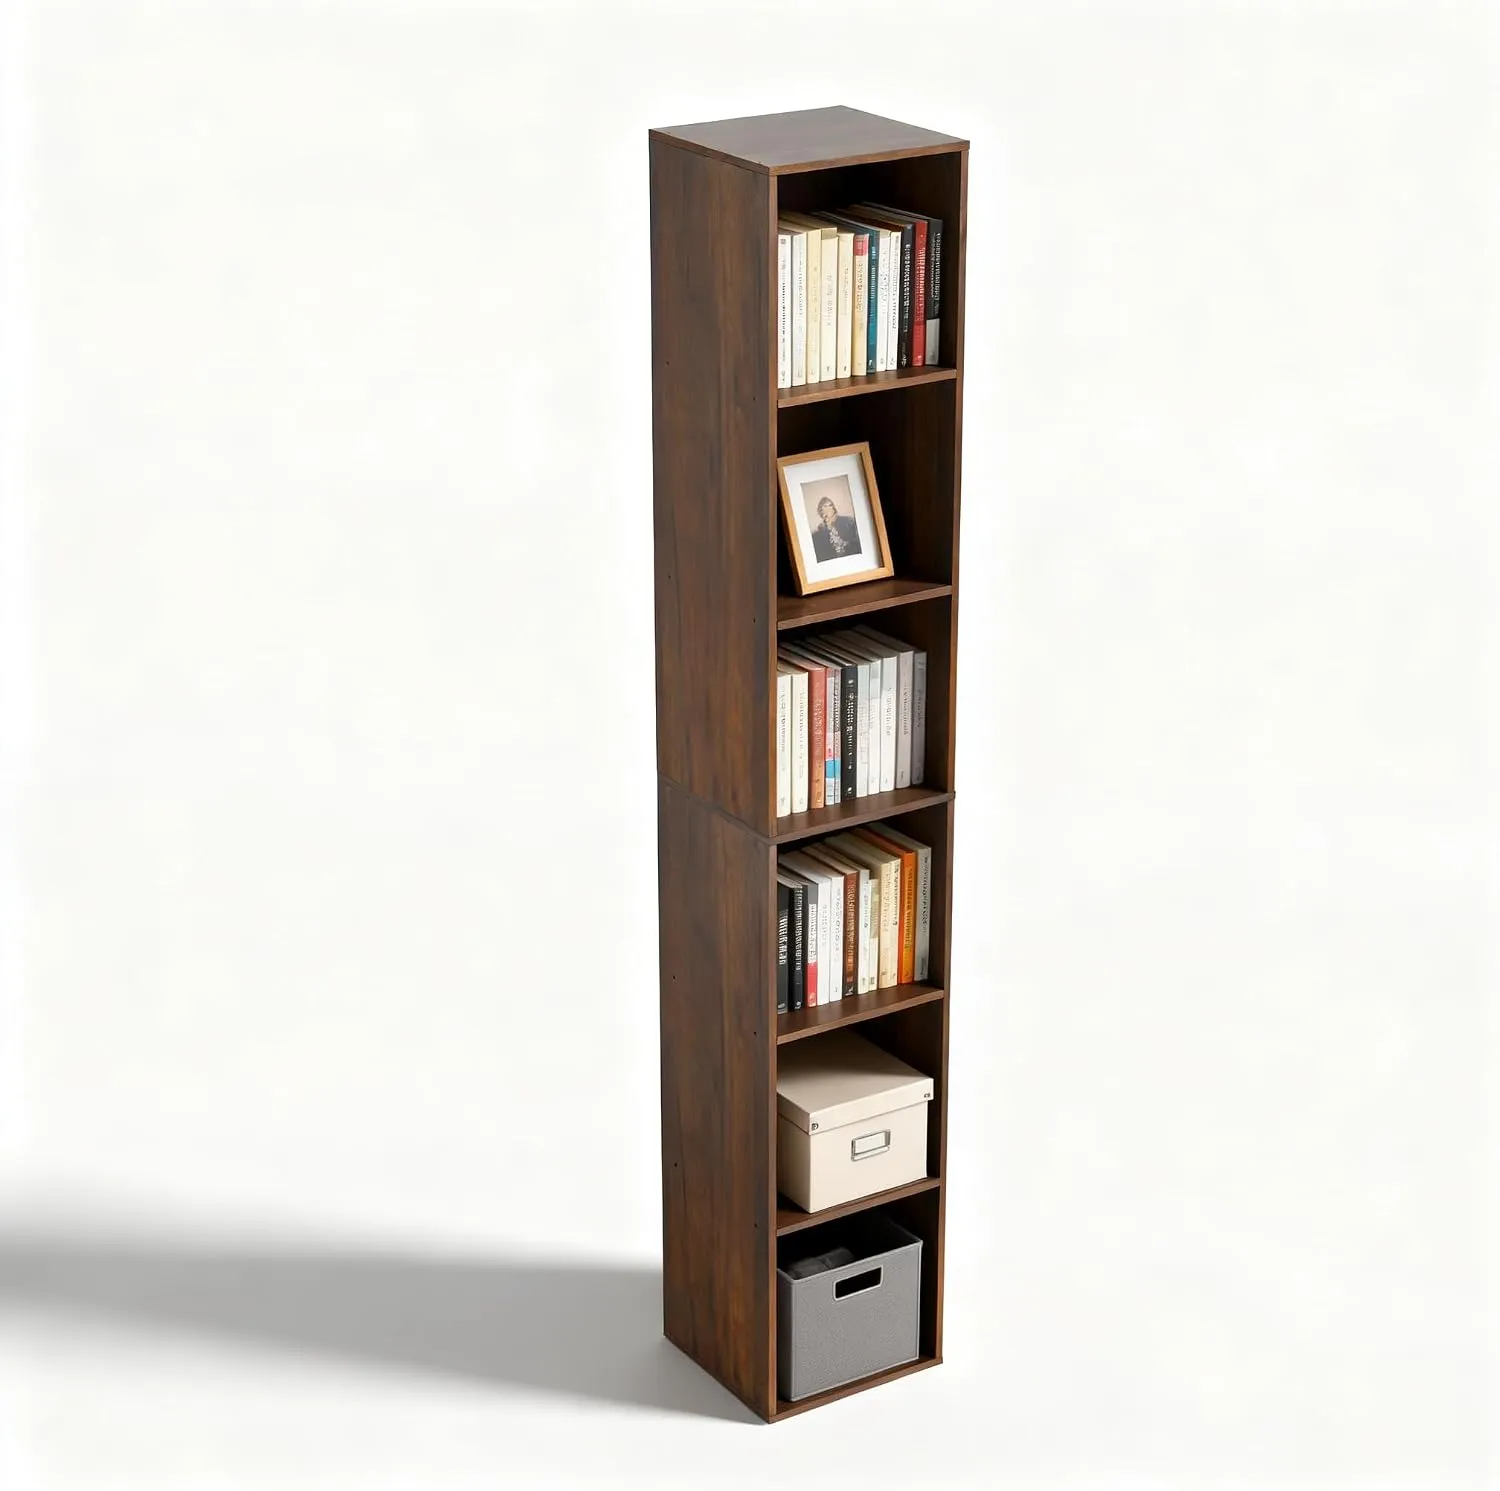
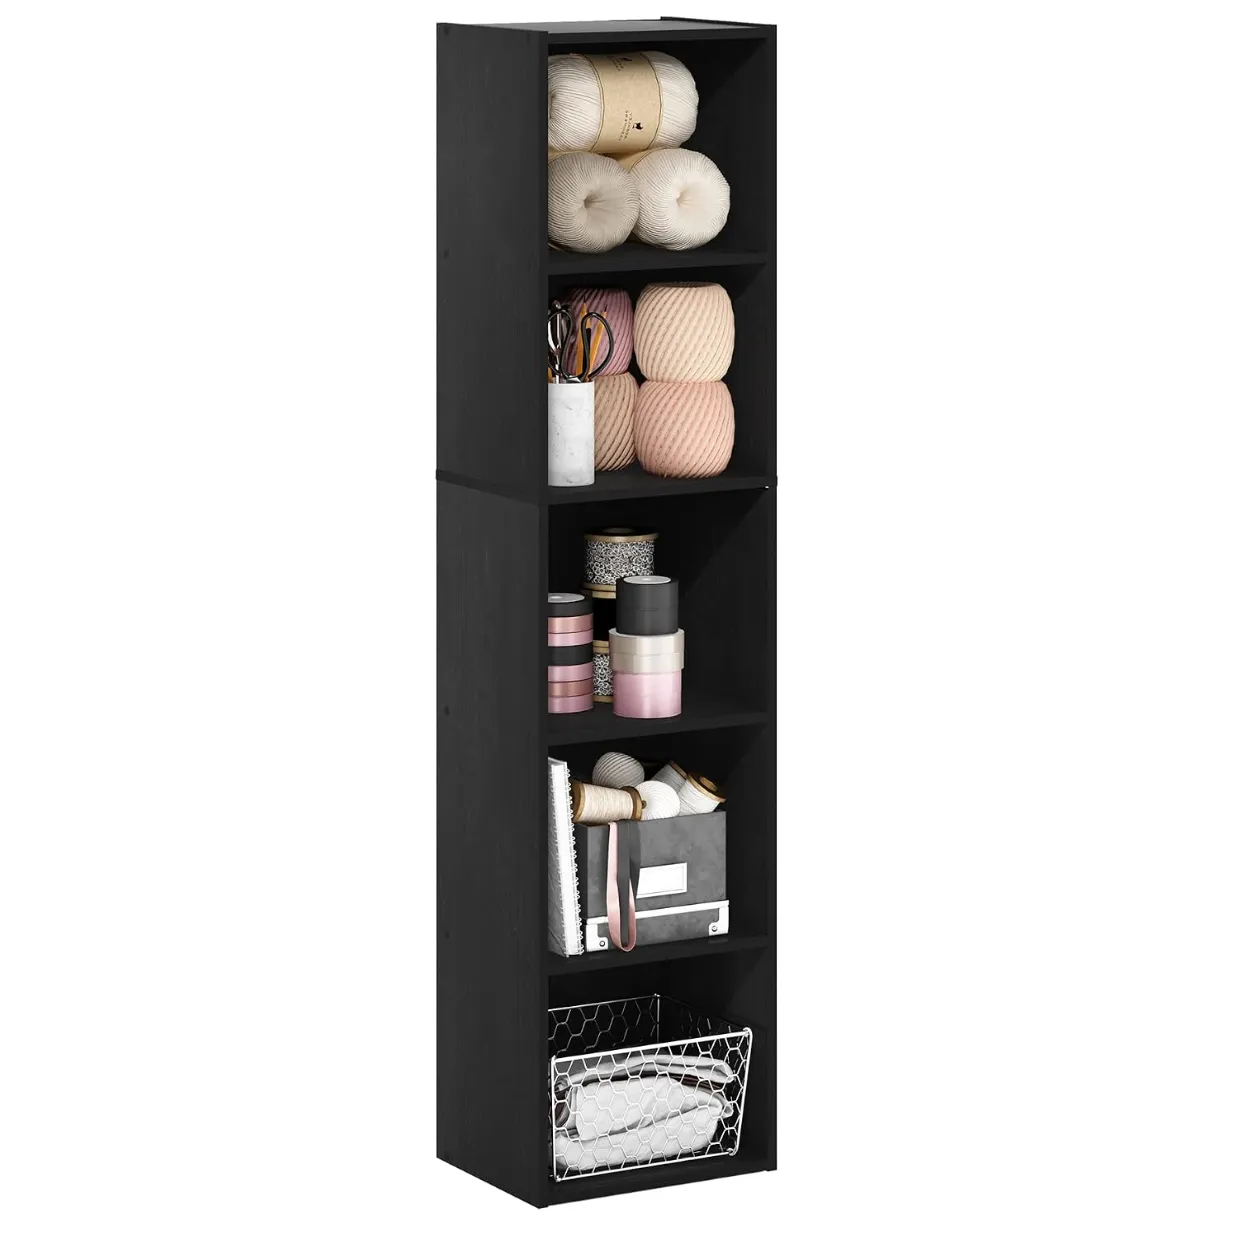
If this is the right spot, look for a slim tall bookcase with shelves deep enough for your actual items and a footprint that leaves the main route open. Check its load limits and follow the maker’s anchoring instructions; a tall, unanchored unit is not a shortcut for renters. Put heavier books low and lighter boxes higher.
If a narrow bookcase fits that wall, take a look at the Amazon shelving option below.
 |  |
|---|---|
 | |
3. Double the Usable Level Inside an Existing Cabinet
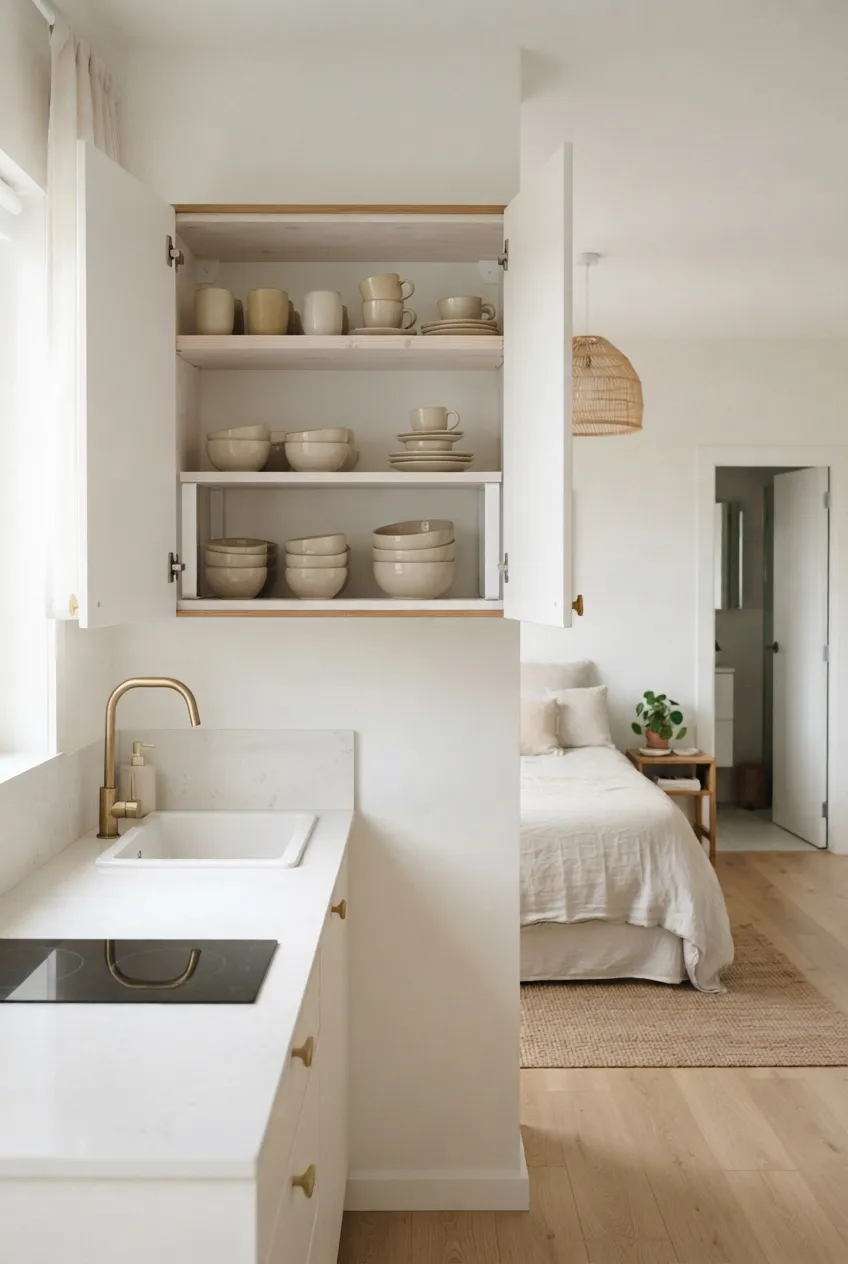
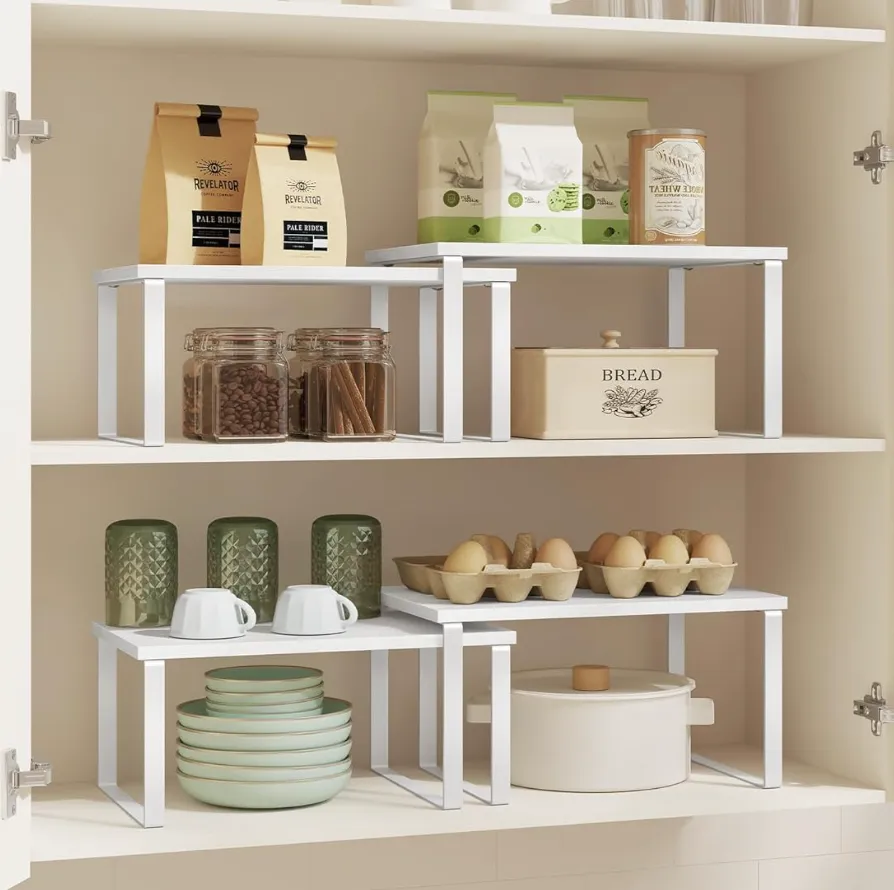
A cabinet can waste height when a few short mugs or bowls sit beneath a lot of empty air. A small freestanding shelf riser can create a second level without mounting anything to the cabinet. Group items by height before buying so the lower level still has enough room to lift things out.
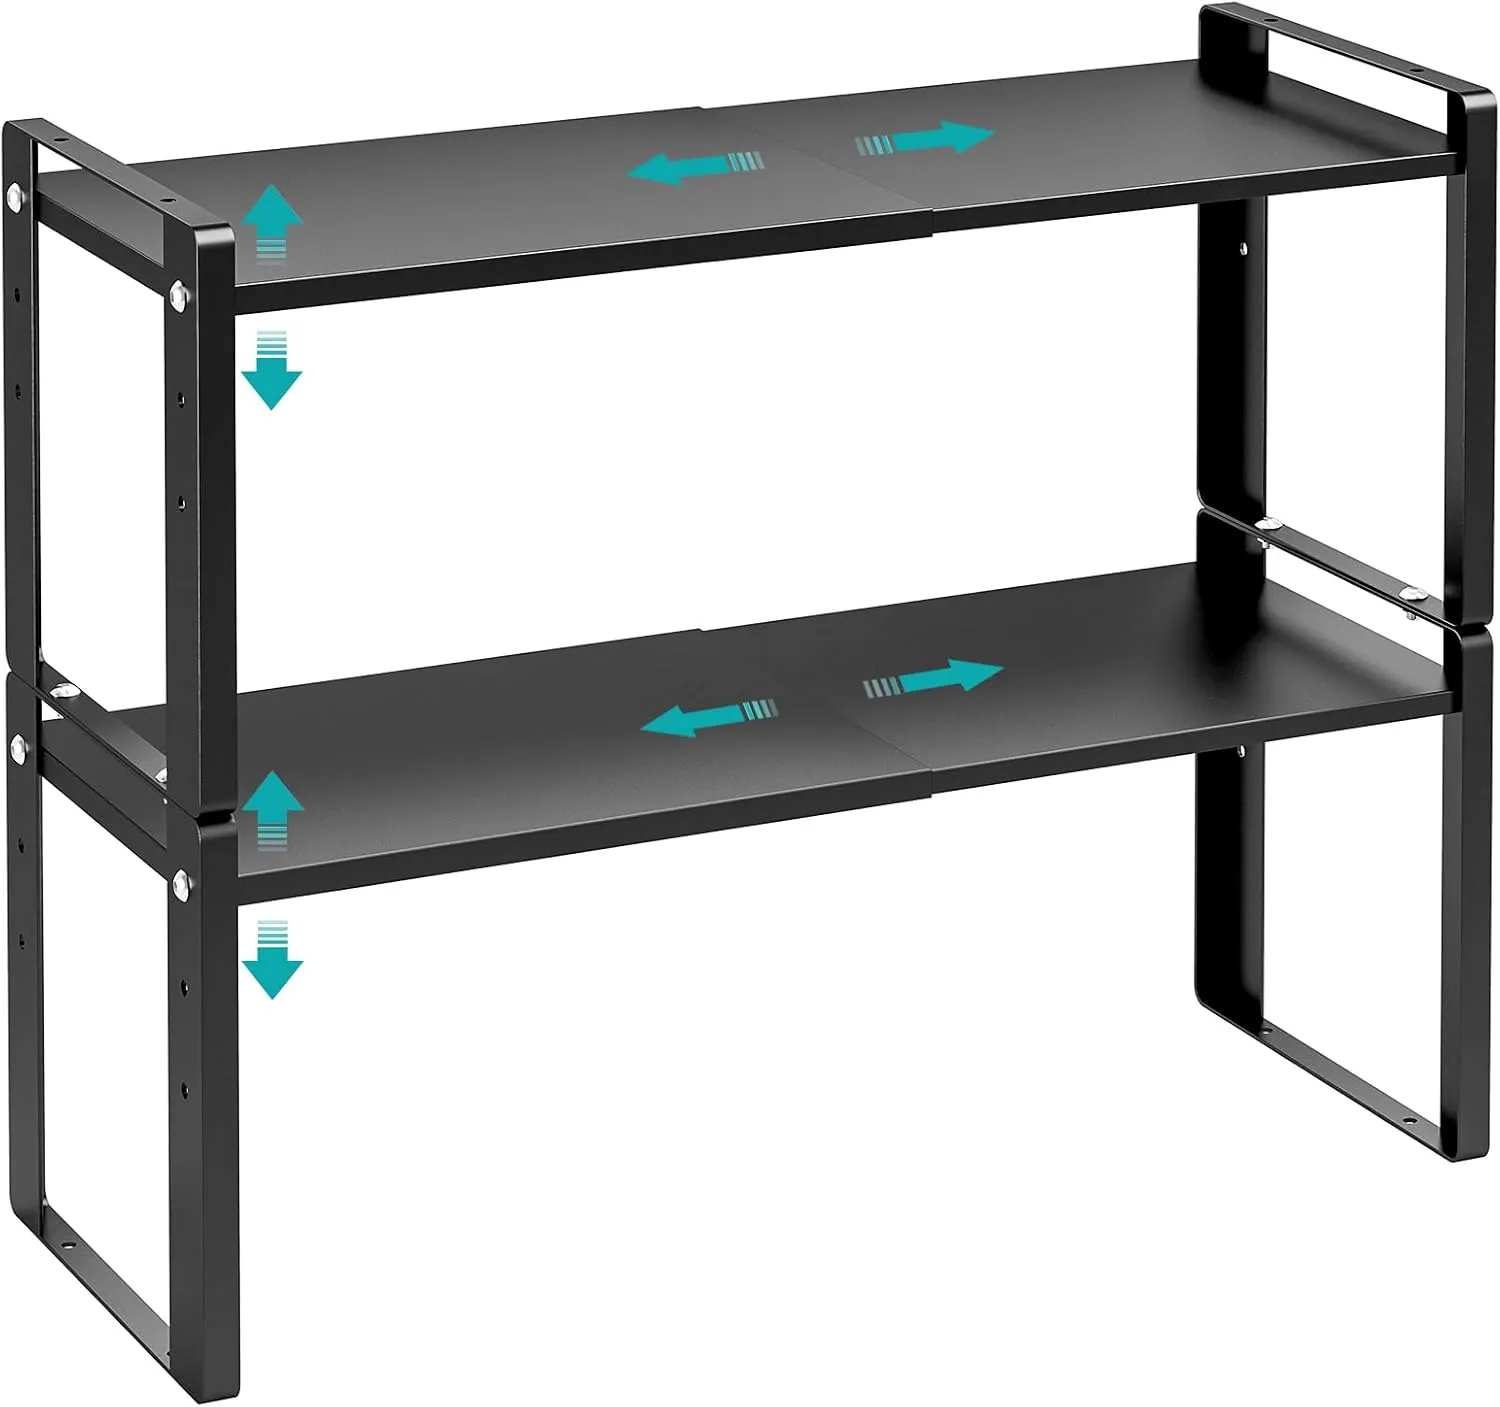
Look for a cabinet shelf riser that fits the interior width and depth, not just the opening visible from the front. Check that both upper and lower items can be removed without tipping the riser and that the cabinet door closes completely. Use it for suitable light items rather than stacking heavy cookware beyond the cabinet’s load guidance. The studio kitchen storage guide covers other cabinet problems.
If unused cabinet height is your main issue, take a look at the Amazon shelf-riser option below.
 |  |
|---|---|
| |
4. Stack Compatible Bins on a Sturdy Shelf
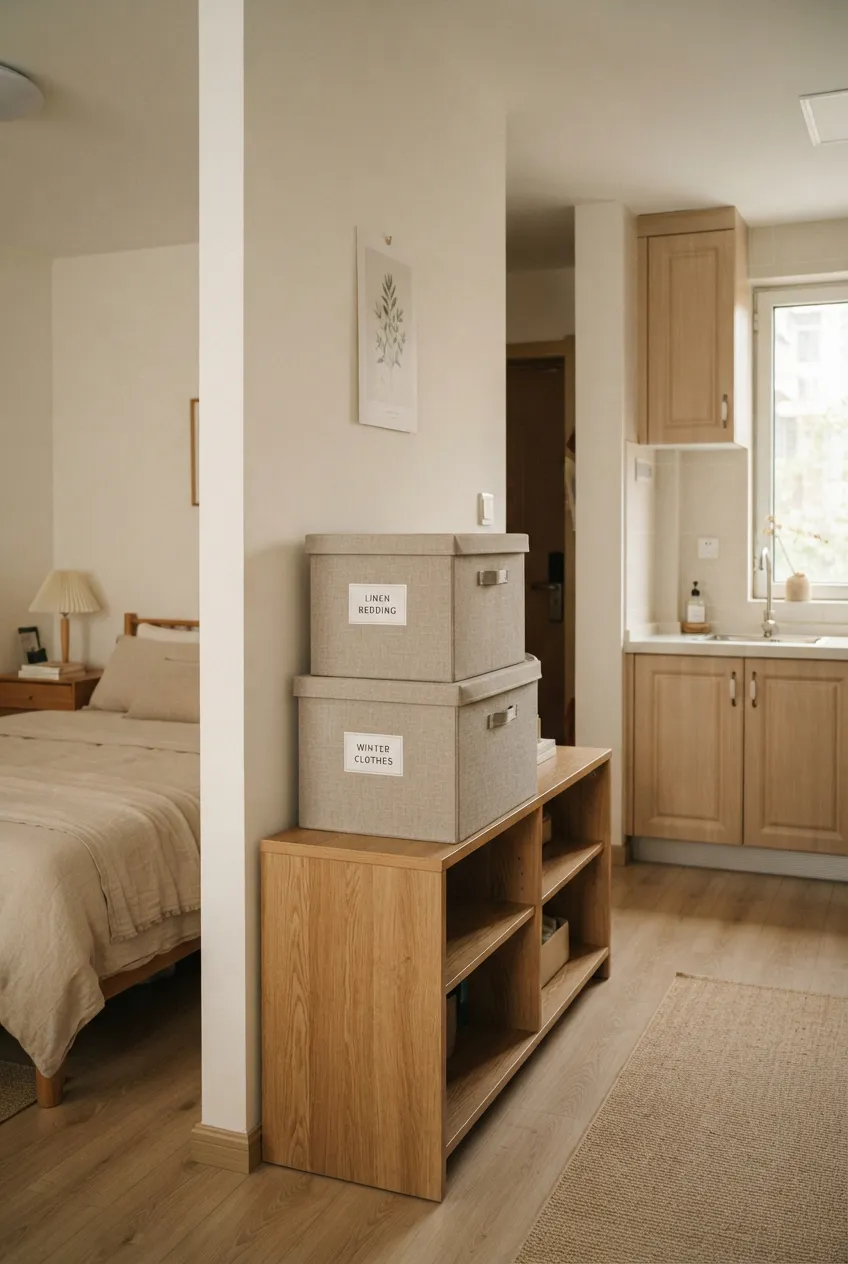
On an existing low shelf, two compatible lidded bins can keep craft supplies, spare linens, or cleaning cloths within the same footprint. Choose bins designed to stack securely, and group items so you need to lift only one container to reach what is inside. Labels on the front make the upper bin easier to identify.
Check the shelf’s load rating and the combined weight of the filled bins. Heavier things belong in the lower bin, while the upper one should hold lighter items you need less often. Do not build a freestanding tower of unrelated boxes or place a stack where it can fall into the walking route.
5. Add a Second Rail for Short Hanging Clothes
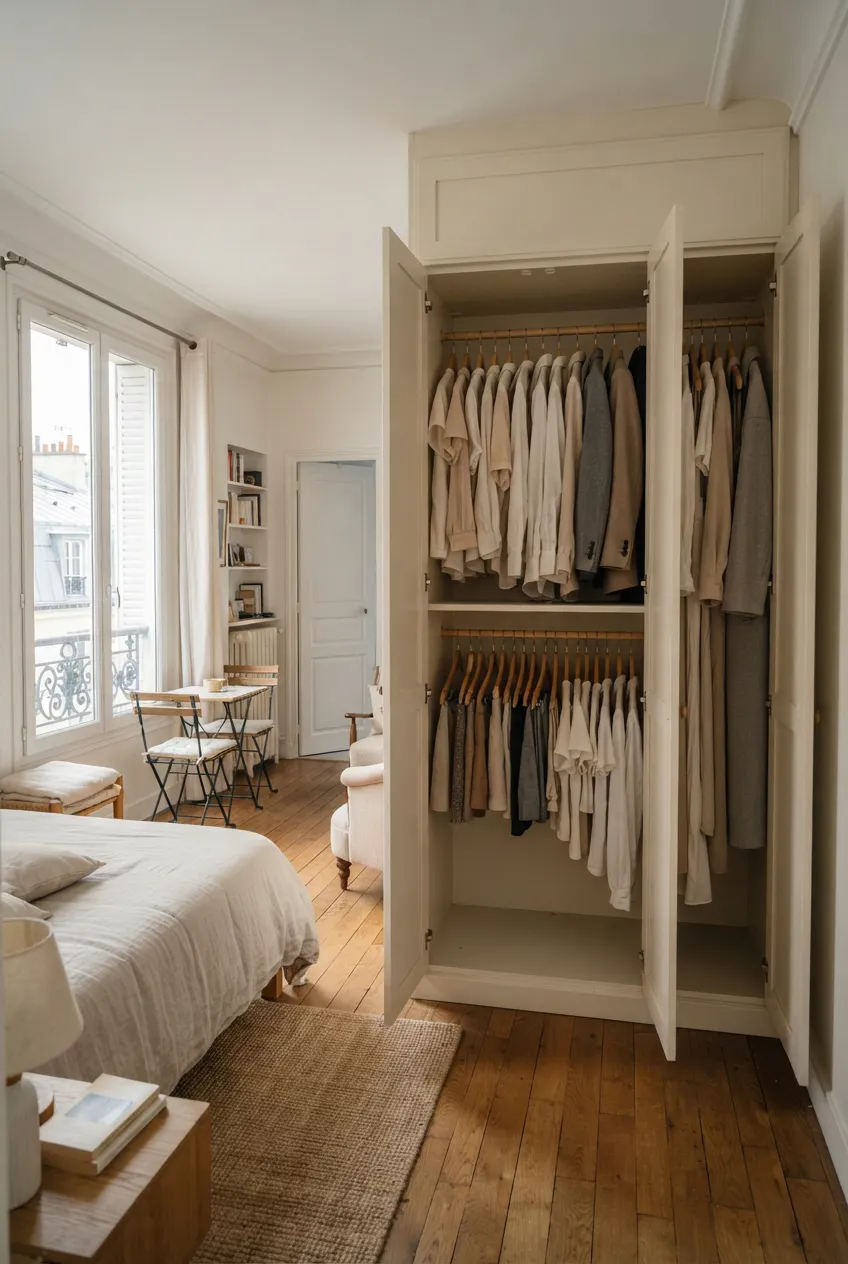
If an existing closet has one high rod and a large unused gap beneath shirts or jackets, an approved second hanging rail can make that vertical space useful. Reserve it for shorter garments, with longer coats or dresses on a separate section of the original rod. This is a way to use the closet’s height, not a reason to keep more clothes than it can support.
Measure from the upper garments to the lower rail and from the lower garments to the floor. Both rows must hang freely, and closet doors must open fully. Follow the rail’s mounting and load instructions; if the closet structure is unsuitable, use a freestanding clothing solution instead. The studio closet ideas compare broader wardrobe setups.
6. Use a Suitable Door for Light Accessories
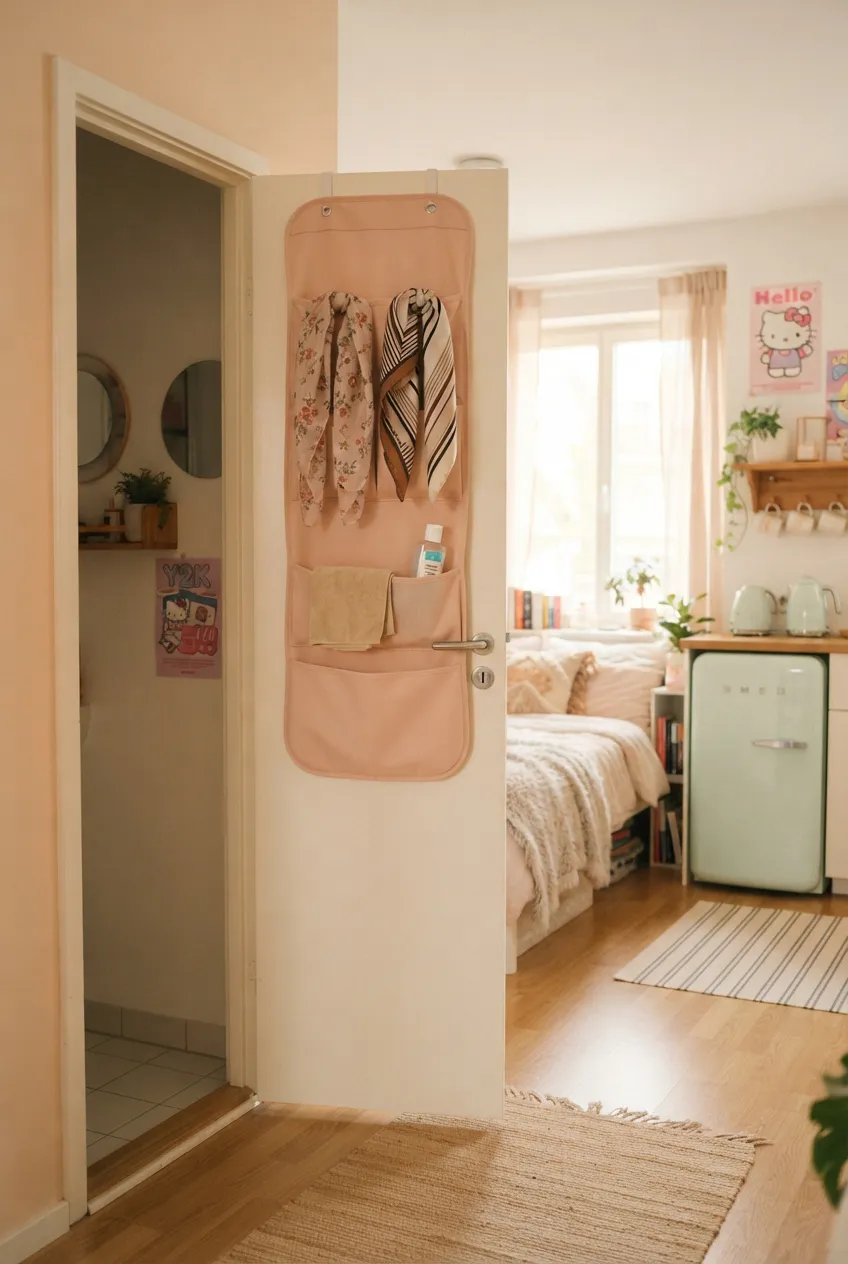
The back of a sturdy interior door can hold scarves, cleaning cloths, or other light accessories in a shallow organizer. This turns a vertical surface you already have into storage without adding a floor cabinet. Give the pockets one or two related categories so items stay easy to find.
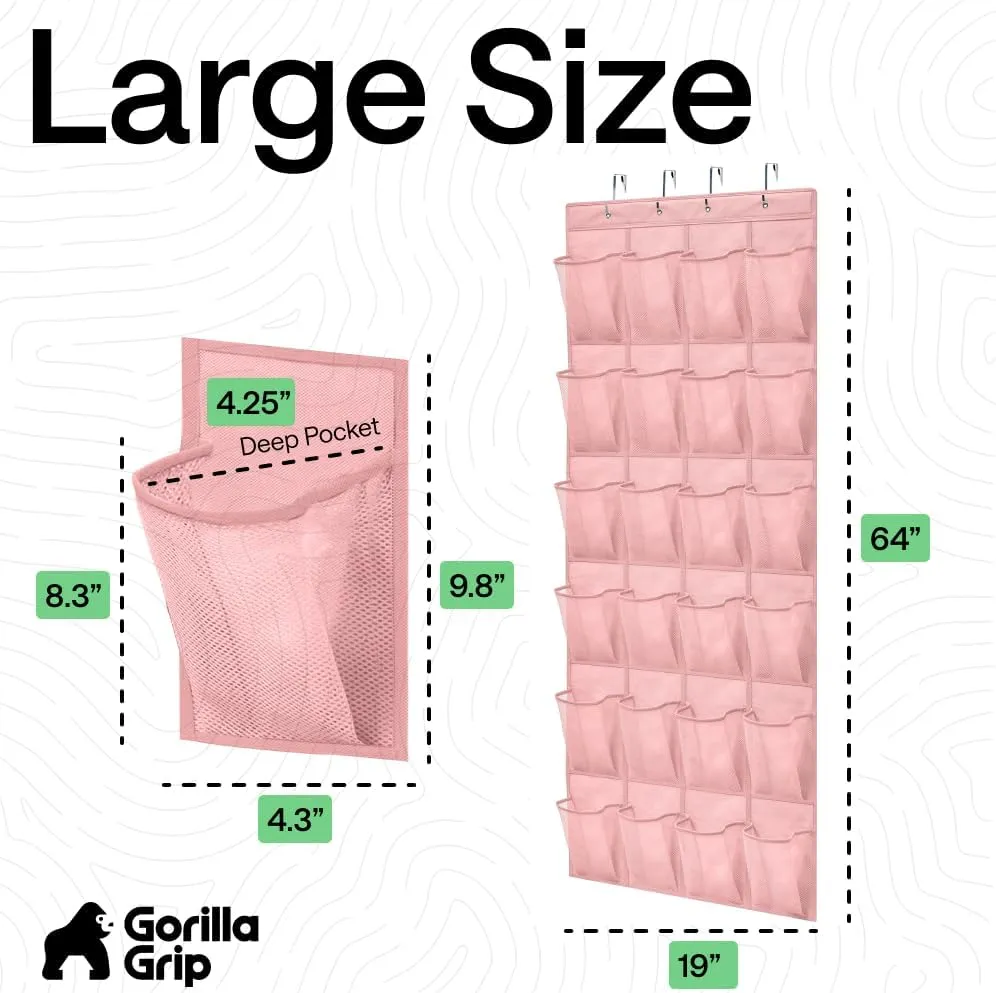
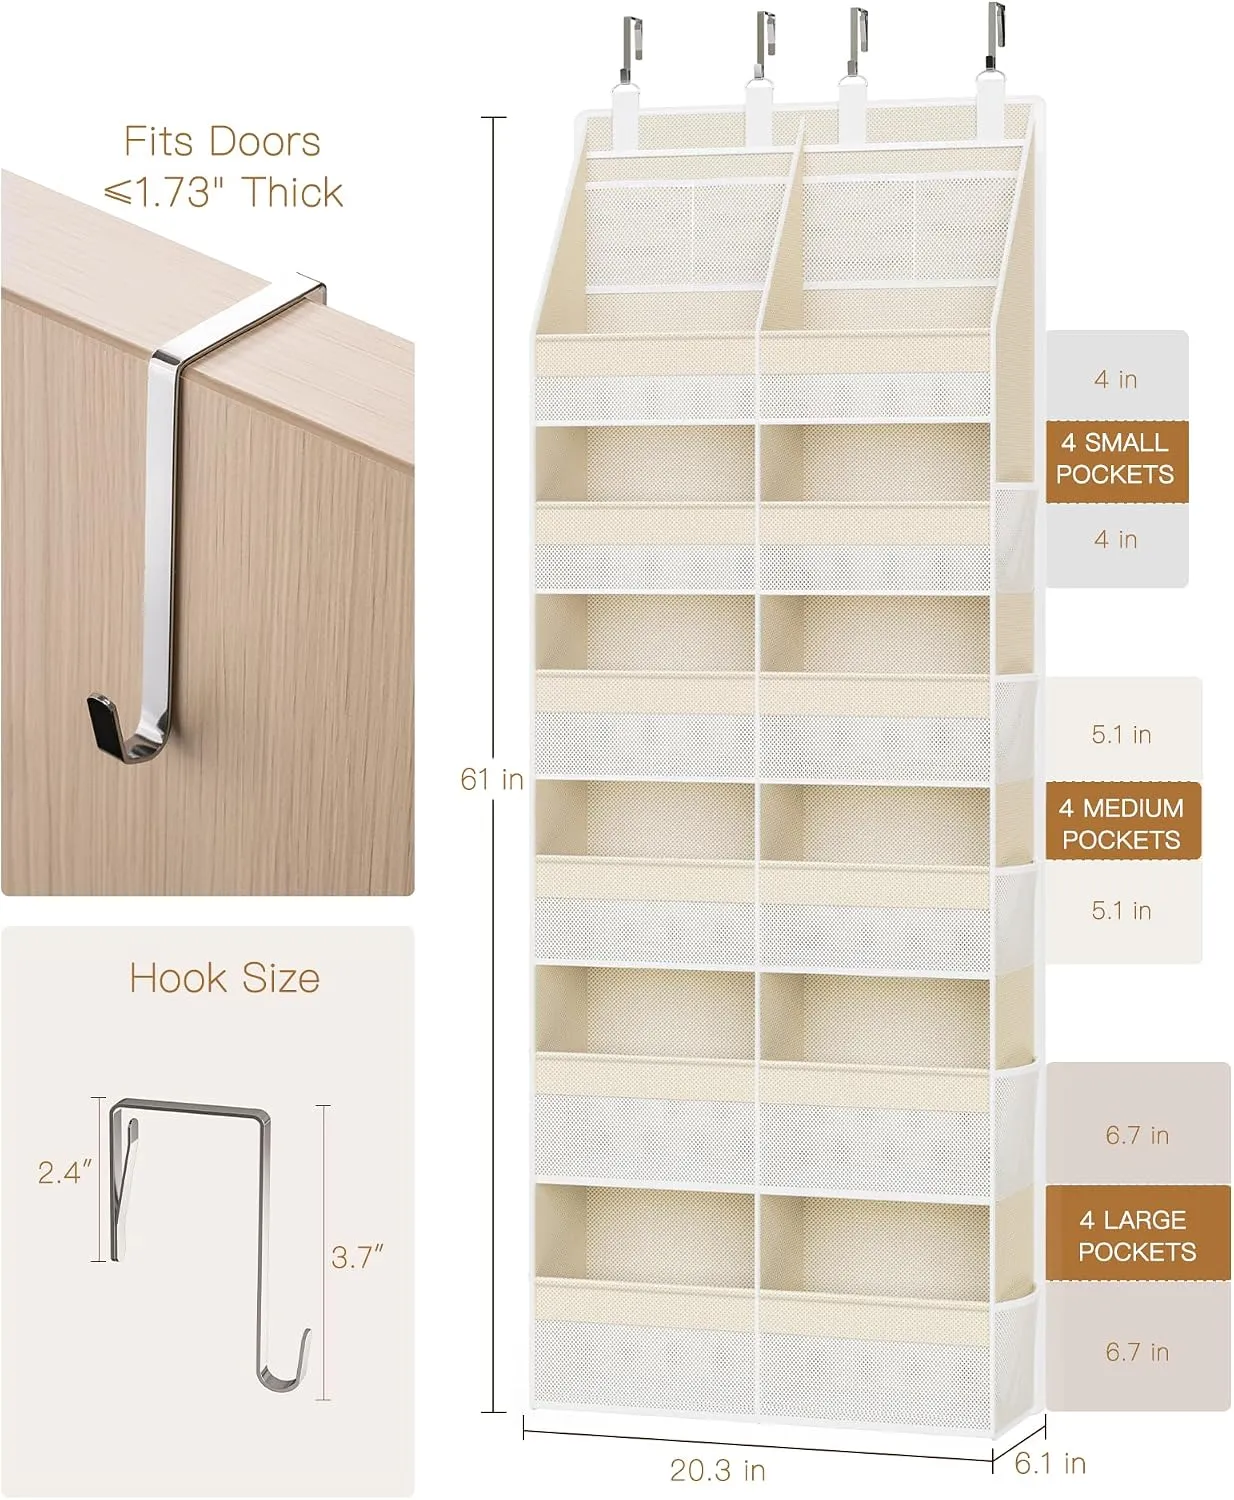
An over-door organizer is worth considering only after you check the gap above and behind the door. With the organizer loaded, the door must still open fully and latch; the hanger should not scratch the finish or catch the wall. Follow the maker’s load guidance and keep heavy or breakable objects elsewhere.
If your door has the needed clearance, take a look at the Amazon over-door organizer option below.
 |  |
|---|---|
| |
7. Stand Shoes Up in a Narrow Rack
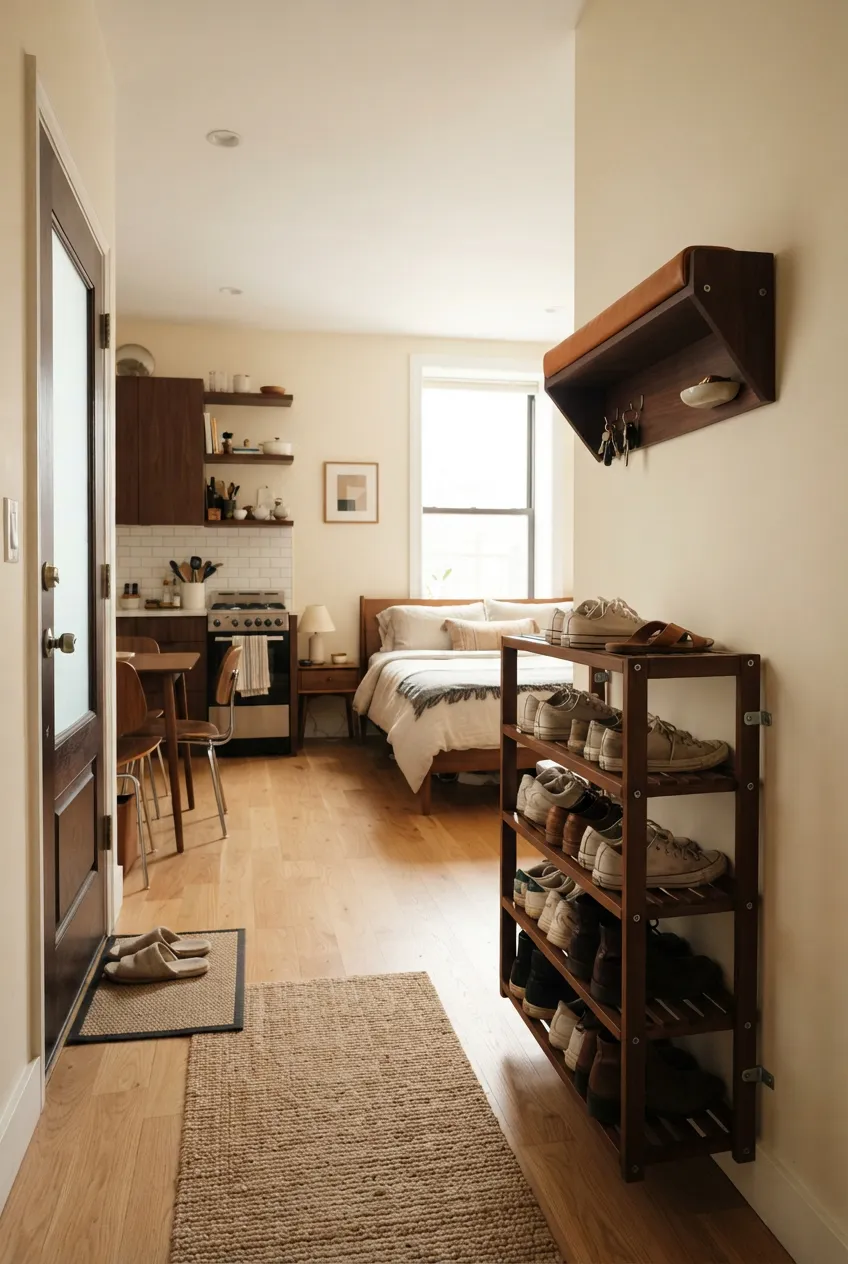
A slim vertical shoe rack can hold several everyday pairs in one floor-level footprint near a closet or dressing spot. It works better when the rack has enough depth for your actual shoes and does not rely on precariously balancing them. Keep the most-used pairs at easy height and occasional pairs above.
Do not place the rack in the front door’s swing or the studio’s only entry route. Test whether you can remove a pair without pulling the whole rack forward. If the unit is tall, follow its stability and anchoring instructions, and avoid loading wet or heavy boots on a high tier.
8. Use a Tiered Cart Where Storage Moves With the Task
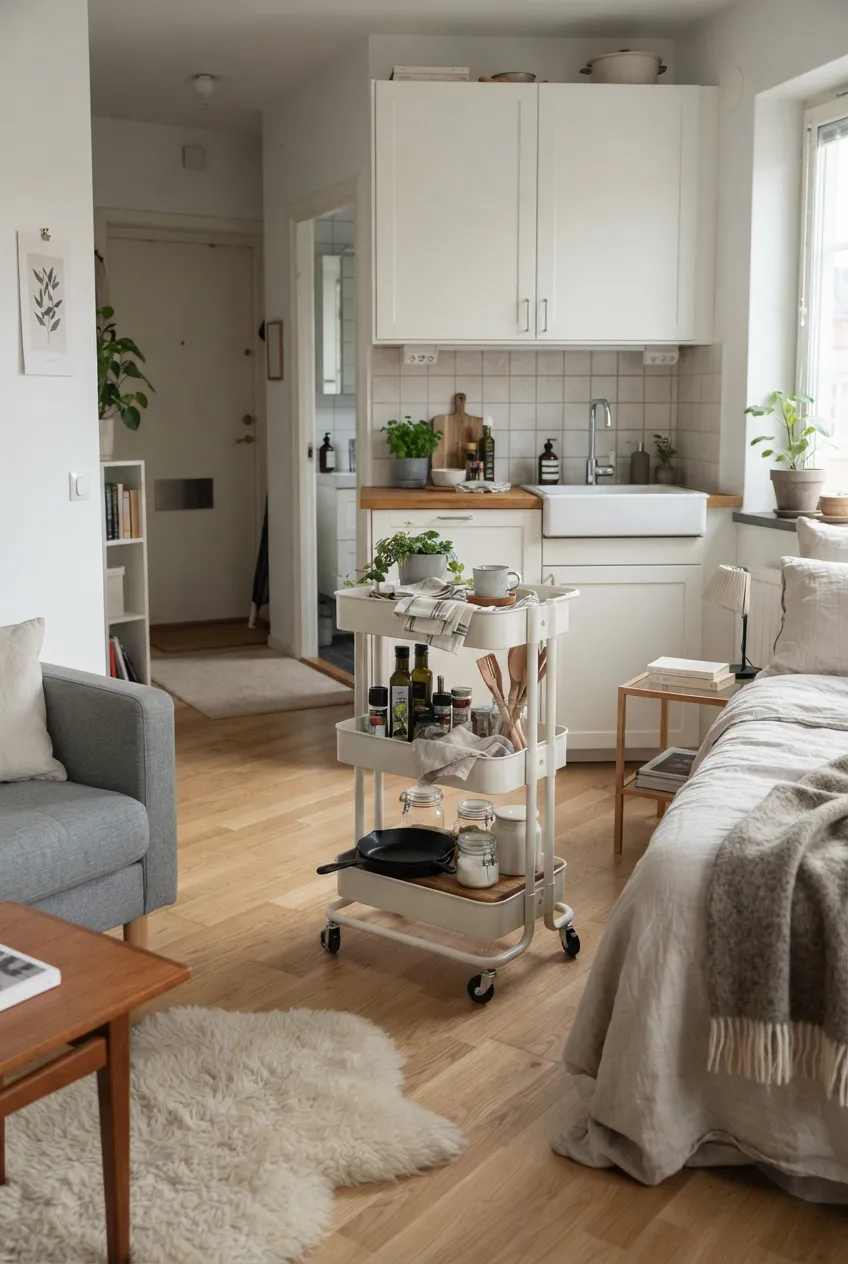
A narrow rolling cart can create two or three levels for kitchen tools, hobby supplies, or laundry items in the footprint of one small trolley. Keep each cart assigned to a single activity so it can be rolled where needed and parked out of the way afterward.
Measure the full width including handles and wheels. Lock the wheels when using it, respect the load guidance, and put heavier items on the bottom tier. A cart that cannot park without blocking a cabinet, appliance, or the only walking route does not add useful capacity.
9. Use an Over-Toilet Shelf Only if It Truly Fits
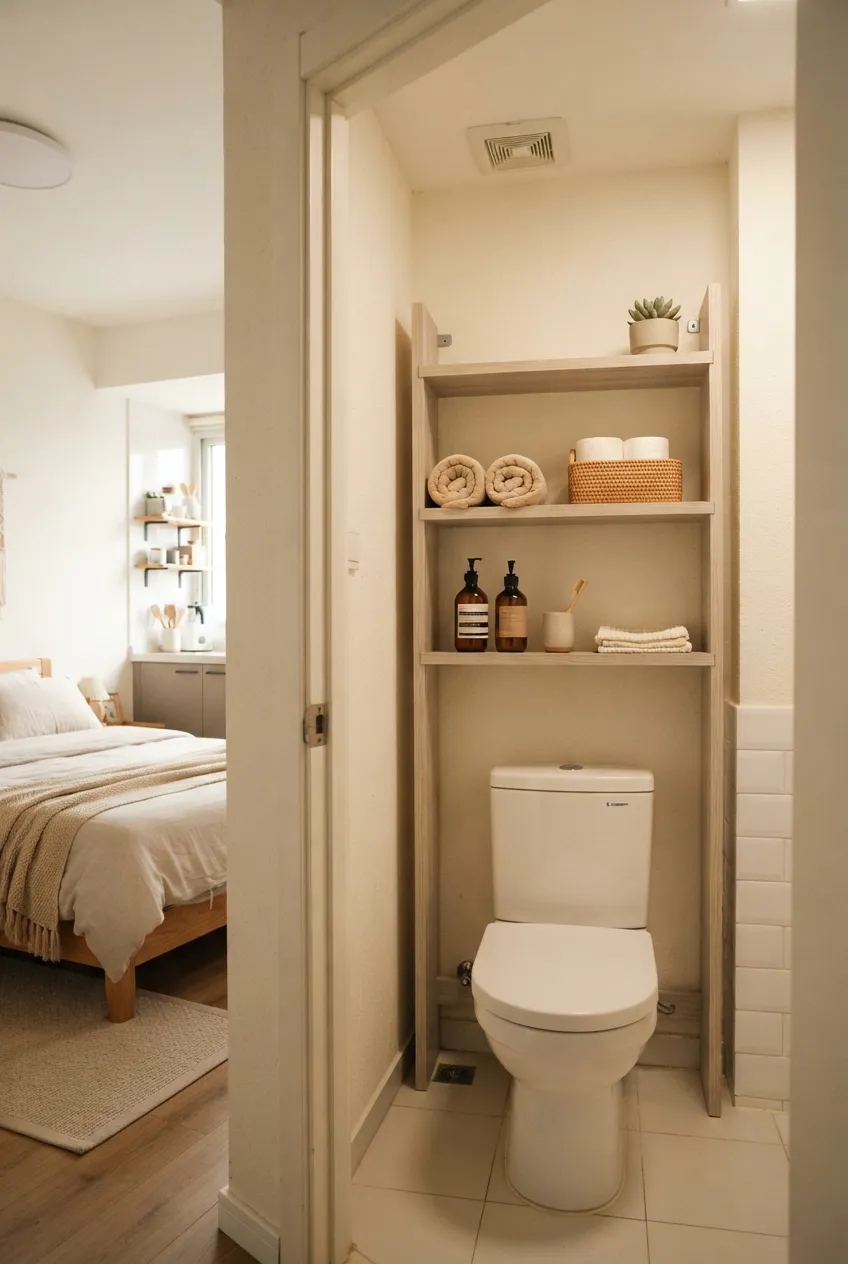
In a small bathroom, a freestanding over-toilet unit may add two or three levels without taking another patch of floor. It should straddle the fixture without touching plumbing, blocking the tank lid, or making the toilet uncomfortable to use. Keep daily toiletries at a reachable level and spare, lightweight supplies higher up.
Measure the toilet, flush access, ceiling, and door swing before choosing a unit. Follow the maker’s stability and anchoring guidance, particularly in a damp room. If there is no safe clearance, a small cabinet elsewhere is better than a wobbly structure over the toilet.
10. Give the Desk a Shallow Upper Tier
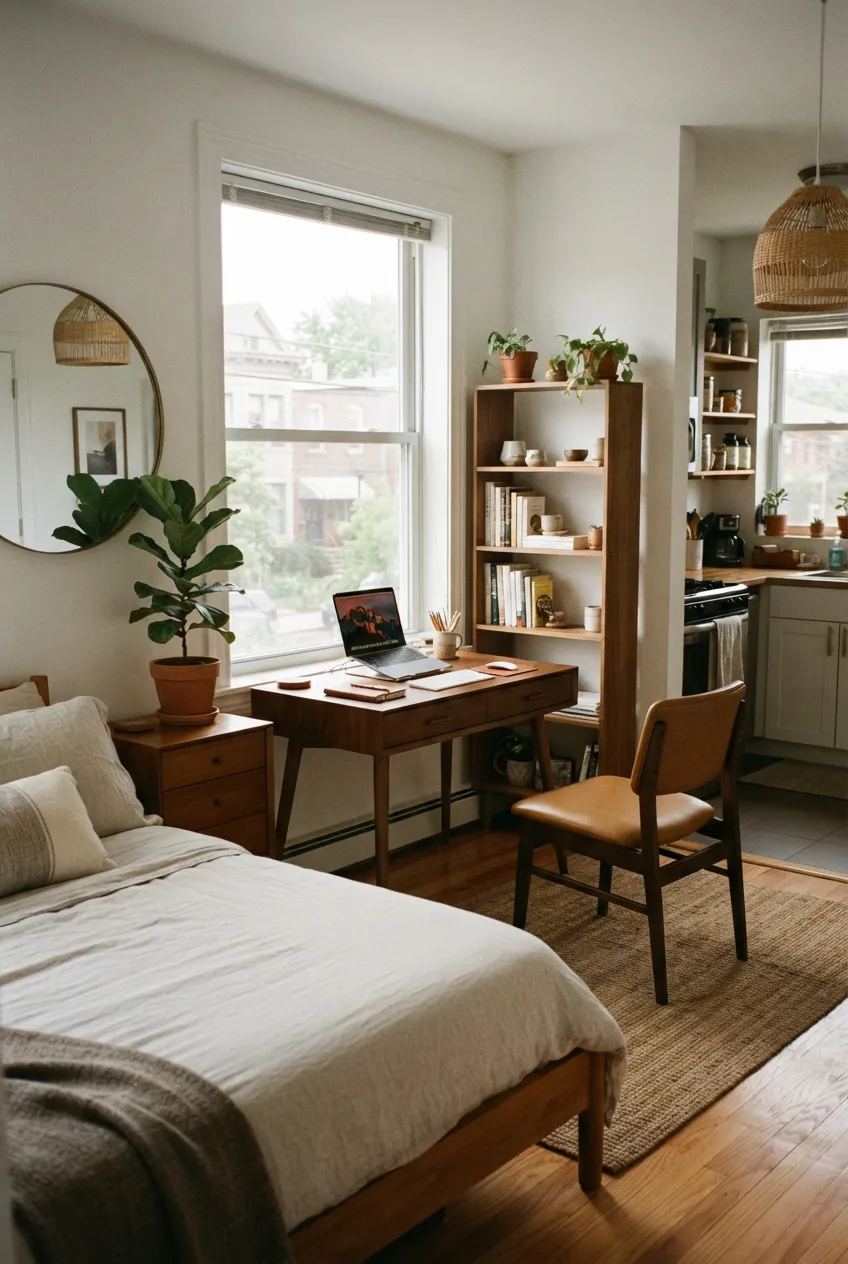
A freestanding desk hutch or desktop shelf can lift notebooks and small supplies above the work surface. Choose one shallow enough that it does not push the monitor too close or block the window. Keep the lower space clear for the keyboard, writing, and the things you actually use each day.
Check the desk’s load rating and the hutch’s stability. Leave enough room to move the chair back and open nearby drawers. A higher tier should organize a few related materials, not become a second cluttered desktop. For more desk placement options, see the studio workspace ideas.
11. Reserve the Wardrobe Top for Light Seasonal Boxes
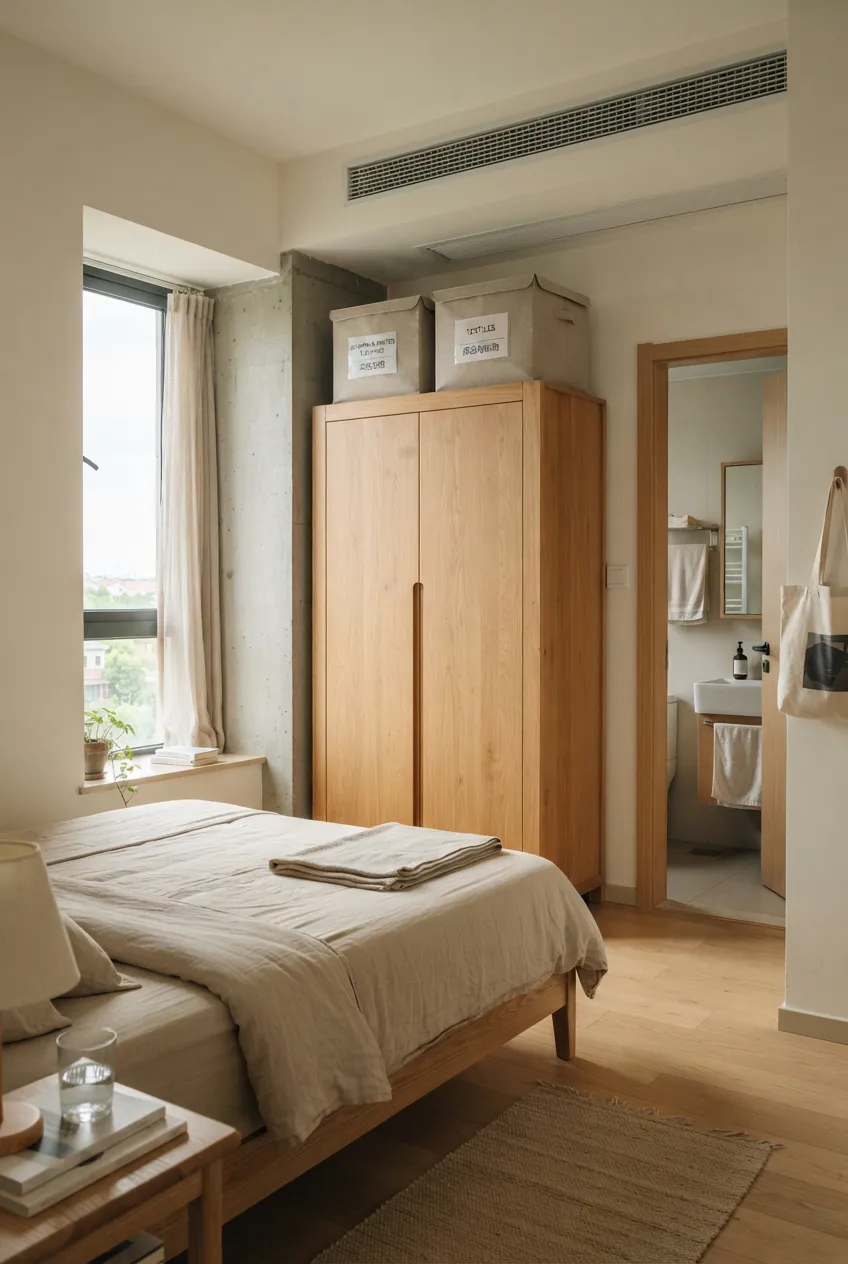
If a sturdy wardrobe already stands in a safe position, its top may hold a small number of lightweight, closable boxes for out-of-season accessories. The boxes should sit wholly on the top surface, not overhang an edge. Label them so you know what to bring down when the season changes.
Check the wardrobe maker’s guidance before adding weight and make sure the unit is secured as required. Do not block a vent, touch the ceiling, or stack boxes where they could fall onto the bed or a route. Daily items should remain below, where they can be reached without climbing each morning.
12. Put a Corner to Work With a Small Freestanding Shelf
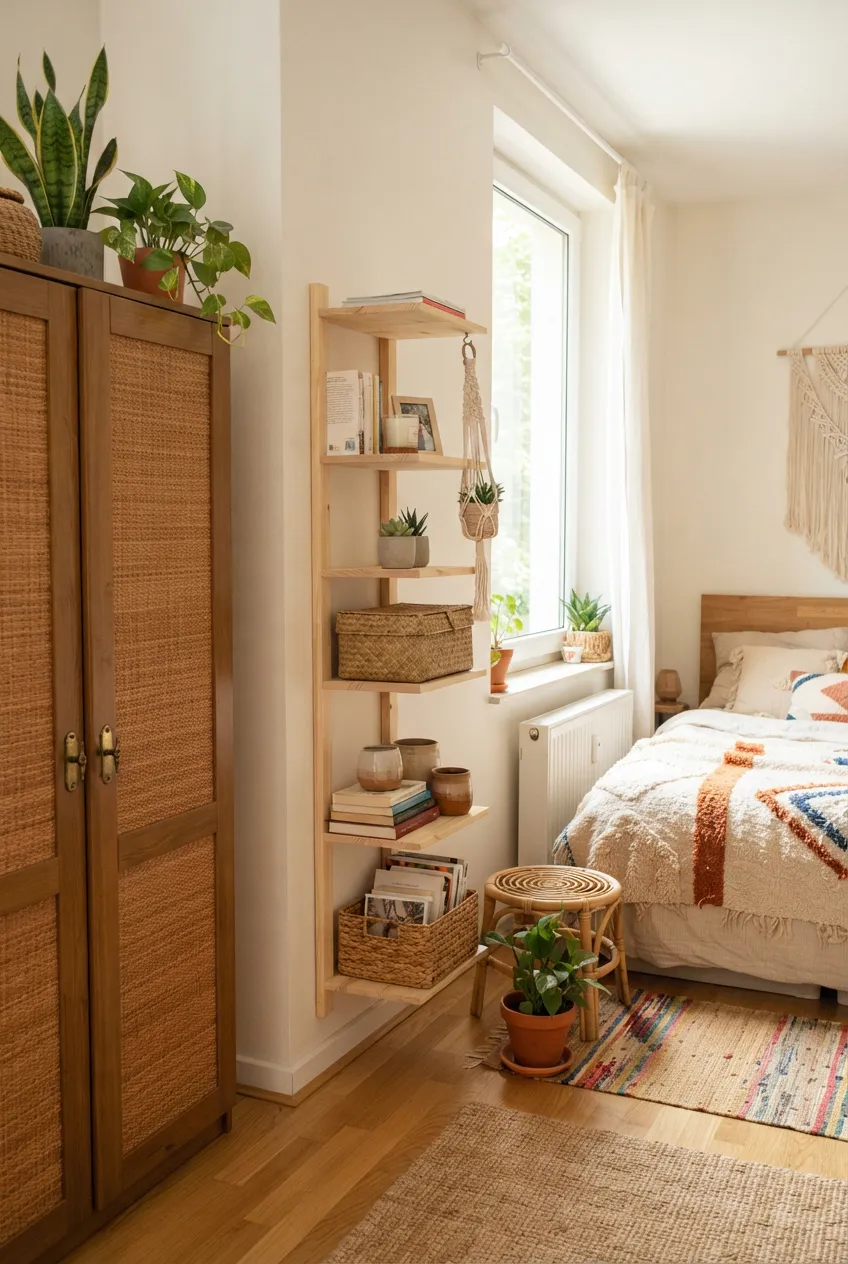
An awkward corner beside an existing cabinet may fit a compact corner shelf when a full rectangular bookcase would jut into the room. Use its lower levels for heavier, stable items and upper levels for a few lighter things. This is most useful when it takes advantage of a corner that cannot hold another essential activity.
Measure both wall sides and the distance to doors or drawers. A corner unit must not cover the window, heater, or only walking route, and it needs the stability or anchoring its maker specifies. If it merely fills a corner while making nearby furniture harder to use, leave that corner open.
Final Thoughts
Vertical storage works when it gives each level a clear job. Start with the furniture and cabinets already in the studio, add only the riser or narrow unit that solves a real capacity problem, and keep heavy or frequently used items low. Before keeping a tall setup, test the doors, walking route, reach, and stability with the storage fully loaded.
More Studio Apartment Ideas
 |  |  |
|---|---|---|
Storage Ideas | Studio Closets | Studio Layouts |