An awkward studio is rarely awkward in the same way as another. One has a front door in the middle of the only useful wall; another has a column exactly where a sofa should go. Moving furniture around at random will not fix either problem. First mark the features that cannot move: door swings, windows, kitchen and bathroom access, heaters, and structural bumps. Then give the remaining floor clear jobs.
The ideas below start with ten specific room shapes or obstacles. Each solution keeps the studio as one usable living space and checks the everyday route from the entrance to the bathroom. If your room is mainly long and narrow, the long narrow studio layout guide addresses that different problem in more depth.
1. Give a Mid-Wall Entry Door Two Small Landing Zones
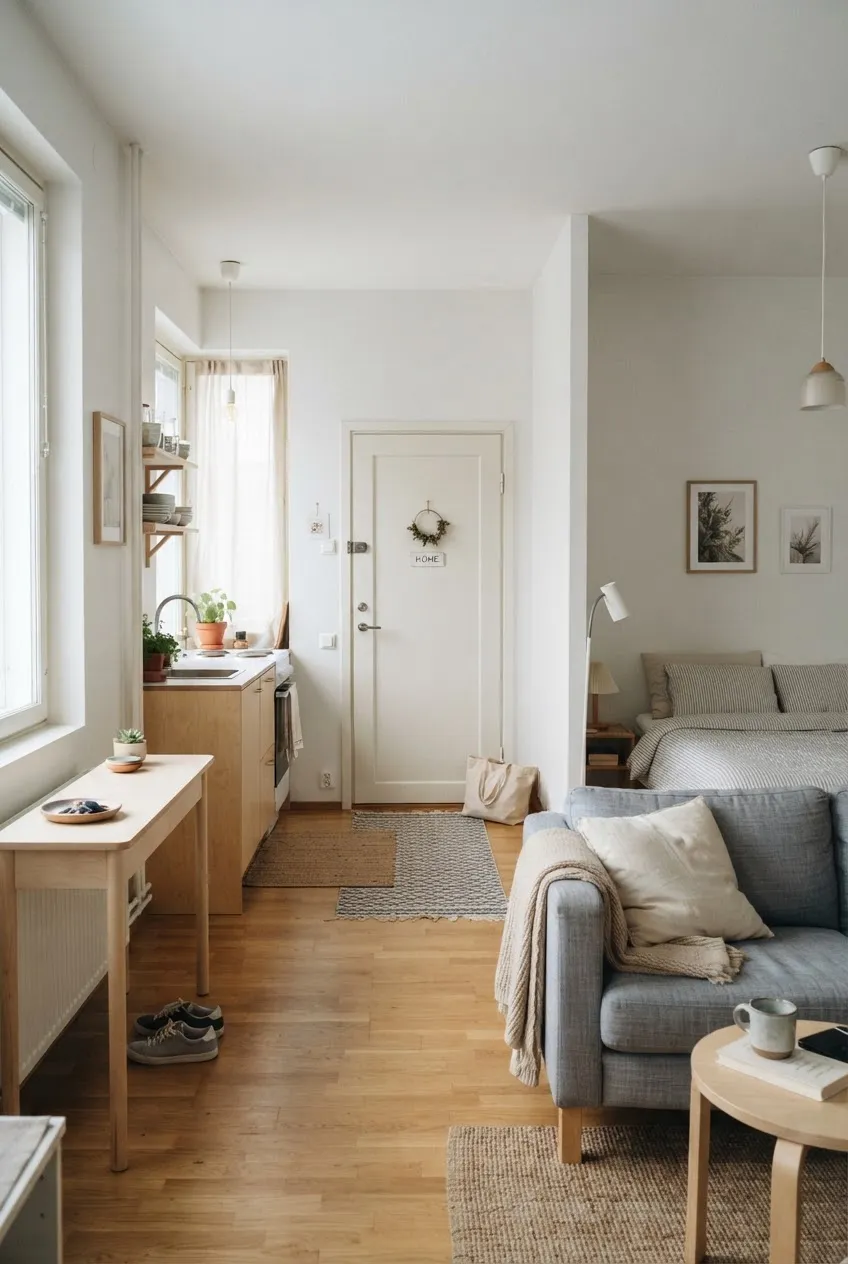
When the front door opens into the middle of the main wall, a large entry cabinet often steals the space needed for the door and the first step inside. Treat the wall on each side of the door as two short zones: one for a tiny landing surface, the other for shoes or a hook if the wall and lease allow it. Put the larger sofa or bed on a different wall rather than forcing it across the entry.
Open the front door all the way and trace where a person with bags actually walks. Measure the clear wall run and the depth available outside the swing before buying anything. If a landing surface fits without narrowing that route, browse slim console tables on Amazon and compare their full depth and leg position with your measurements. The studio entryway guide has more ideas for the daily drop zone.
2. Put the Larger Zone on the Longer Side of an Off-Center Window
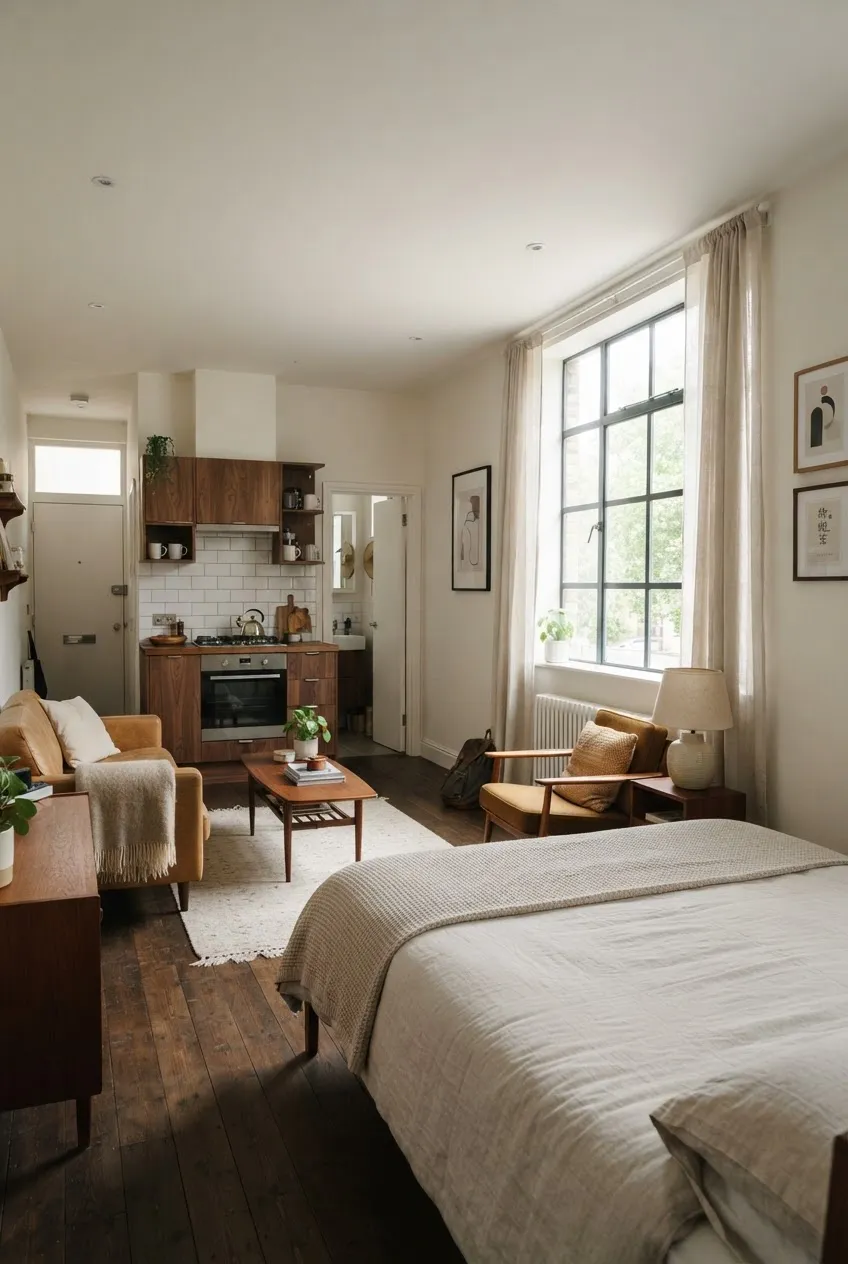
An off-center window creates two unequal wall sections. Trying to center the whole room around the glass may leave an unusable sliver on one side and a cramped bed on the other. Instead, use the longer uninterrupted wall run for the larger piece, such as the bed or sofa. Let the shorter side hold a narrow chair or a compact desk only if it does not cover the window or its opening.
Check the window’s opening arc, curtain space, heater location, and the view from the seat or bed. The furniture need not look symmetrical to work well. A clear window and a comfortable path are more valuable than matching the two sides visually. For more placement options, see the studio bed placement guide.
3. Let a Structural Column Define the Sofa’s End
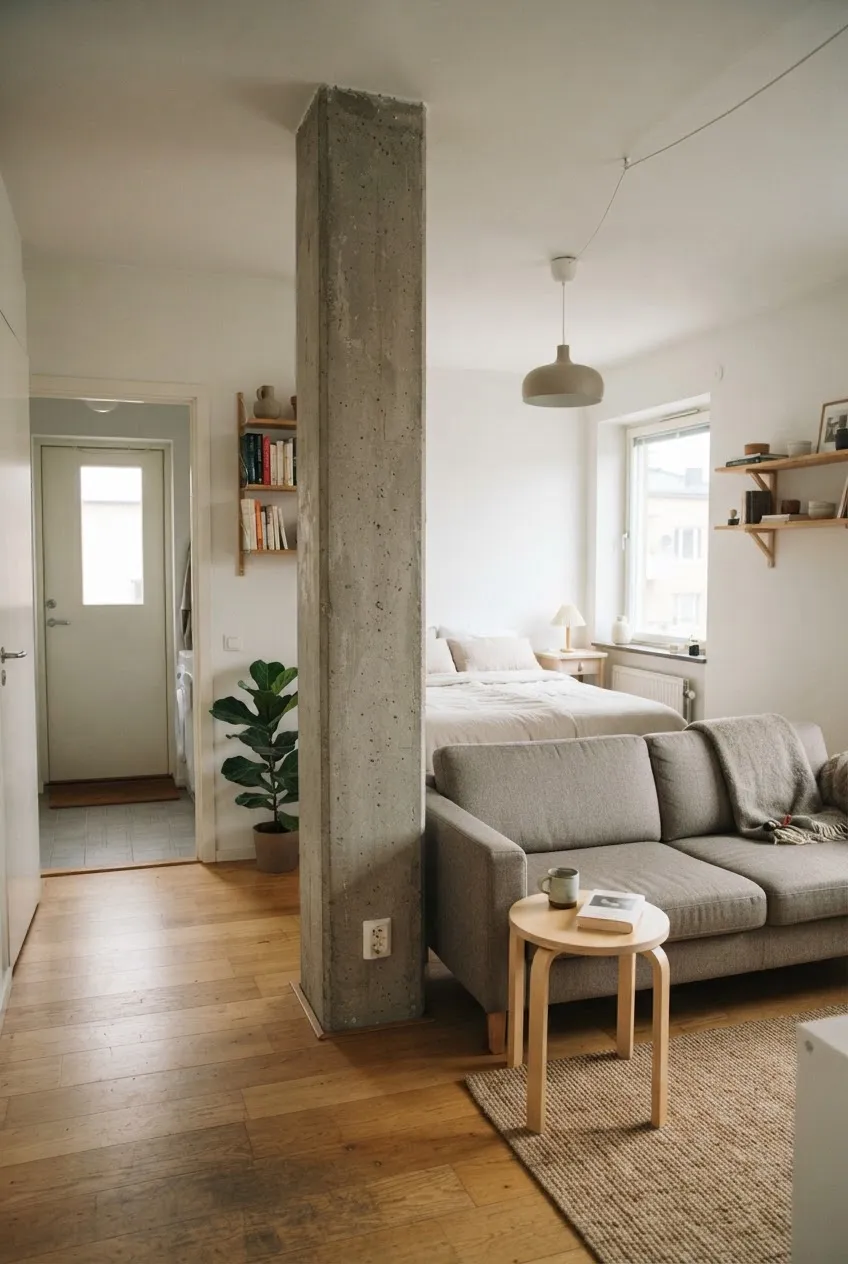
A column near the room center can make a normal sofa arrangement feel one piece too long. Place the sofa so one end stops before the column, then use the column as the visual edge between sitting and another activity. A small side table can sit on the sofa side if it stays outside the walking route. Do not bridge the gap with a long shelf that turns the column into an obstacle course.
Measure around all four sides of the column, including the path past it with the sofa occupied. Keep access to outlets and any building equipment. If the column makes the only route pinch too tightly, move the sofa to the other wall and use a chair in the sitting zone instead. The column should clarify the layout, not dictate an unsafe squeeze.
4. Use a Too-Shallow Alcove for Things You Can Pull Out
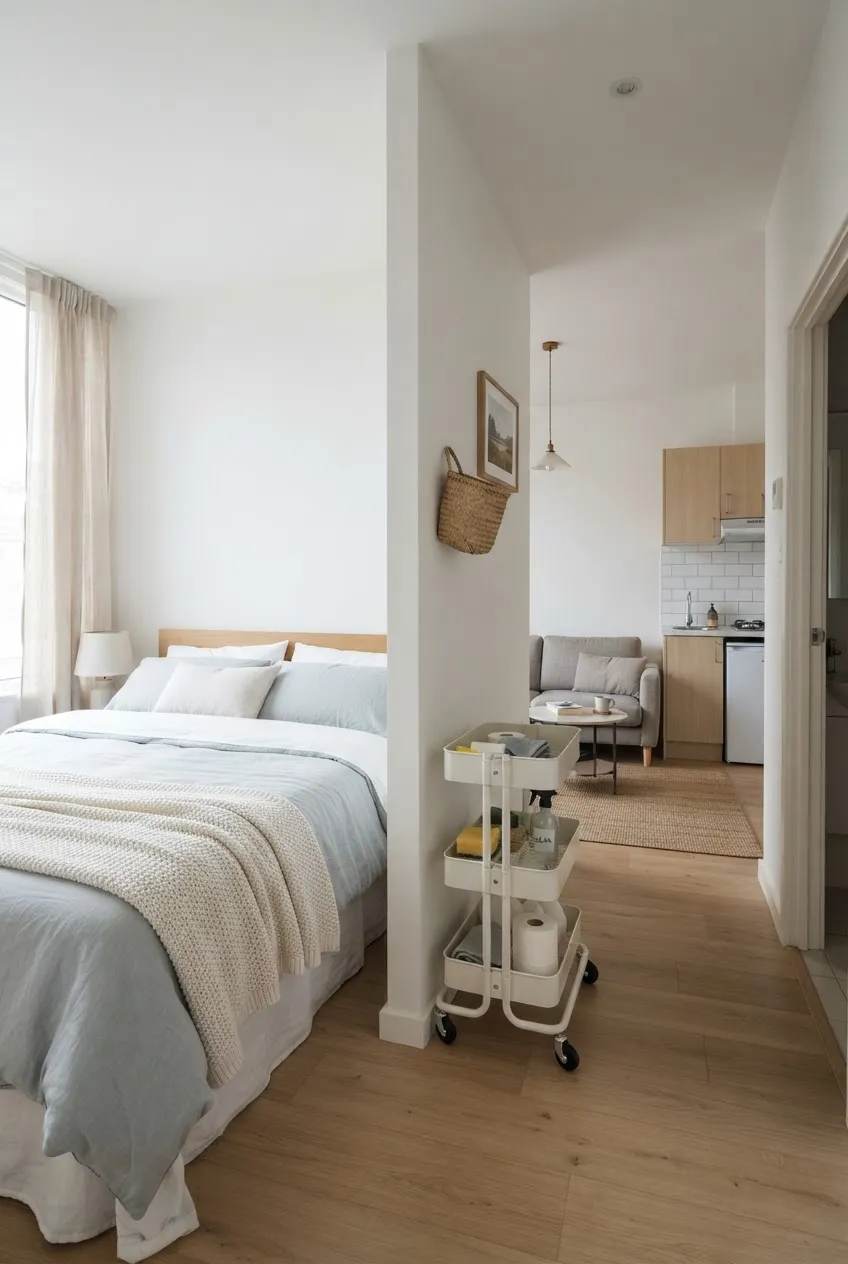
A recessed nook may look like a bed niche in a floor plan but be too shallow for a real mattress, frame, and usable side access. Do not push the bed partly into it and leave the foot projecting across the room. Place the bed on a full wall and give the alcove a smaller job: books, cleaning supplies, or a movable storage cart that can be reached from the front.
Measure the recess at floor level and above any baseboard, then check the cart’s handles and wheel clearance as well as its body width. If the nook has space to roll it out without blocking the only path, browse [small rolling storage carts on Amazon](small rolling storage cart for narrow spaces) and compare their complete dimensions with the opening. The no-closet storage guide covers other small storage gaps.
5. Keep Square Furniture Off an Angled Wall
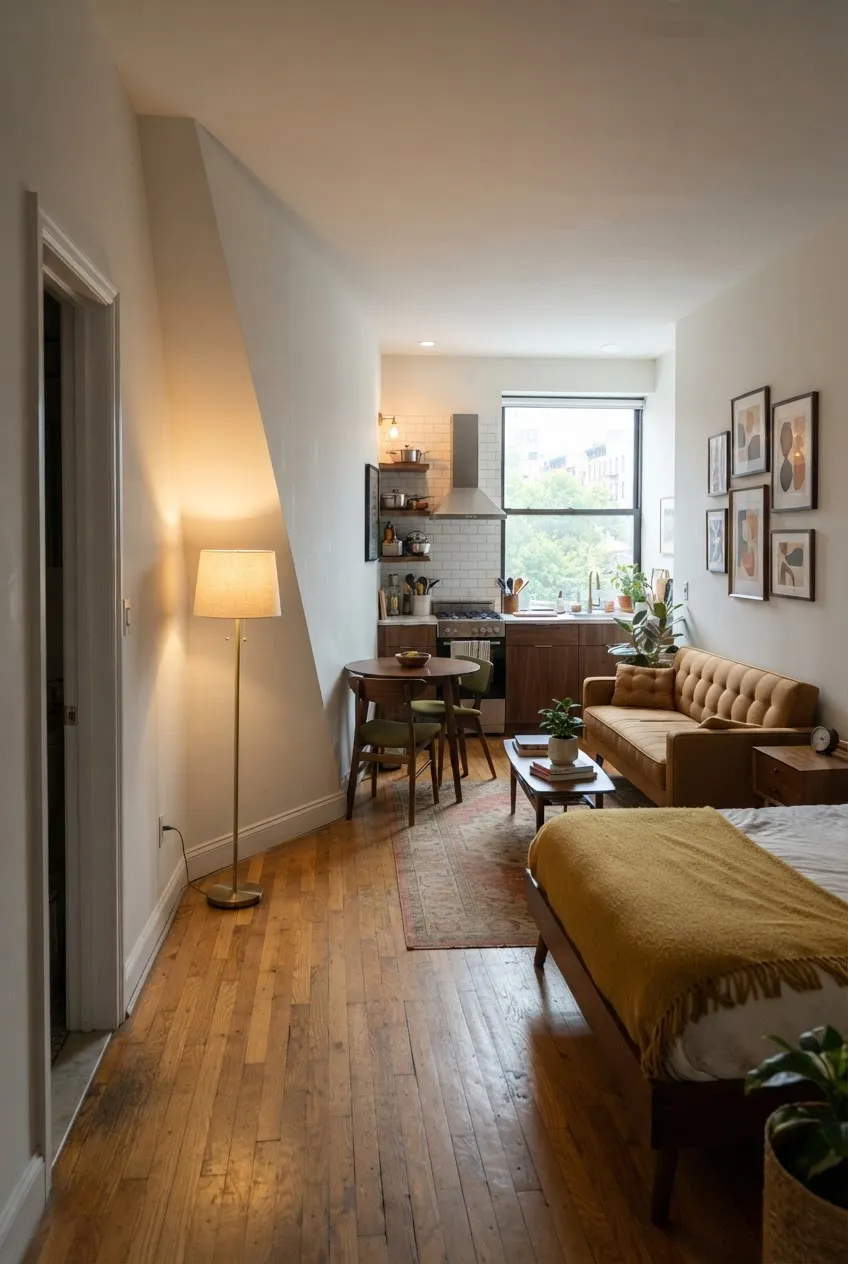
An angled corner tempts you to buy a wedge-shaped piece or turn every item diagonally. That can make a small studio harder to walk through. Keep the bed, sofa, and main table parallel to the straight walls. Leave the tapered corner as breathing room, or place one modest floor lamp there if its base and cord remain outside the route.
Use a simple floor outline and mark the smallest depth of the angled corner, not just its widest point. A standard piece only belongs there if its full footprint fits without creating a hidden dead pocket behind it. The aim is to make the working parts of the room orderly while accepting that one corner is irregular.
6. Give the Short Return of an L-Shaped Room One Clear Job
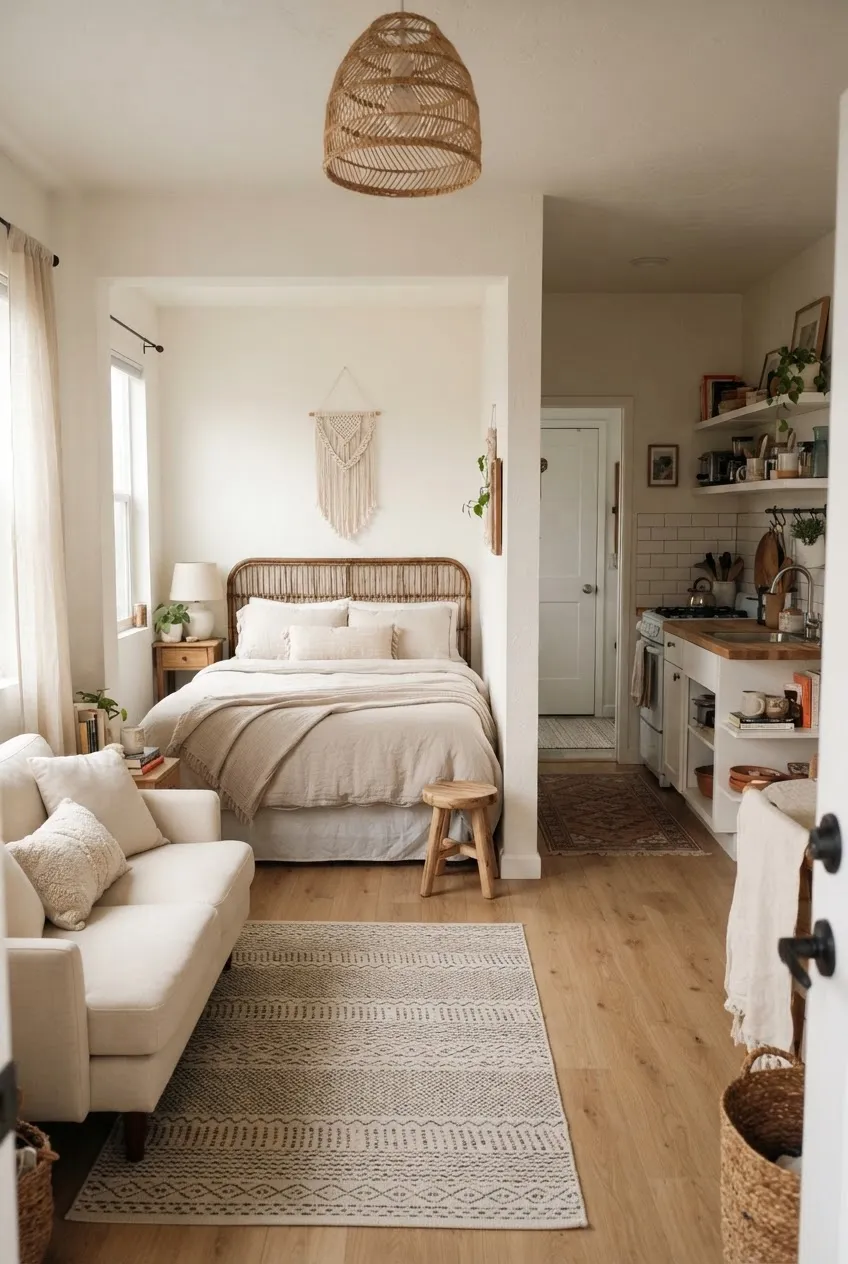
In an L-shaped studio, the short return can become a forgotten holding pen for furniture that did not fit elsewhere. Choose one use for it based on its light and access: a sleep spot if the bed fits with a usable approach, or a desk if the window and outlets make that practical. Keep the main leg of the L open enough for the entrance-to-bathroom route.
Before settling on the return, walk from the entrance to the kitchen and bathroom with the chair pulled out or the bed made. A return that hides the bed but makes every trip around it awkward is not a good trade. Use a rug or the furniture orientation to distinguish uses; an added wall is unnecessary.
7. Line Up Seating With a Kitchen Peninsula’s Edge
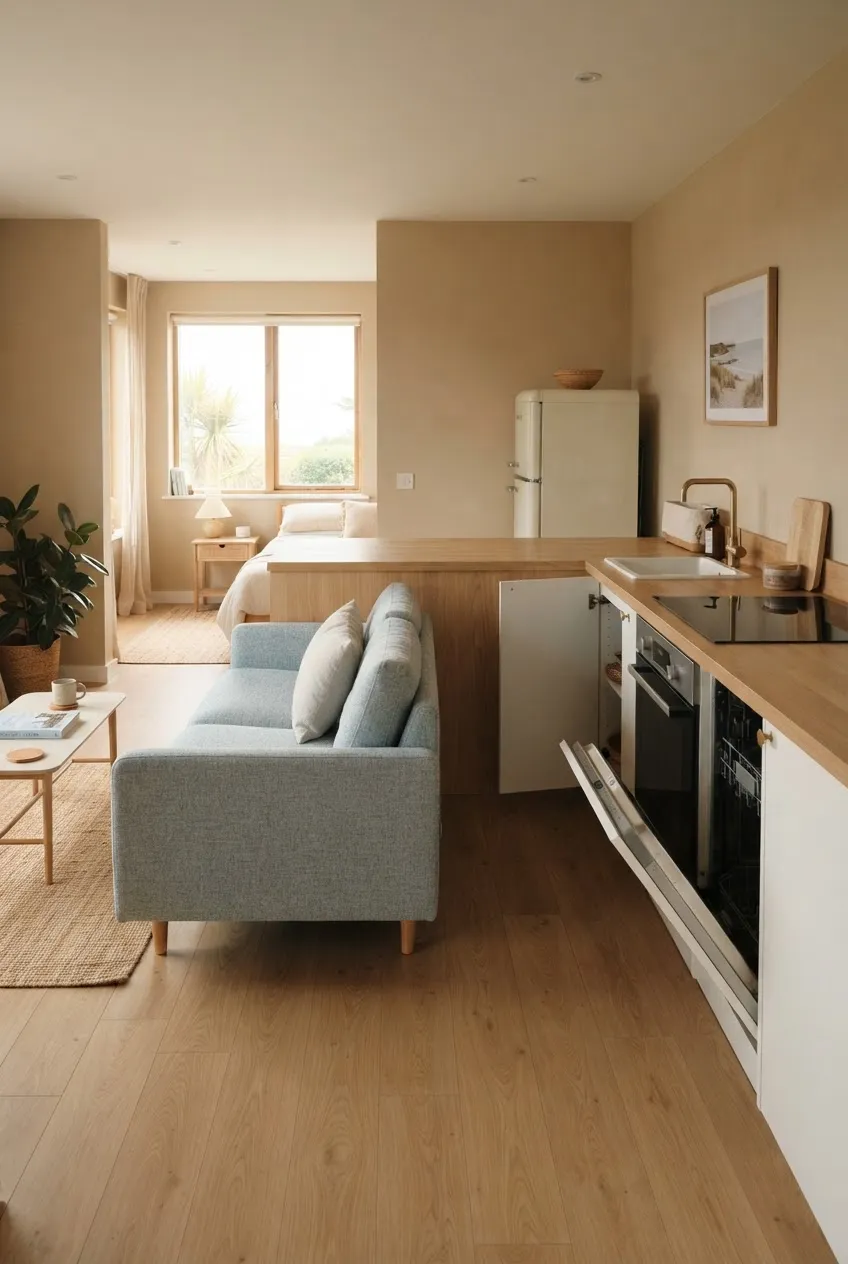
A peninsula that projects into the studio can seem to split the room at the wrong point. Rather than placing the sofa perpendicular to it and creating two cramped corridors, align the sofa or dining table with the peninsula’s outer edge. This gives the cooking zone a clear limit while keeping one continuous route around it.
Test the real working position: cabinet and dishwasher doors open, a chair pulled back, and a person moving between sink and refrigerator. Never turn the peninsula into the only passage to the bathroom. If the kitchen is the main constraint, the small studio kitchen guide goes deeper into that zone.
8. Keep the Bathroom Door’s Sweep as an Empty Pocket
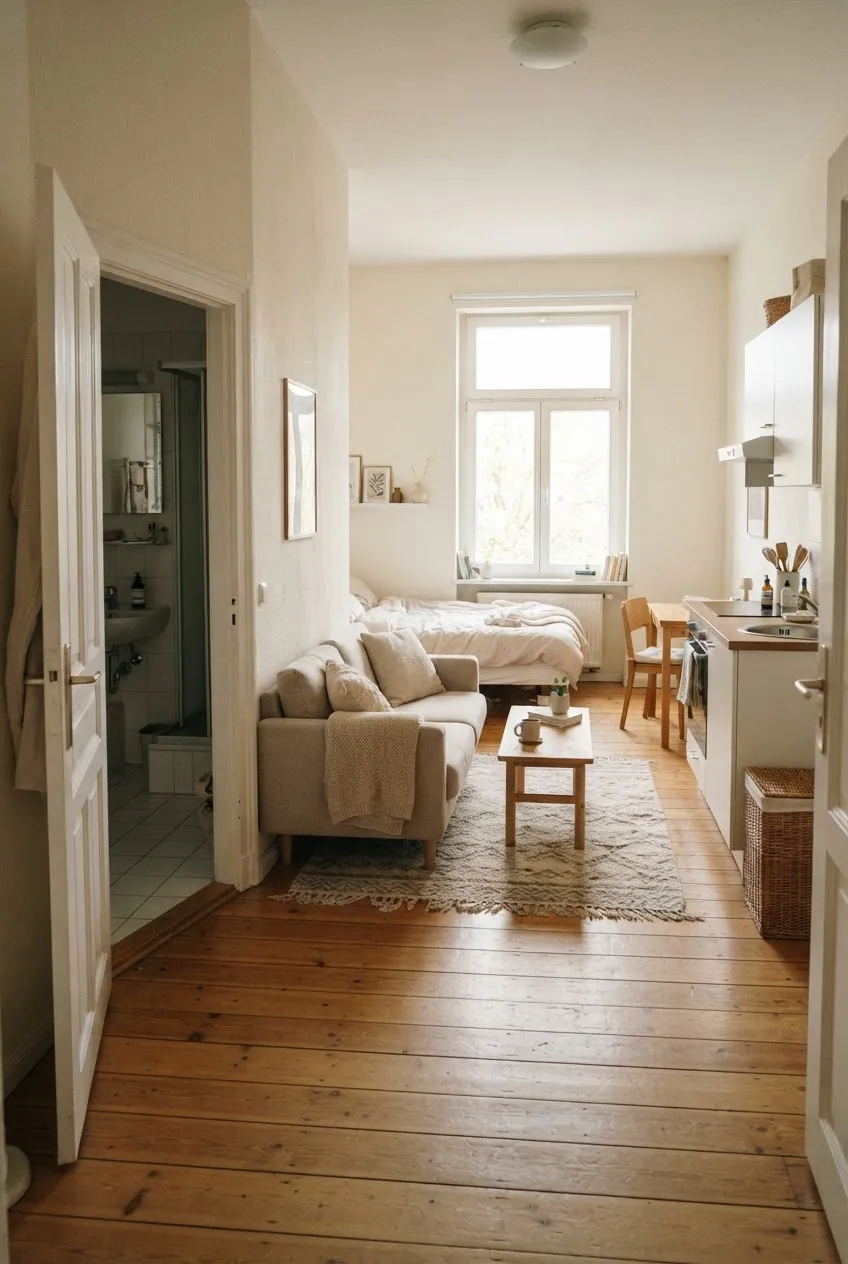
A bathroom door that opens outward into the main room can cut across the most obvious sofa or table position. Draw its entire swing on the floor plan and reserve that pocket. Put the sofa just beyond the sweep, with a low table or rug defining the seating area farther out. Do not use a wheeled item as a permanent occupant of the door pocket; it will eventually be left there.
Open the door fully with the room arranged for normal use, including a dining chair out and laundry basket in its usual place. The path to the bathroom should work at night as well as in a staged photograph. If the space cannot support both the proposed furniture and the door, reduce or relocate the furniture first.
9. Arrange Furniture Around a Closet Door’s Full Opening
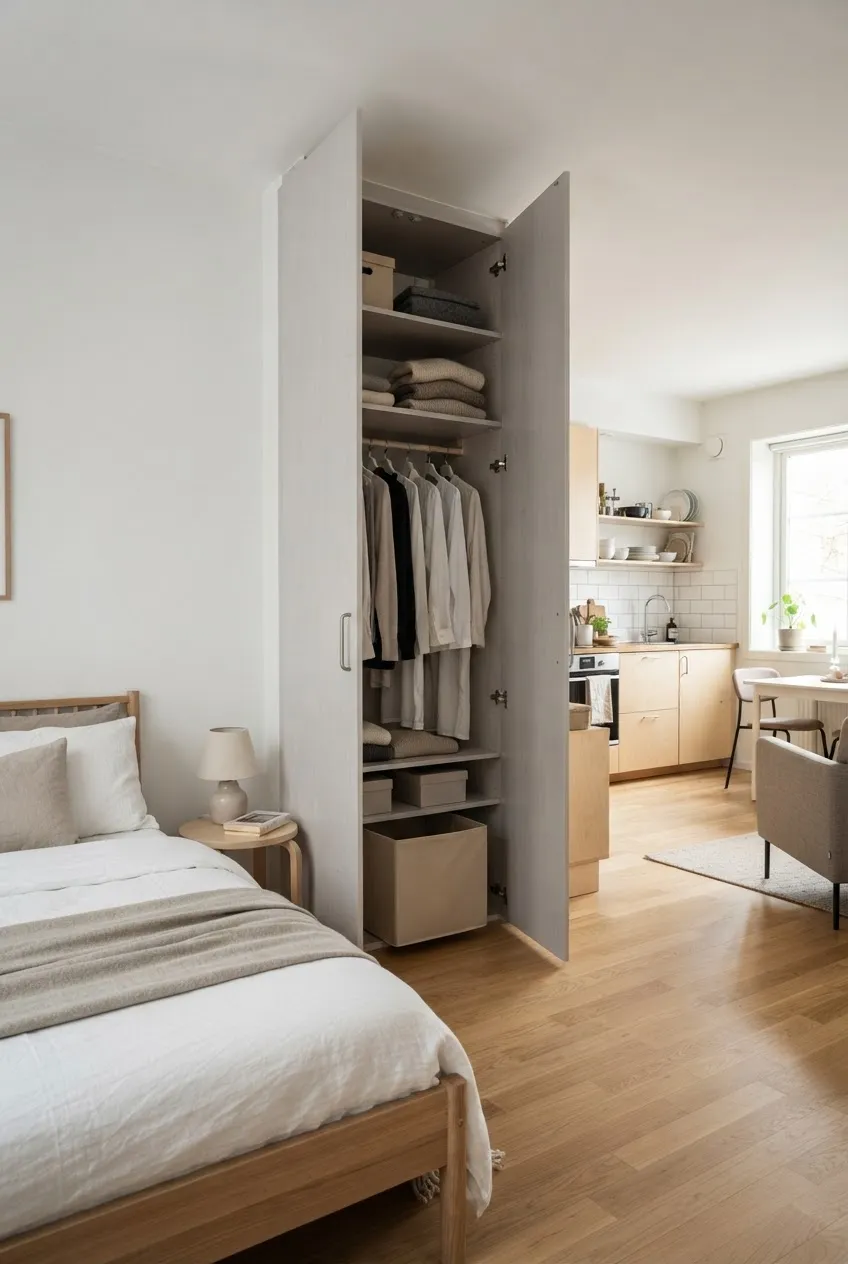
A built-in closet can be valuable but still make the surrounding wall difficult to furnish. Keep the wardrobe door’s whole swing and the standing space in front of it free. Position the bed or sofa on the adjacent wall, then use a small bedside surface or wall-mounted shelf only where it does not intercept the opening.
Try taking out a bulky item, not just opening the door a few inches. If the closet has sliding doors, check the usable opening width and any overlapping panels. Avoid laying a rug or placing a chair where it must be moved for every ordinary wardrobe visit. The studio closet ideas guide has more ways to use the closet itself.
10. Work Around a Heater or Low Soffit on the Only Long Wall
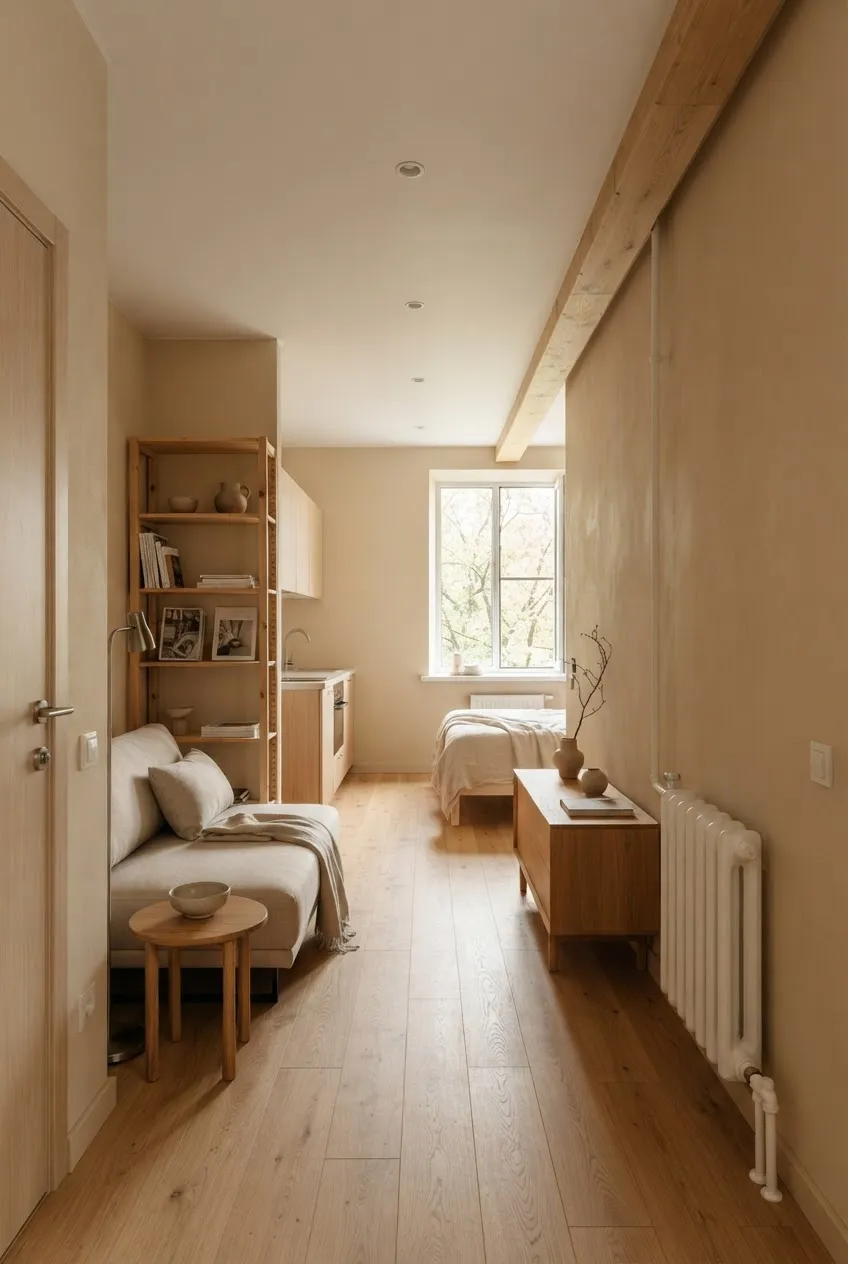 The longest wall is not always the right wall for a tall bookcase or bed. A radiator, baseboard heater, or low soffit may make parts of it unsuitable. Follow the heater manufacturer’s and building’s clearance requirements; do not hide a heat source behind a sofa, curtains, or storage. Under a low soffit away from heat, a low dresser or the head of a bed may fit better than a tall unit.
Map the unusable section first, then place the tallest furniture on a wall with proper height and access. Check that windows still open, heat can circulate, and the route to the bathroom remains direct. An apparently empty strip beside a heater is an intentional safety and maintenance space, not wasted floor.
Final Thoughts
The best awkward studio layout responds to its particular constraint. Measure the fixed features, test doors and furniture in their fully open positions, and protect one easy route through the room. You can then make the bed, seating, kitchen, and storage fit around what the building actually gives you rather than around a perfectly rectangular sketch.
More Studio Apartment Ideas
 |  |  |
|---|---|---|
Narrow Layouts  | Studio Beds | Studio Layouts |