In a studio apartment, one wall may serve the bed, sofa, desk, and route to the bathroom. Mounting storage can free a table or patch of floor, but a shelf that is too deep, too high, or attached to the wrong surface can make the room harder to use.
These ideas focus on storage fixed to a suitable wall and the space it needs around it. The vertical storage guide covers other ways to use height, including freestanding furniture and organizers inside cabinets. Before drilling, check your lease or building rules, the wall material, the manufacturer’s mounting instructions, and what may be behind the wall. If you cannot establish a safe mounting method, leave that section of wall alone.
1. Draw a Wall and Load Map First
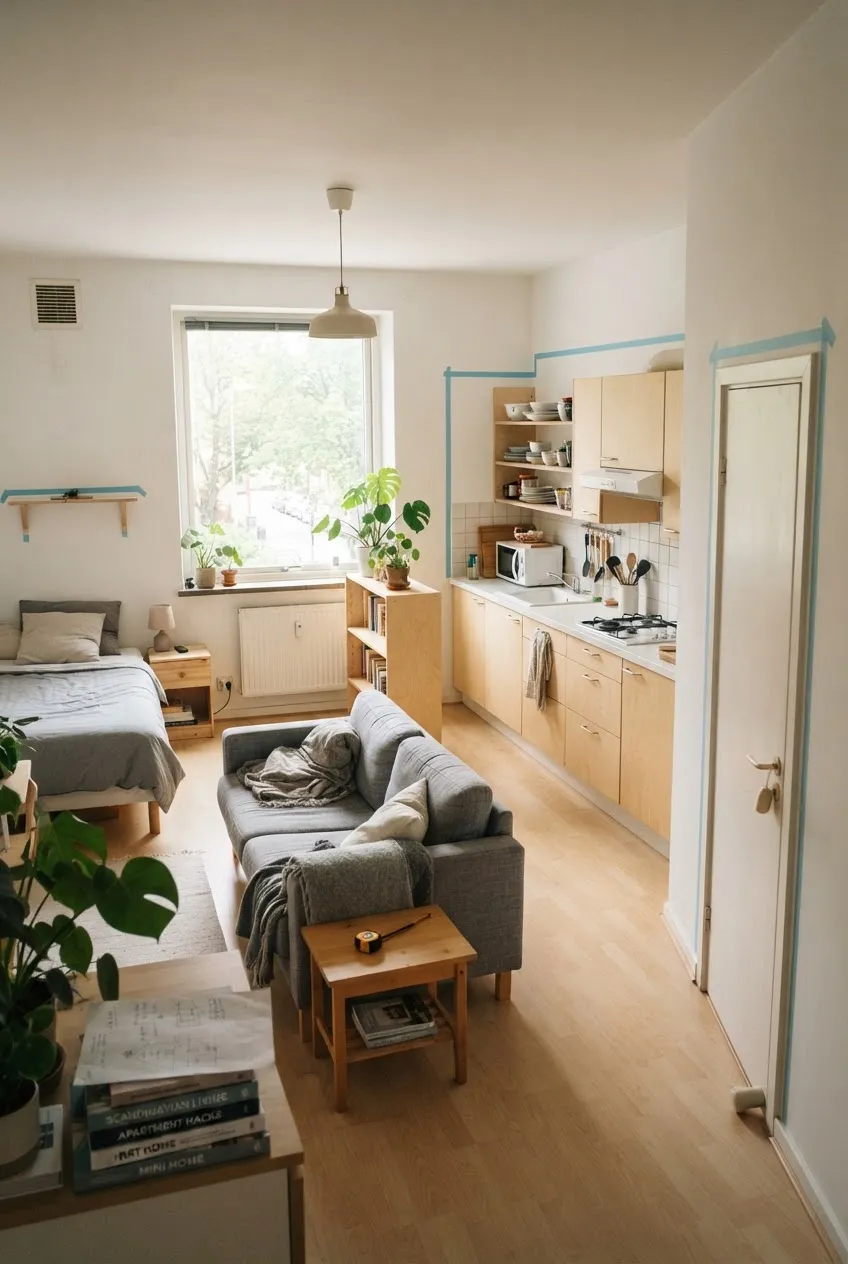
Measure the clear width and height of each candidate wall section. Mark door swings, windows, vents, switches, outlets, heaters, and furniture that must pull out. Then list the objects you want to store and weigh the filled shelf, rail, or cabinet as a whole, including the fixture itself. A patch that looks empty above a chair may be a poor place for a heavy shelf.
Match the mounting method and fasteners to the particular wall and product. Check for concealed services before making holes, and seek qualified help when the wall or wiring is uncertain. Keep storage out of the studio’s only walking route and away from spots where a falling object could strike someone sleeping or sitting. This map is what makes the next eleven ideas selective rather than a wall full of hardware.
2. Put a Shallow Shelf Beside the Sofa
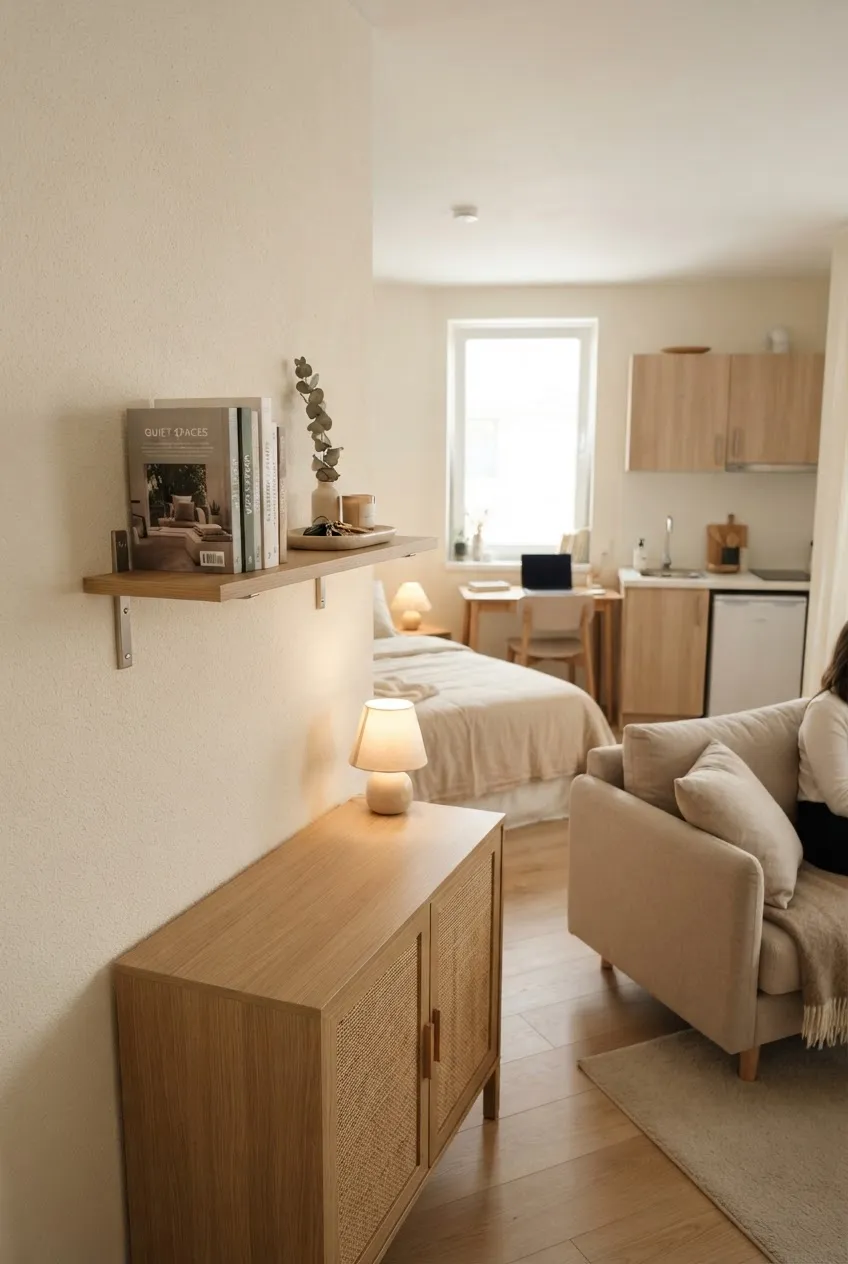
A short, shallow wall shelf above a low side cabinet can hold a few books or a small tray without adding another floor-standing bookcase. Put it on the wall beside the sofa, not directly above a seat or a person’s head. Check that you can reach the items without leaning over furniture and that the cabinet below can still open.
Measure shelf depth against the room’s walking width and calculate the weight of the items you will actually place on it. If this spot passes those checks, browse wall-mounted floating shelves on Amazon and compare wall-material requirements, bracket details, stated load, and shelf depth. Use the fasteners the manufacturer specifies for your wall; the shelf’s appearance says nothing about how much that installation can hold.
3. Give the Entry a Short Hook Rail
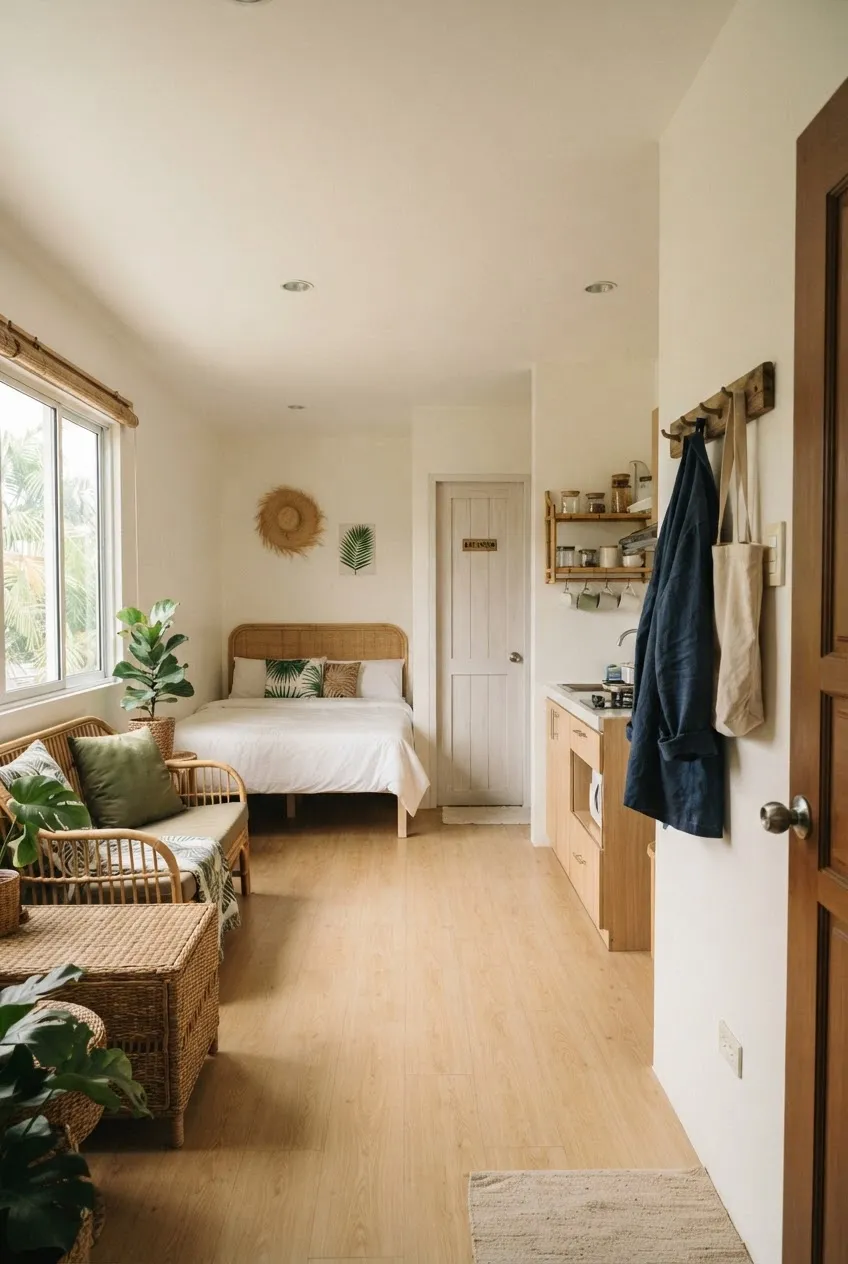
When the front door opens straight into the living space, a short mounted rail can give the current jacket and bag a place to land. Choose the wall section beside the door, outside its full swing. Space hooks so a hanging coat does not cover a switch, outlet, or the doorway itself.
Treat the weight of a full bag differently from an empty tote. Follow the rail’s installation and load guidance, and keep heavier bags on a suitable lower surface if the wall cannot support them. The entryway ideas cover the wider landing zone; the wall rail is just one controlled part of it.
4. Mount a Pegboard Above the Desk
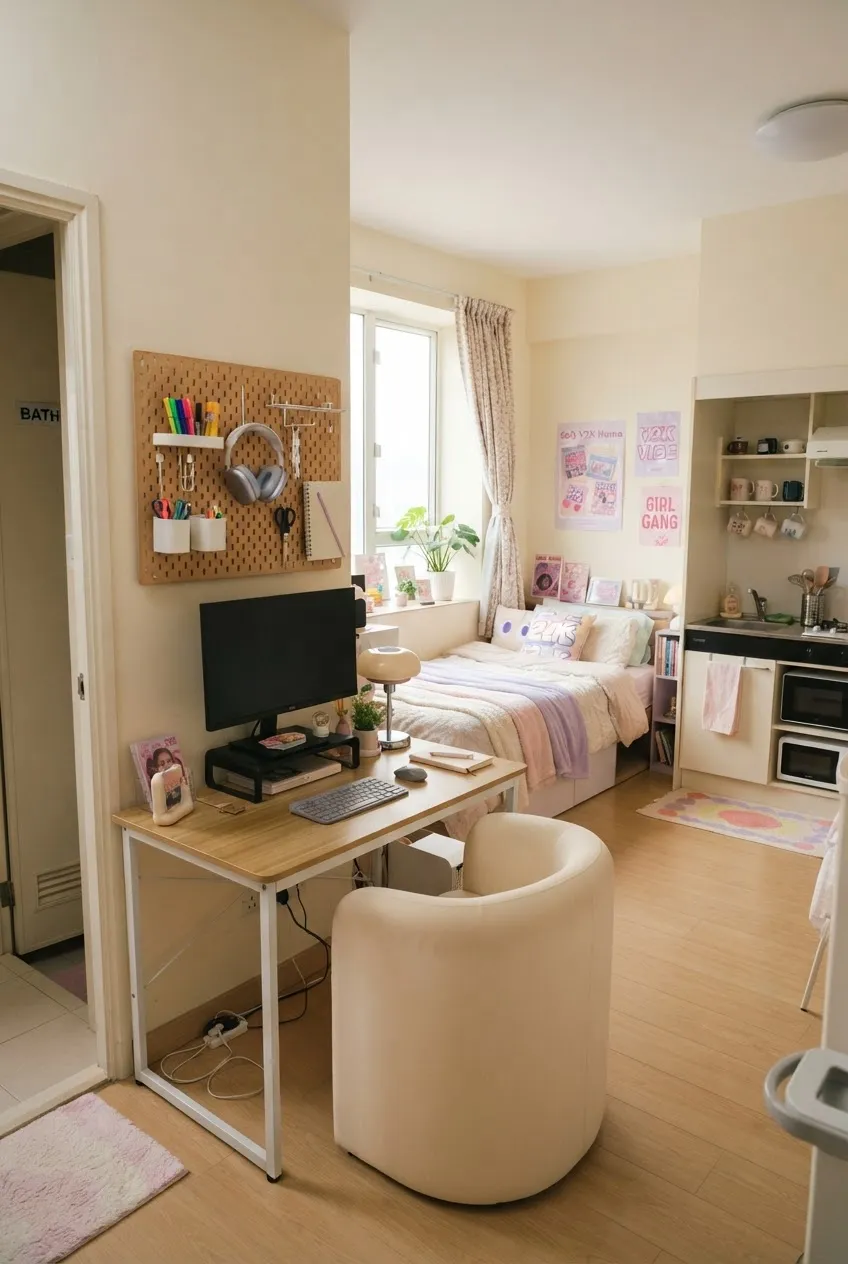
A pegboard can move pens, headphones, scissors, and a small notebook off the work surface while keeping them visible. Place it above the back of the desk, where seated reach is comfortable and the monitor is not crowded. Group hooks and cups by task rather than filling every hole.
Check the board’s mounting method, accessory fit, total loaded weight, and distance from any lamp or window covering. If the wall and desk position suit it, browse wall-mounted pegboard organizers on Amazon and compare panel size, included mounting parts, compatible cups and hooks, and installation instructions. A pegboard is best for small supplies, not a wall rack for heavy books.
5. Keep Paper in a Slim Wall File
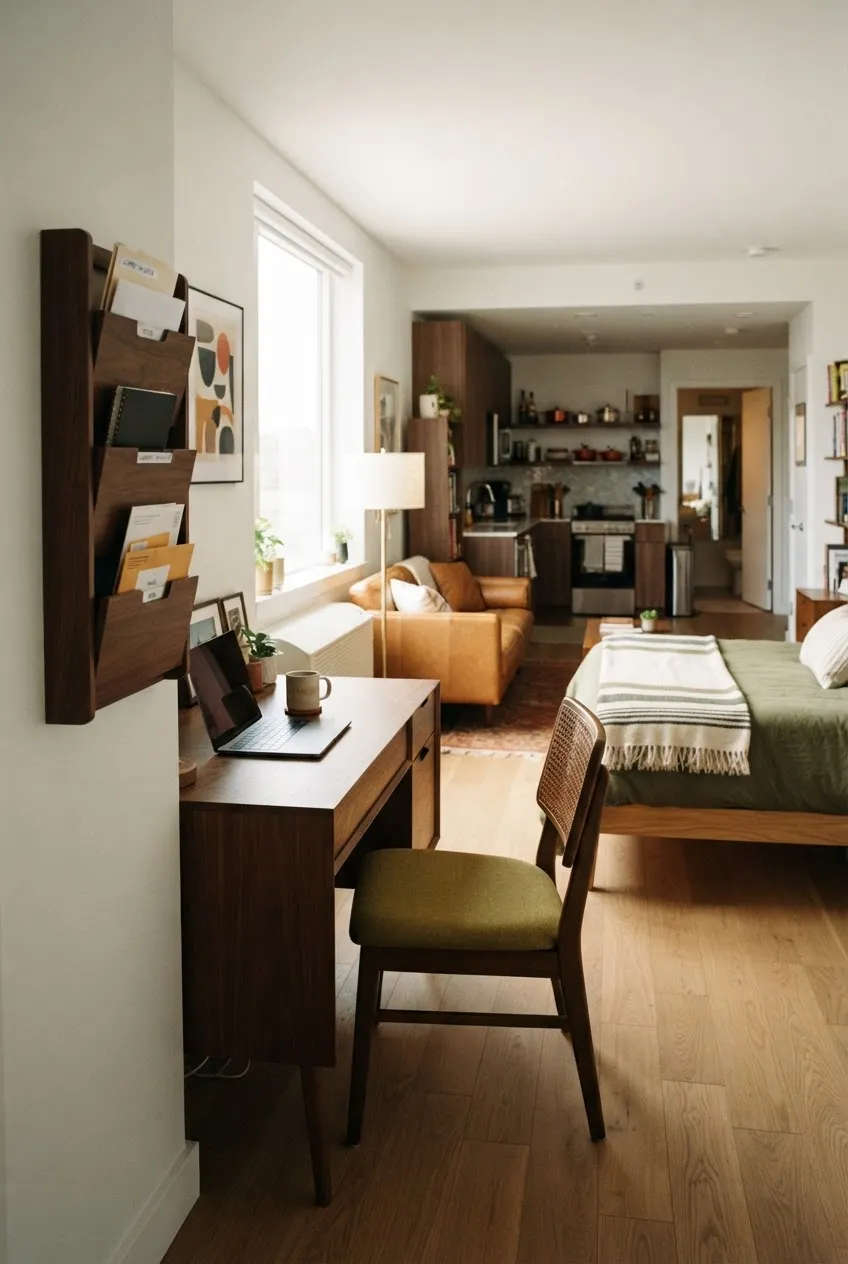
Bills, notebooks in use, and mail often consume the desk surface even when the rest of the supplies are organized. A narrow mounted file pocket beside the desk can hold only active papers. Place it at a height where you can see the contents without standing on a chair, and label a few sections by action, such as “to do” and “to file.”
Check the width of its loaded pockets so papers do not protrude into the chair’s pullback area. Empty it regularly; a wall file should not become a hidden archive of heavy folders. If there is no wall position that preserves the chair and window, use a desk drawer instead. The studio workspace guide covers the rest of the work area’s footprint.
6. Add a Short Utensil Rail Near Prep
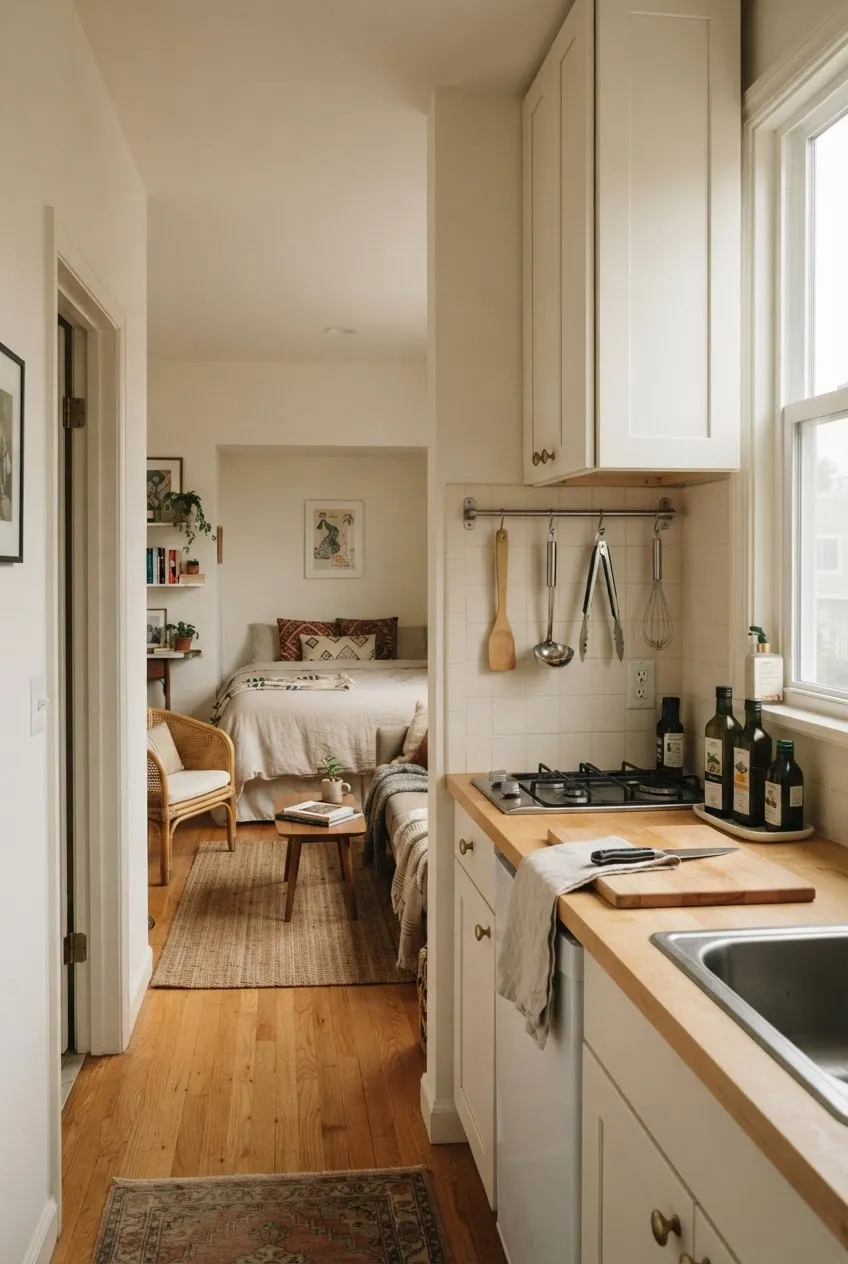
In a one-wall kitchen, a short wall-mounted rail near the preparation area can hold the few utensils used every day. Mount it where you can reach it from the worktop without leaning across the stove or sink. The rail should not block a cabinet door, backsplash outlet, or the counter space needed to chop and plate food.
Check the wall or backsplash material and the maker’s approved installation method before drilling or attaching anything. Hang only the tools the rail is rated to carry, with their tips clear of heat and splashes. The kitchen storage guide addresses cupboards and drawers; this rail is for frequently used tools at the point of use.
7. Give Spices a Narrow Kitchen Ledge
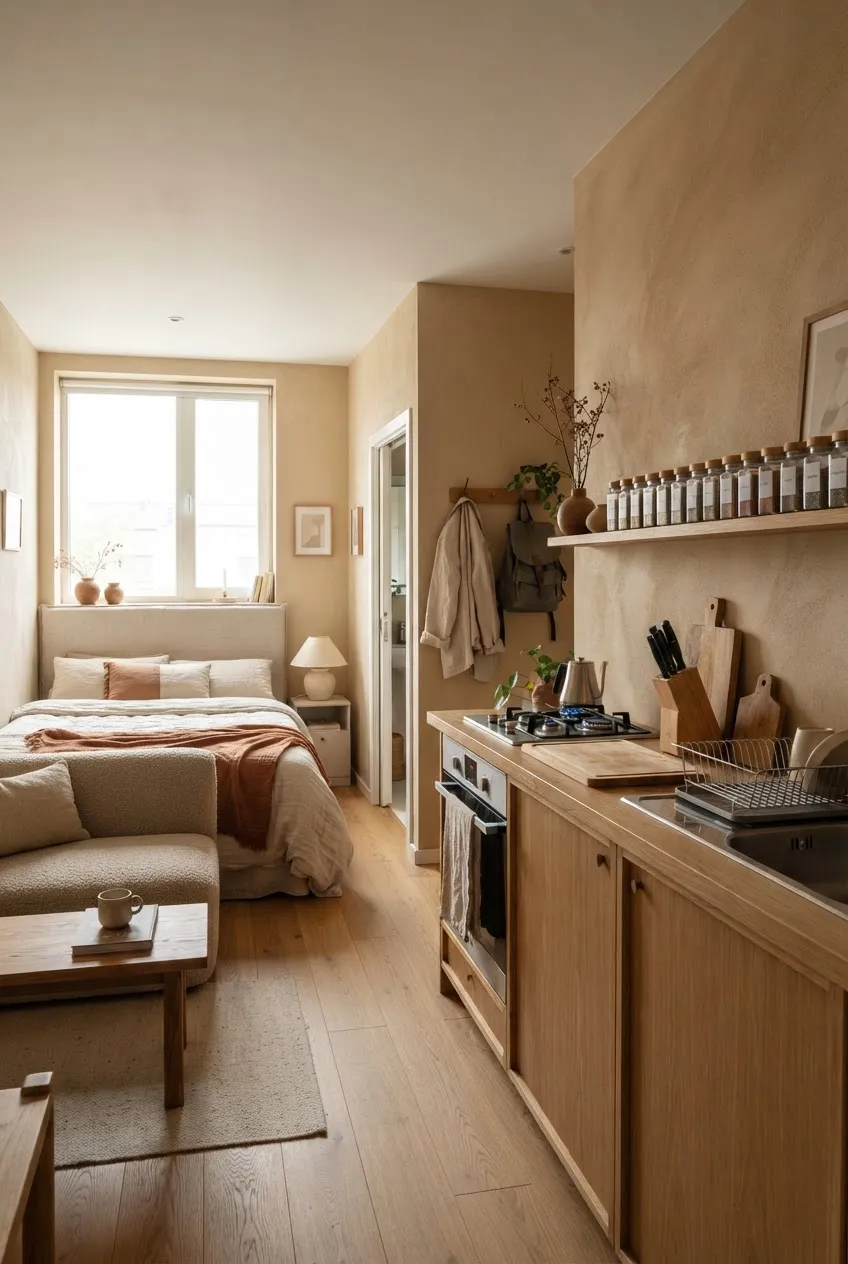
A narrow wall ledge on a suitable side section of the kitchen can hold a small group of frequently used spice containers while leaving the main counter clear. Keep the containers within reach and in a single row so labels can be read without lifting a second layer.
Measure the depth of the largest container and leave room for the cabinet doors to open fully. Keep the ledge away from direct stove heat, steam, and the sink’s splash zone, and follow any storage directions on the spice packages. If that wall is not suitable, a cabinet shelf is the better answer; wall storage should solve a real counter problem, not create a new one.
8. Use a Bedside Ledge on the Side Wall
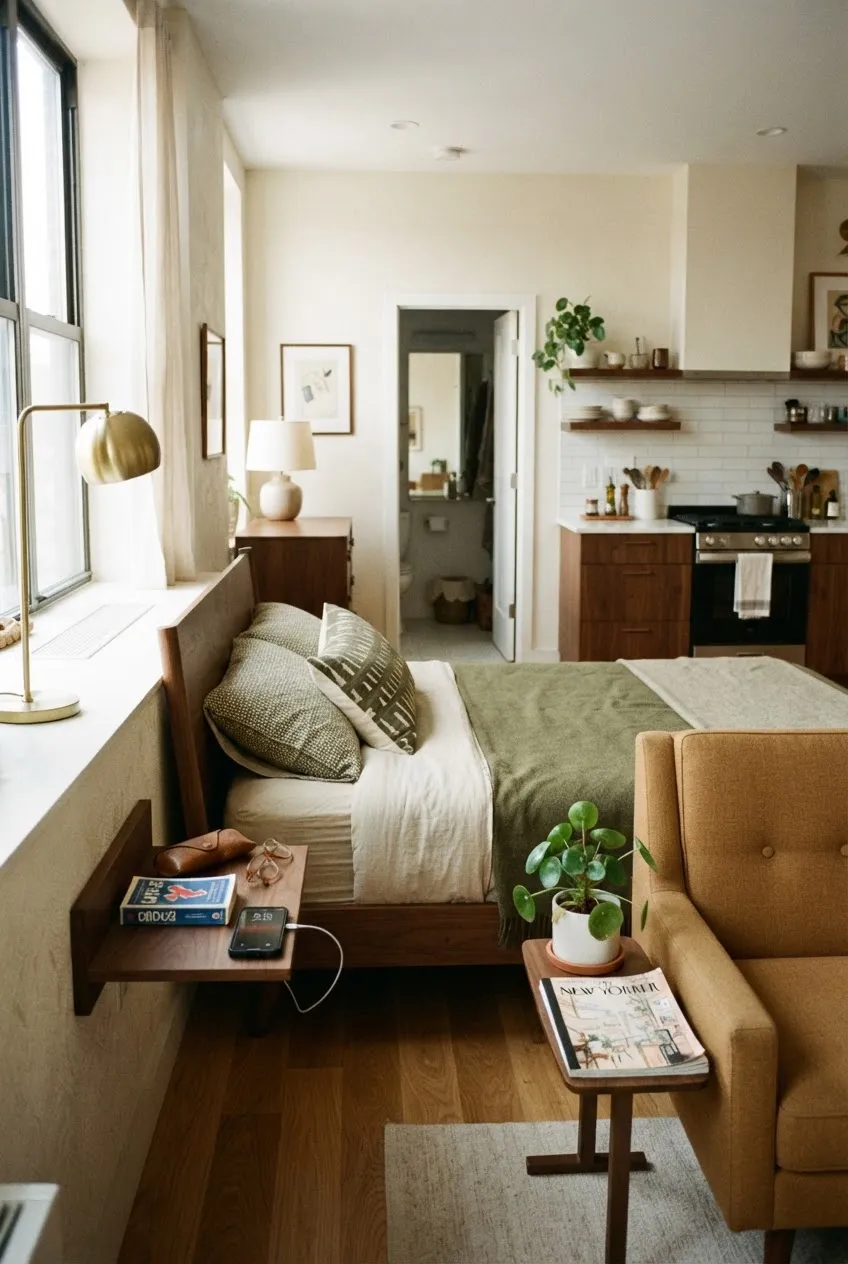
If there is no room for a full bedside table, a small mounted ledge on the wall beside the bed can hold a book, glasses case, and phone. Set it at an easy reach height and far enough from the pillow that its edge is not in the path of getting up. Keep it off the wall directly above the sleeper.
Check that the bed can still be made, the adjacent drawer can open, and the route to the bathroom remains clear. A narrow ledge is for light nightly essentials, not for a stack of books or an unstable lamp. For the broader relationship between bed and furniture, see the studio layout ideas.
9. Place a Small Bathroom Shelf on a Suitable Dry Wall
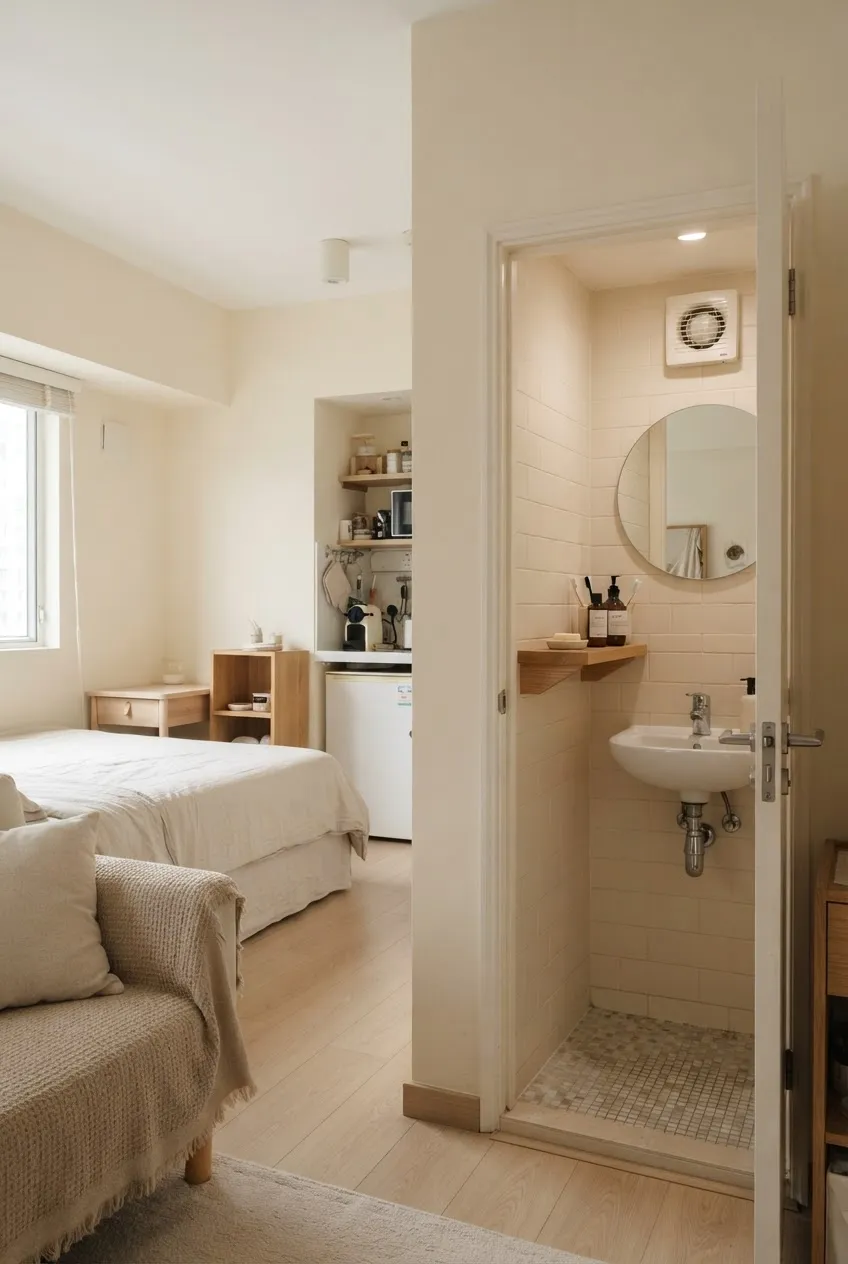
In a tiny bathroom, a compact mounted shelf can hold a few daily items above a clear surface, but it should not sit where shower spray constantly hits it. Choose a wall section that leaves the mirror, vent, door, and sink usable. Containers with a lip or a stable base are easier to handle than loose small bottles near an edge.
Confirm that both the shelf and fixing method are suitable for the wall and the room’s moisture. Avoid drilling into tile, pipes, or wiring without qualified advice, and do not assume an adhesive strip can support toiletries in a damp location. The bathroom storage guide covers the rest of the small bathroom’s storage.
10. Hang Cleaning Tools on a Utility Wall
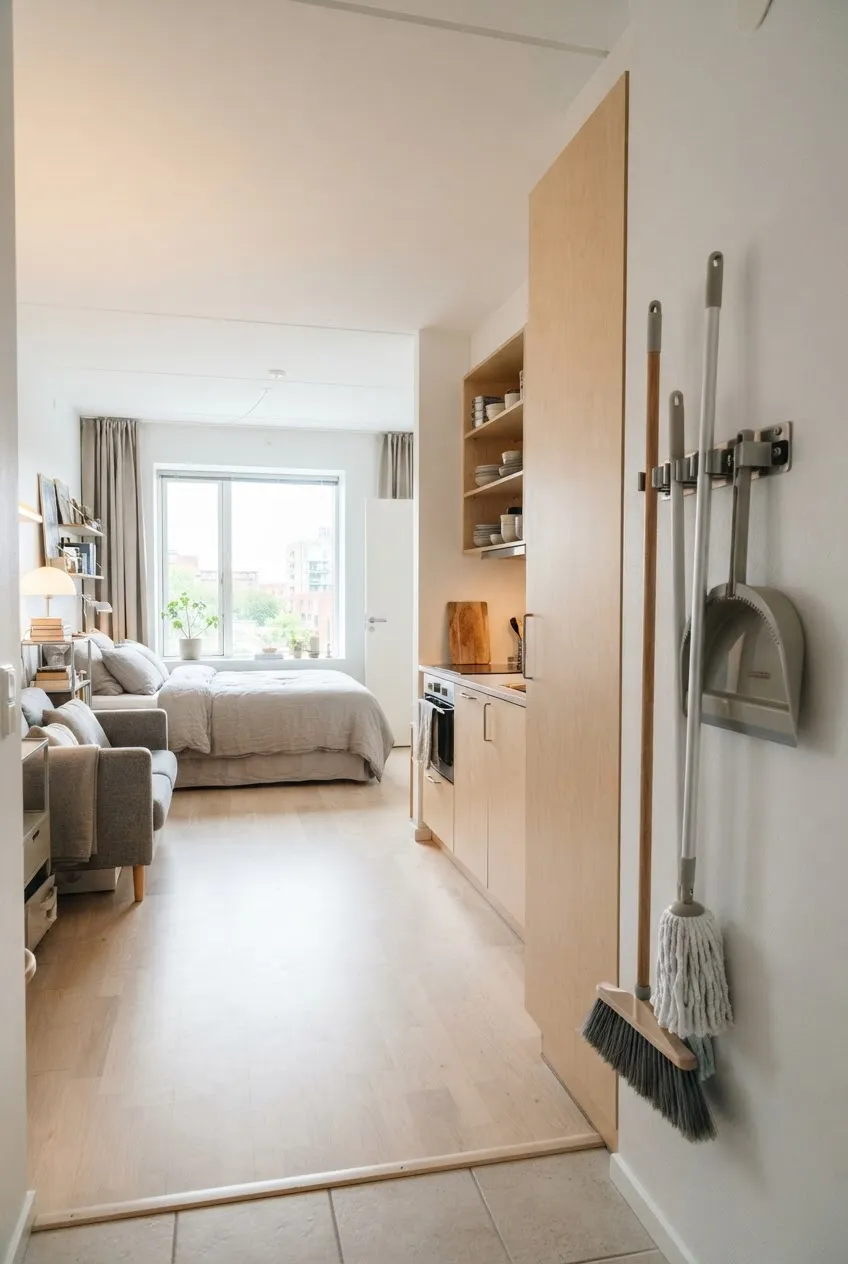
Brooms, a dustpan, and a lightweight mop can take over the narrow gap where the wardrobe door needs to swing. A suitable wall-mounted tool holder on a utility wall keeps their handles together and their heads off the walking route. Place it where tools can be removed without hitting the ceiling or nearby furniture.
Check the diameter and weight of the handles, the gripping method, and what happens when you pull a tool out. If the wall and clearance work, browse wall-mounted broom holders on Amazon and compare mounting hardware, handle range, loaded capacity, and how the grips release. Let damp tools dry as their makers direct before storing them against a wall.
11. Use a Closed Wall Cabinet for Small Backstock
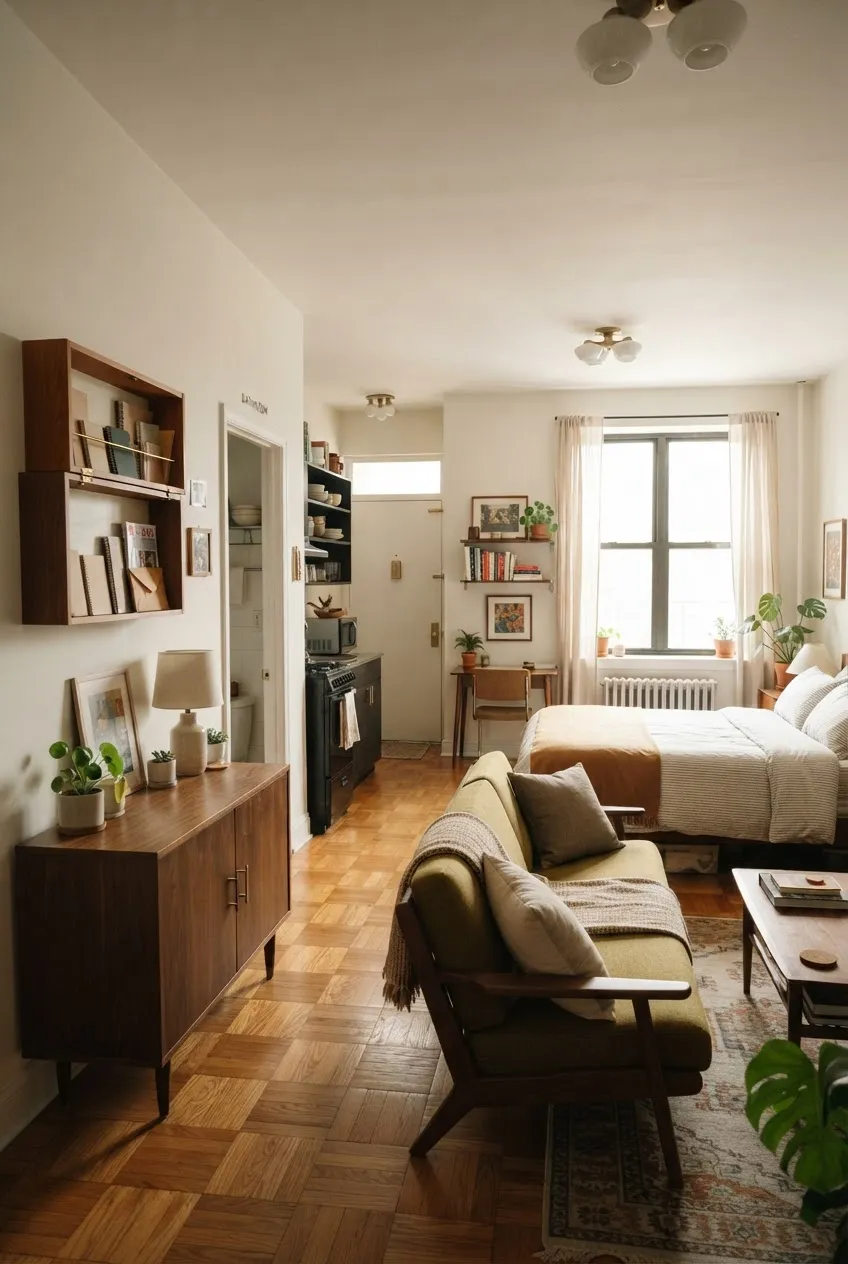
A small wall cabinet over a low console can conceal spare paper goods or other light backstock without putting another cabinet on the floor. Put it where doors can swing fully and someone can reach the contents from the floor. Keep the heaviest items on lower storage, and avoid mounting the cabinet over the bed or a usual seat.
Account for the empty cabinet, doors, shelves, and contents when checking the installation. Confirm the wall, anchors, and cabinet are intended to work together; if that cannot be verified, choose floor storage. Closed storage can calm a busy wall, but it still needs a practical inventory limit so that it is not overloaded.
12. Fit a Small Corner Shelf Only Where Both Sides Work
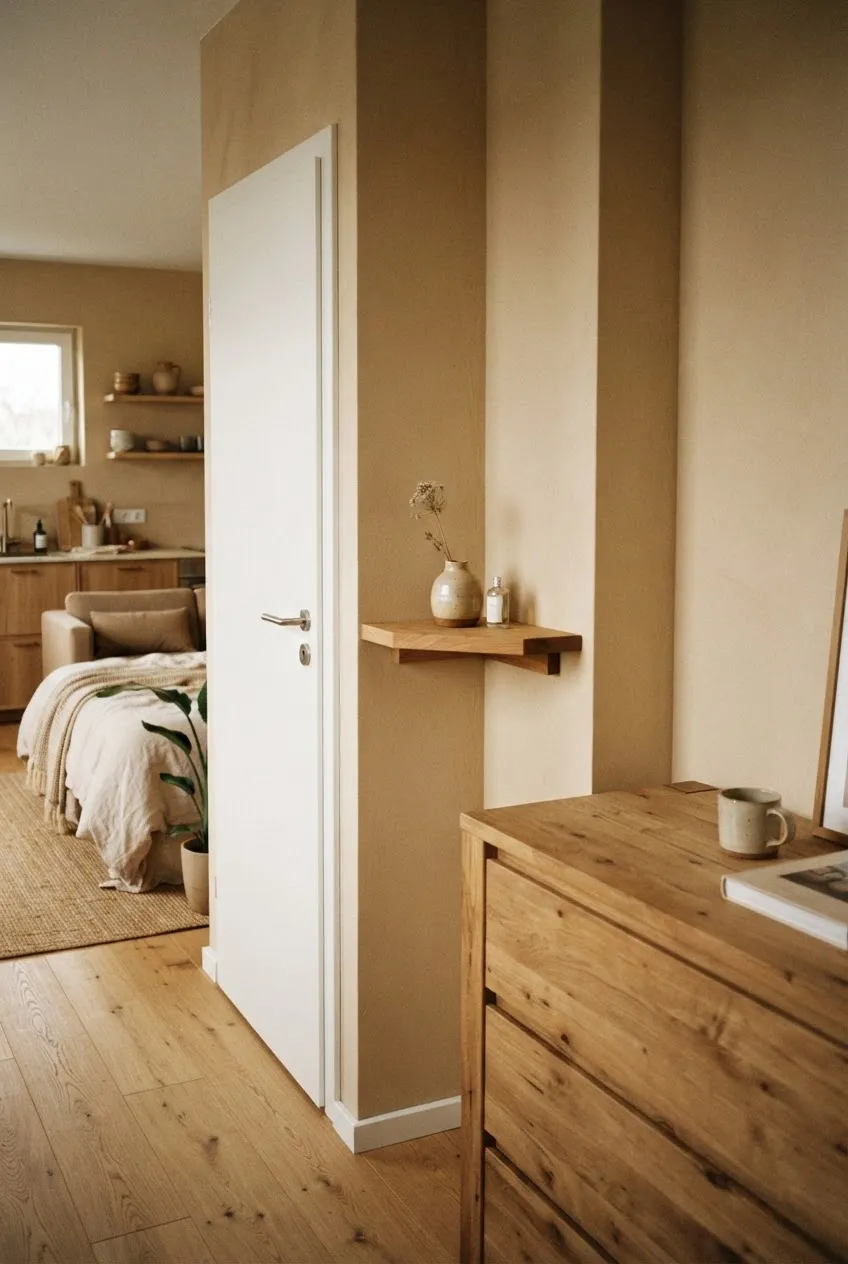
An inside corner beside a dresser may accept a compact mounted corner shelf for a few light objects that otherwise crowd the dresser top. Measure both wall runs, not just the diagonal opening. The shelf should sit where you can reach its back and wipe it without moving the dresser.
Test the dresser drawer, nearby door, and walking path with a cardboard outline at the proposed shelf depth. Different wall materials on the two sides may need different approved fixings, so follow the shelf’s instructions for each attachment point. If the shelf would project into the only route or hold only decorative clutter, leave the corner open.
Final Thoughts
Wall storage works when each fixture has a defined load and a useful position. Choose a few wall sections that serve a real task, confirm the mounting method for that wall, and check doors, reach, and circulation with the storage fully loaded. A studio needs usable floor and wall space together.
More Studio Apartment Ideas
 |  |  |
|---|---|---|
Vertical Storage | Storage Ideas | Studio Layouts |