A studio rental often asks one room to do everything while limiting what you can change. You may be unable to drill into a wall, replace a fixture, or repaint. Even a removable product can leave marks on an unsuitable surface. The most useful improvements work with the room’s existing doors, windows, outlets, and walking routes—and can move with you later.
Before buying anything, check your lease and the condition of each surface. Measure with doors, drawers, and windows open, and identify the one clear route through the apartment. Then choose the changes that solve your biggest daily frustration. If the underlying furniture arrangement is the problem, start with these studio apartment layout ideas.
1. Map the Room Before You Move Furniture
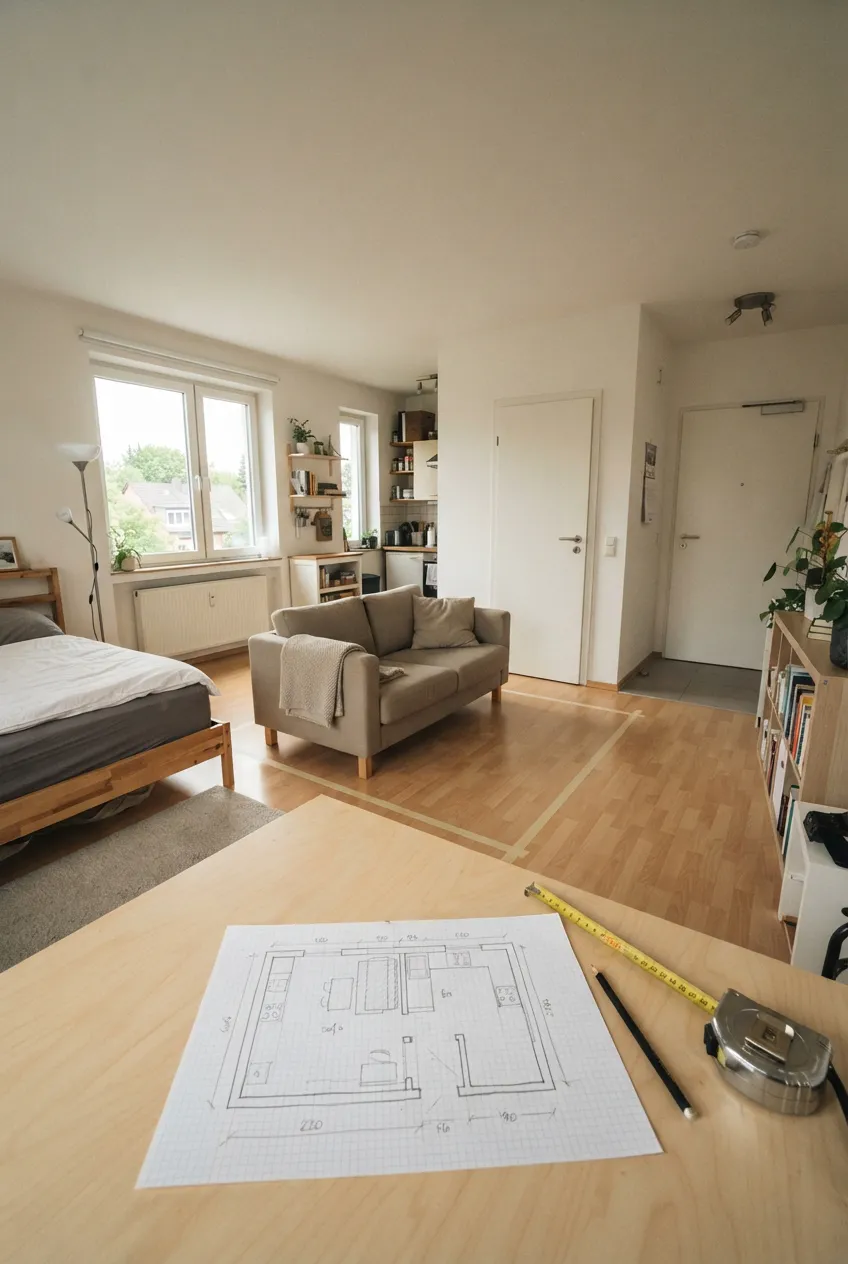
Draw the studio’s main walls, windows, outlets, radiators, and doors. Mark the swing of each door and the space drawers need when fully open. Then sketch where you sleep, sit, eat, and get ready. This takes less effort than repeatedly shifting heavy furniture into positions that cannot work.
Use painter’s tape to mark the footprint of a proposed piece on the floor, but test the tape first and remove it promptly according to its instructions. Walk from the entrance to the bathroom and kitchen. If the only route becomes a squeeze, change the plan before buying.
2. Define the Living Area With a Rug You Can Move
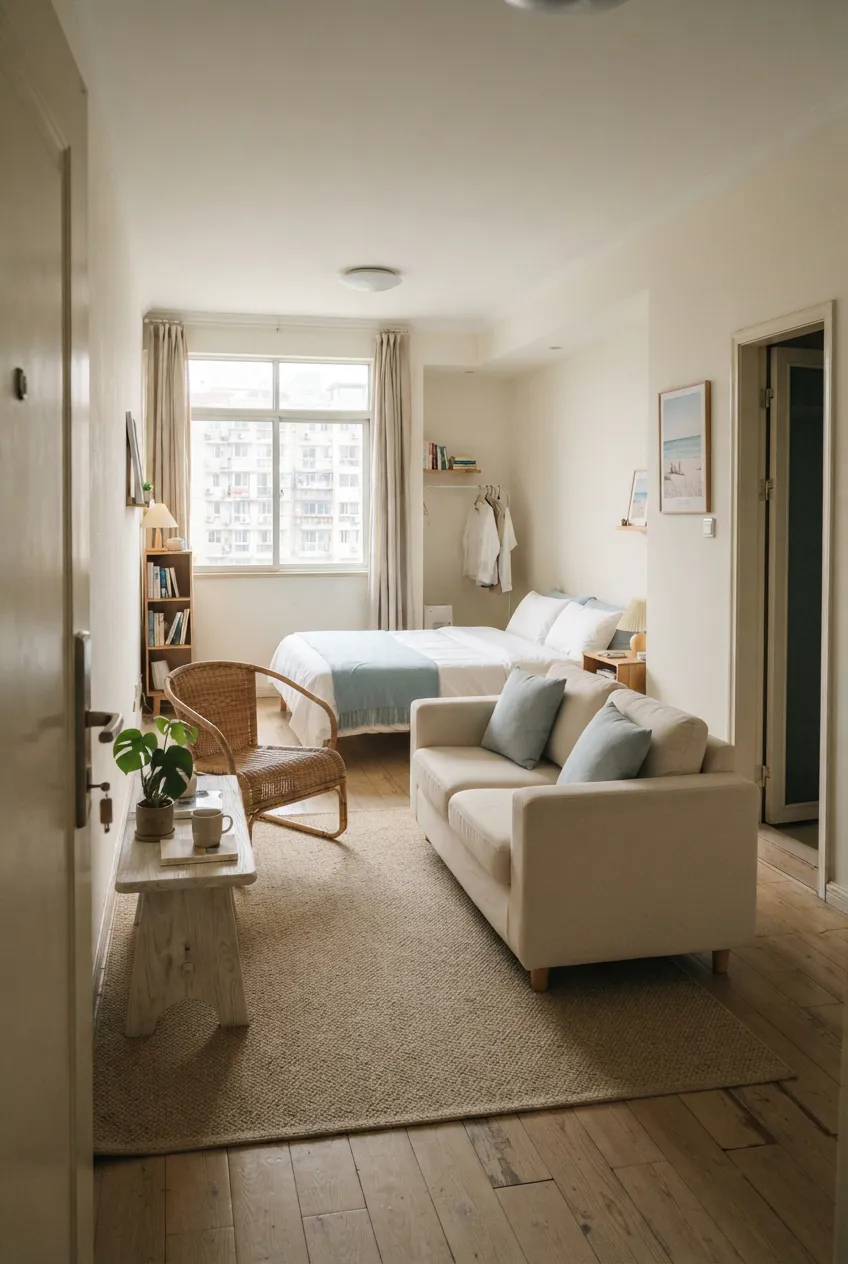
An area rug can make a sofa and chair feel like a living zone without changing the floor. Choose a size that relates to the seating footprint rather than a tiny mat floating in the middle. A low-profile rug is easier to place under furniture and less likely to create a trip edge in a tight room.
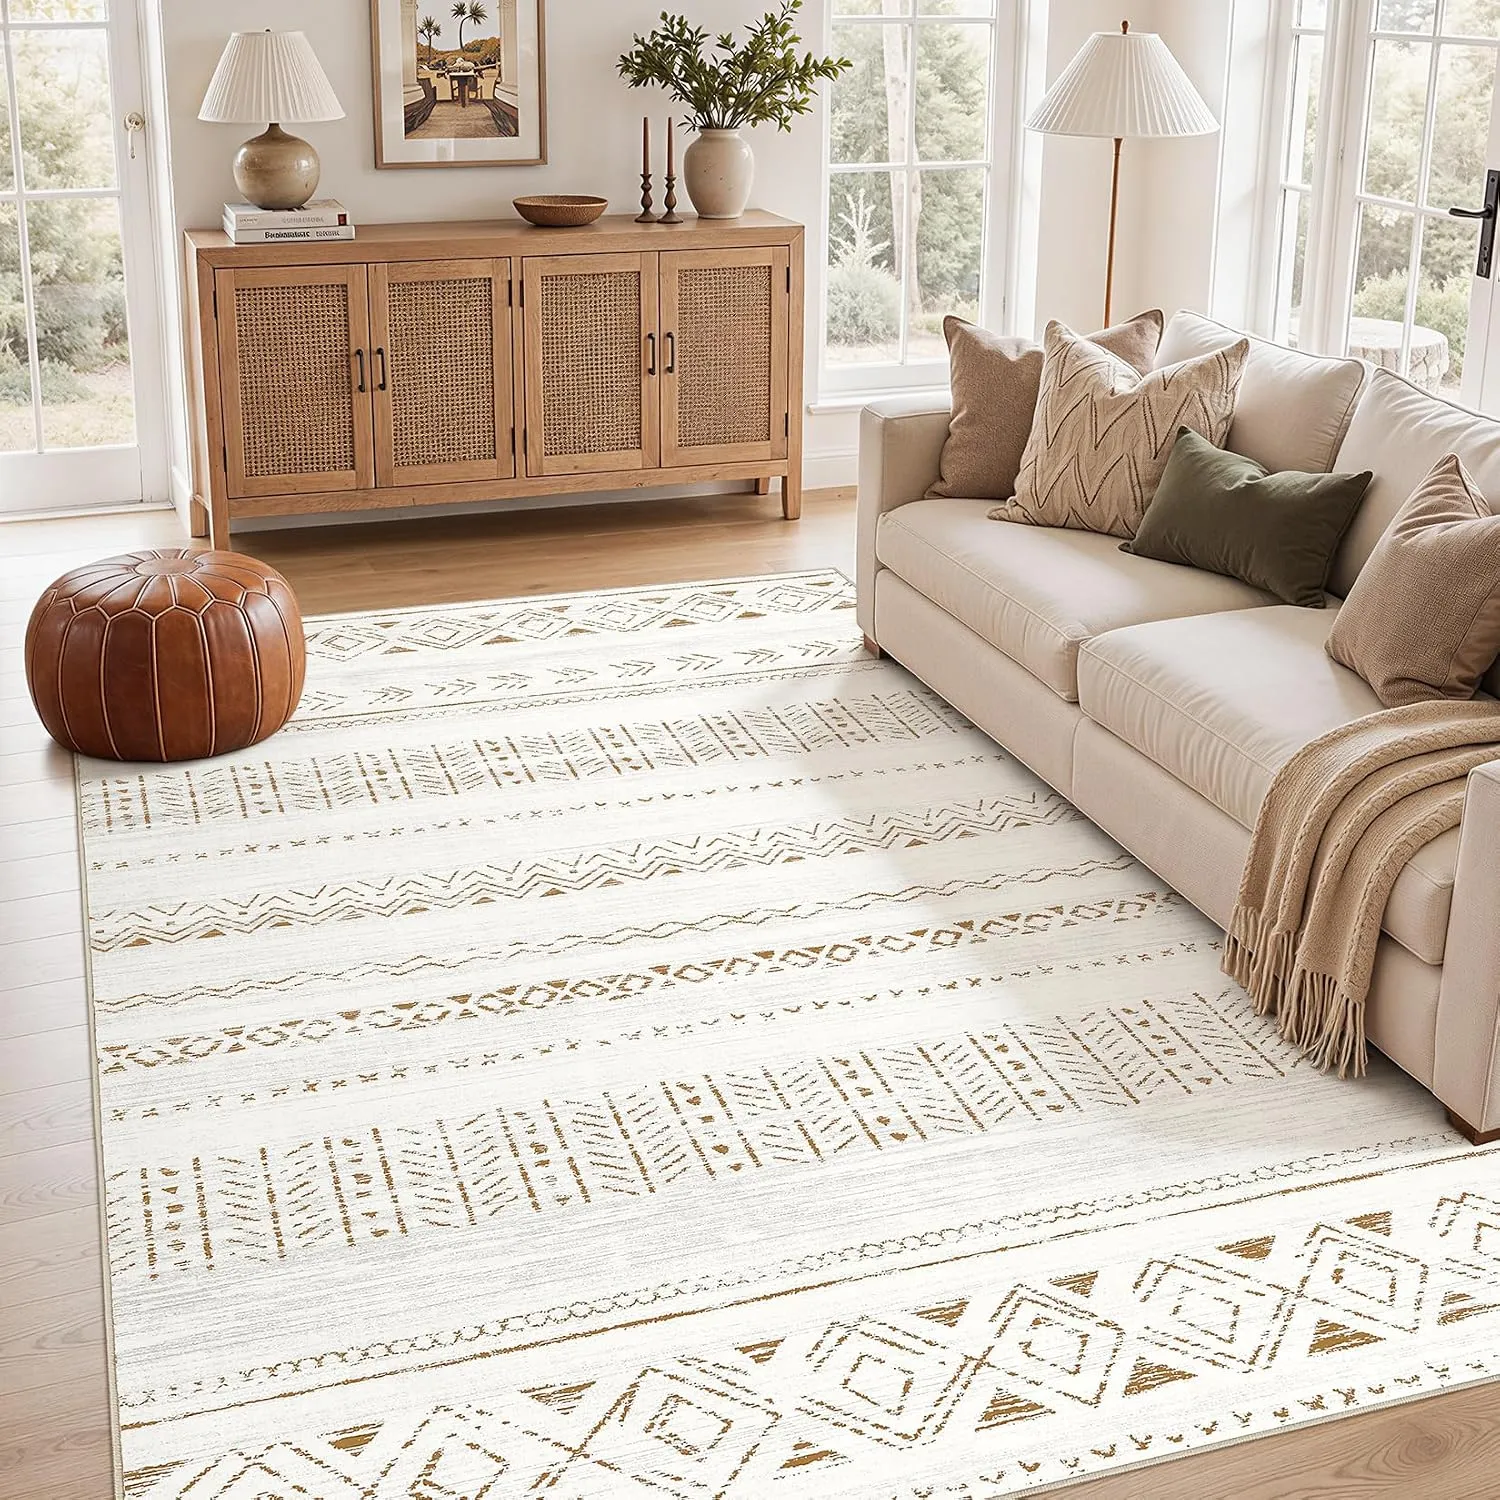
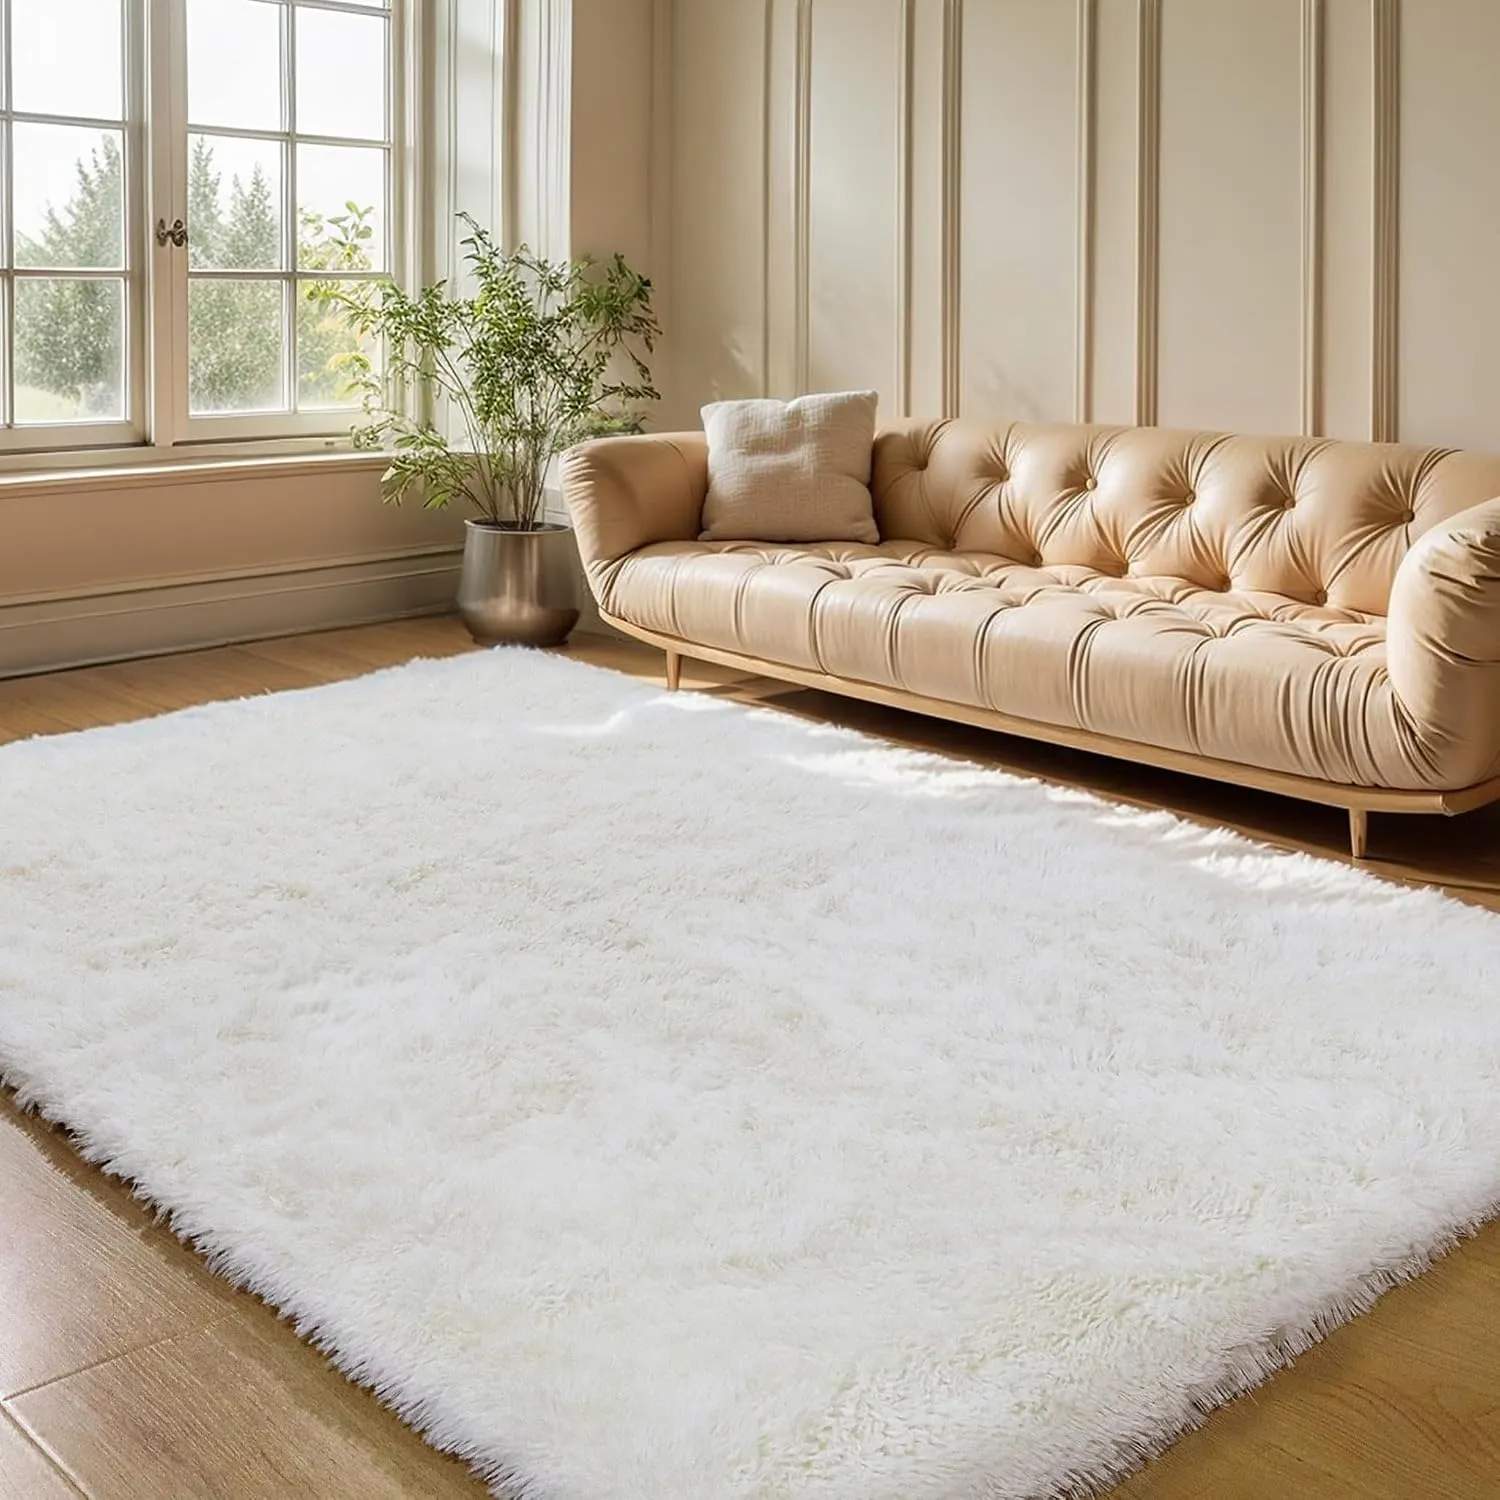
A low-profile area rug can bring the sofa and chair together without becoming another fixture to leave behind. Pair it with a floor-compatible, nonslip rug pad so the rug stays in place. Check the floor manufacturer’s care guidance and avoid pads that could discolor the finish. Keep both clear of doors and the only walking route. For more ways to visually organize an open room, see the room divider ideas.
If you’d like to put this seating area together, take a look at the Amazon rug and rug pad options below.
 |  |
|---|---|
 | |
3. Add Plug-In Light Where You Actually Need It
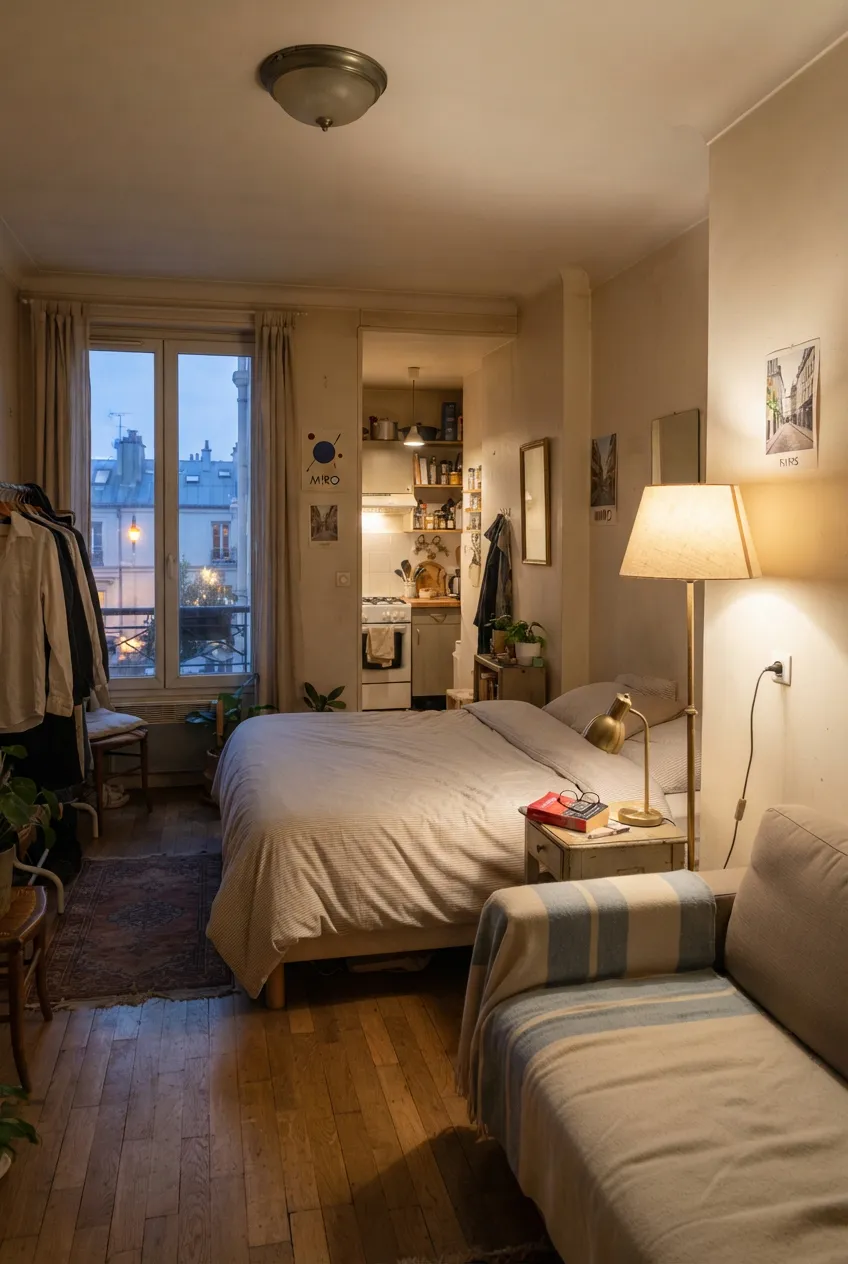
A single overhead fixture may leave the bed or desk in shadow. Put a plug-in floor or table lamp beside the activity that needs it: reading, working, or relaxing. Aim the light at that task and keep the other end of the room softer in the evening. The room gains separate moods without replacing a fixture.
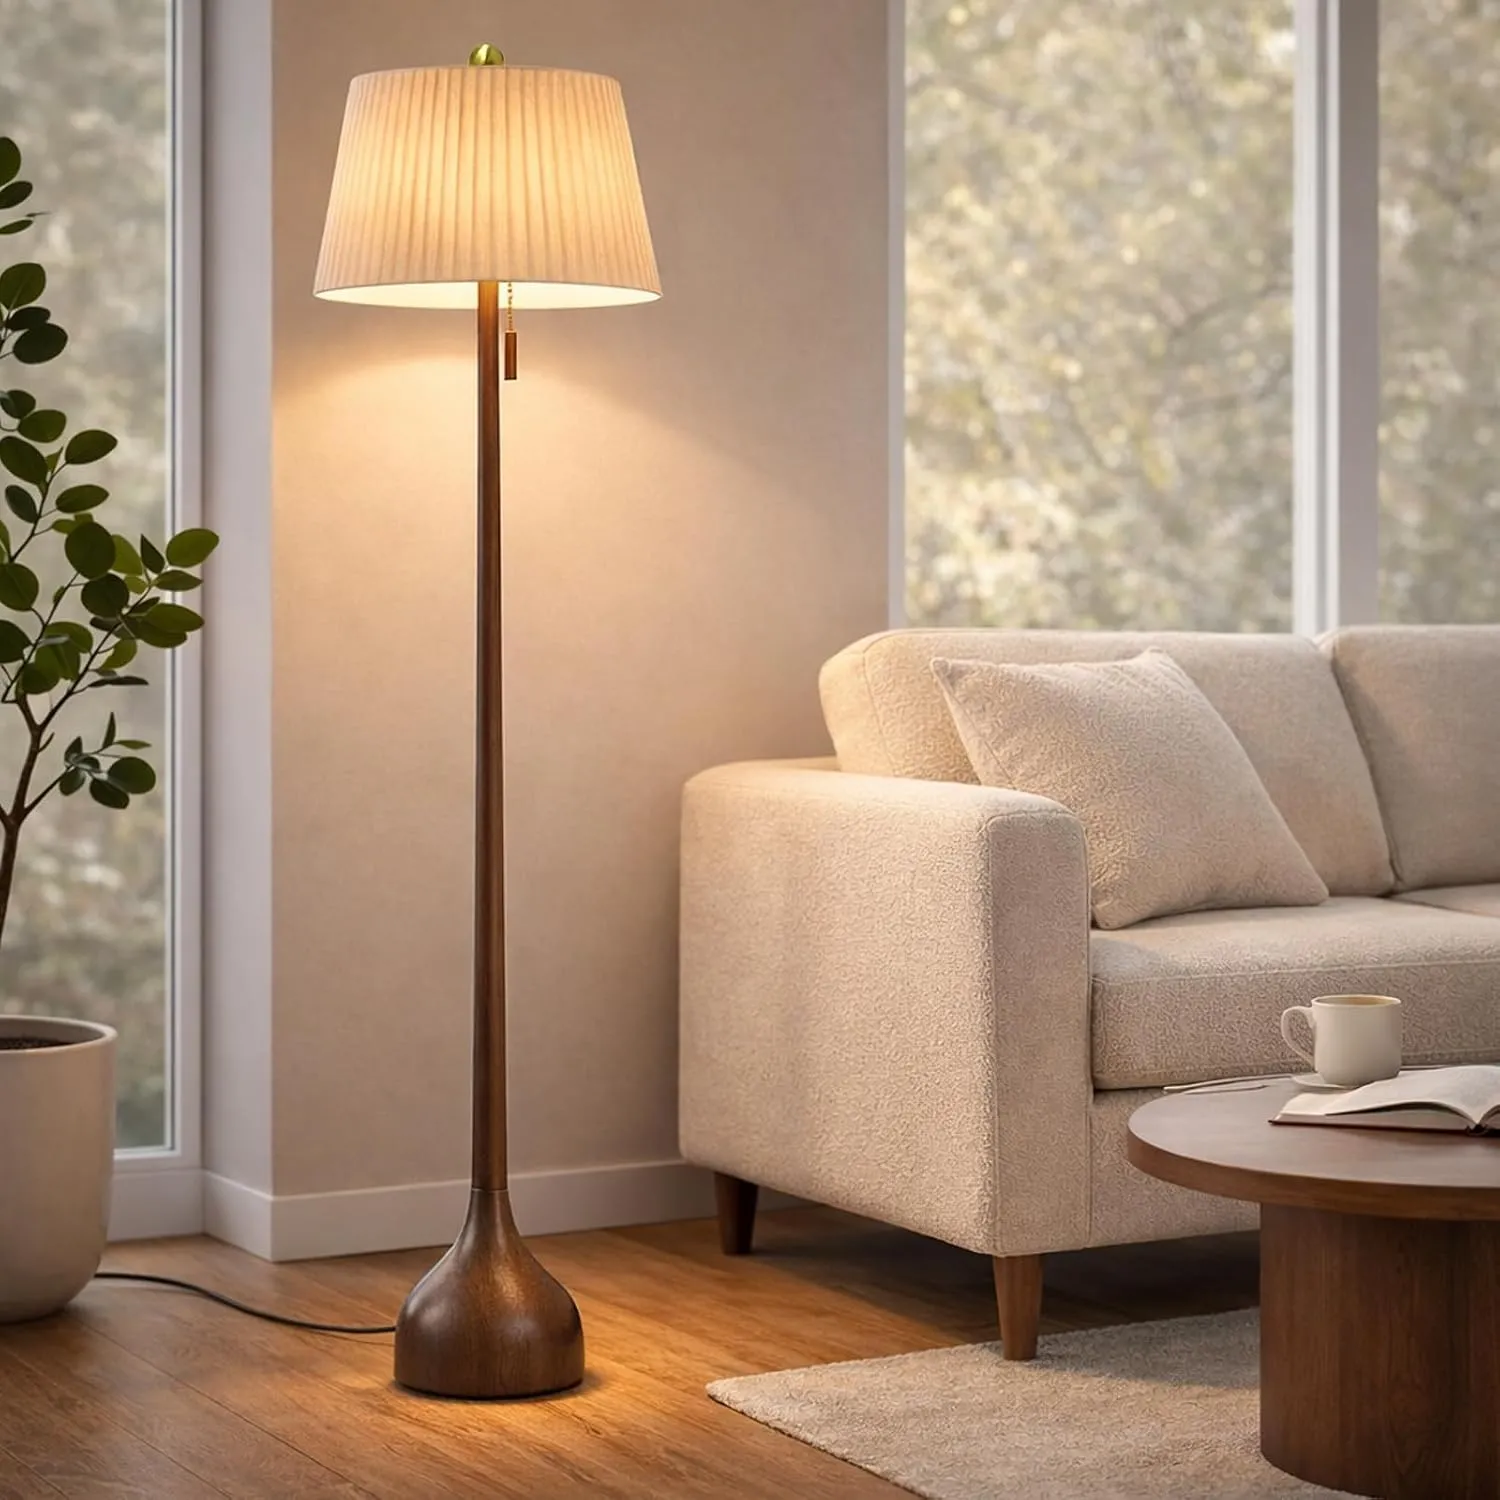
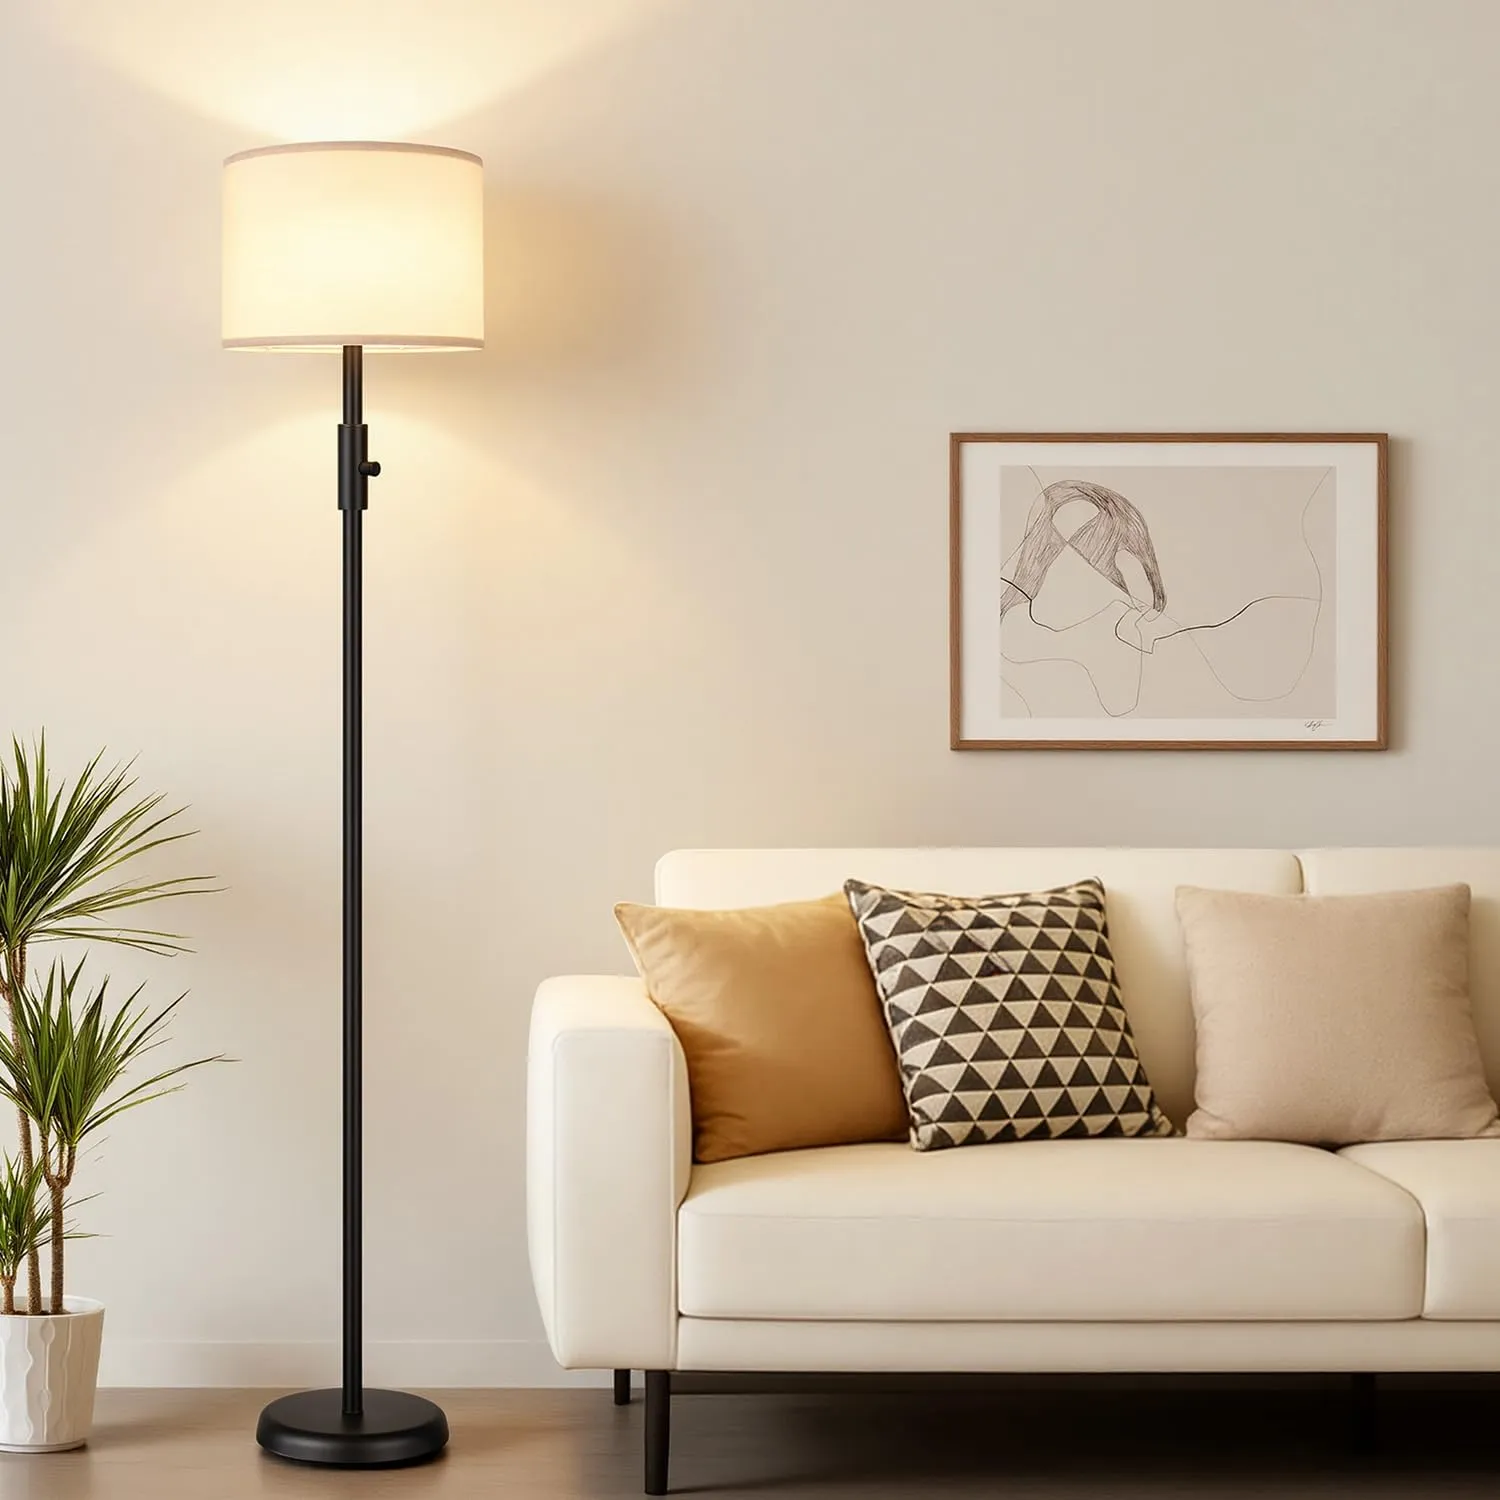
If there is no room for a bedside table, a compact plug-in floor lamp can bring reading light to the bed without installing anything. Choose a slim, stable base that fits beside the bed, then check the shade height, switch position, and cord length against your actual outlet. Run the cord along a wall without stretching it across a doorway or under a rug, and follow the lamp’s safety instructions.
For this bedside setup, take a look at the Amazon floor lamp option below.
 |  |
|---|---|
| |
4. Soften a Window With a Permission-Friendly Curtain Setup
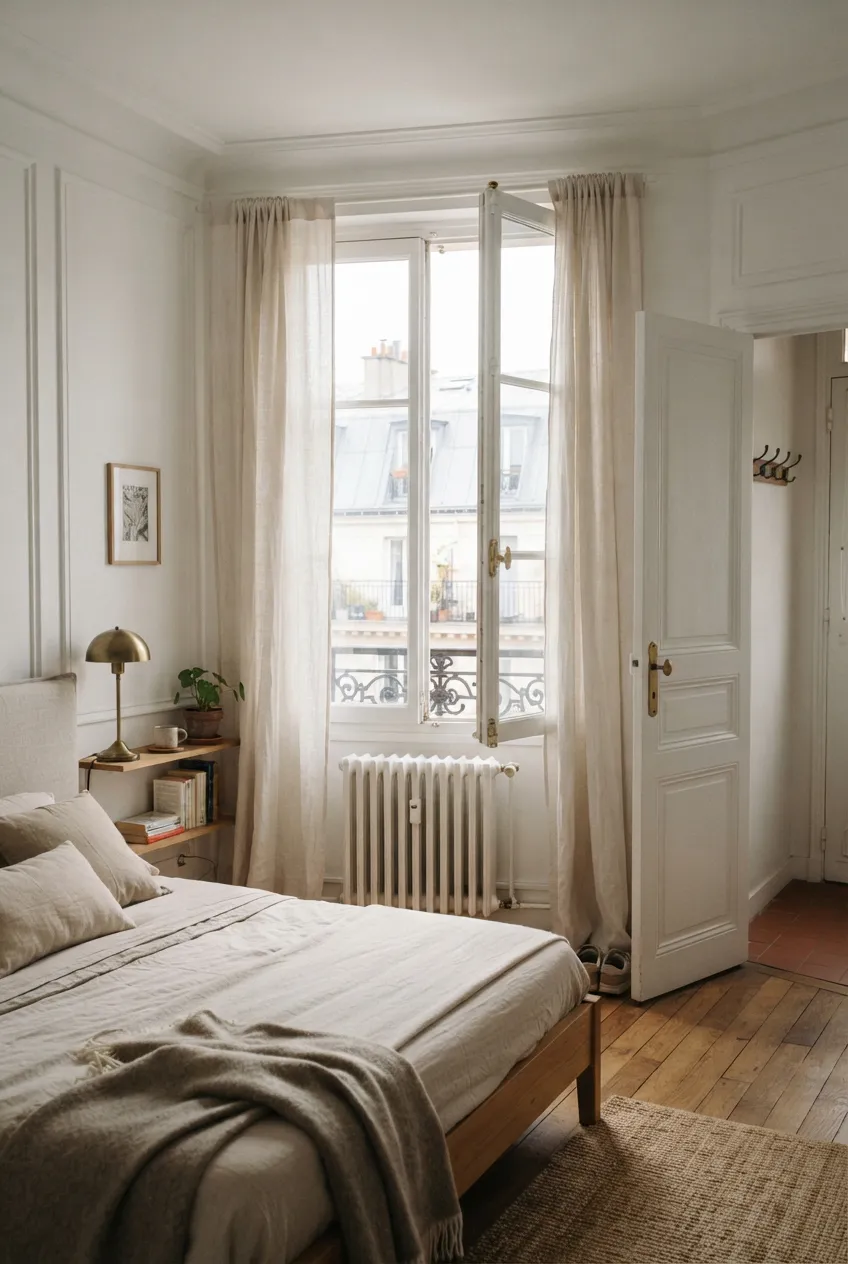
Curtains can reduce glare and make a bed by the window feel calmer. If the rental already has a rod, use it. Otherwise, ask what mounting is permitted before choosing a tension rod or another removable setup. A tension rod needs suitable opposing surfaces and should hold only the load its maker specifies.
Measure the window and surrounding wall so the curtain opens fully without covering a heater, vent, or required exit. Keep fabric away from heat sources. A light-filtering panel may suit a living area, while a more opaque panel can help a sleeping area; choose for the actual window rather than buying a set by appearance alone.
5. Use a Low Bookcase to Separate Activities
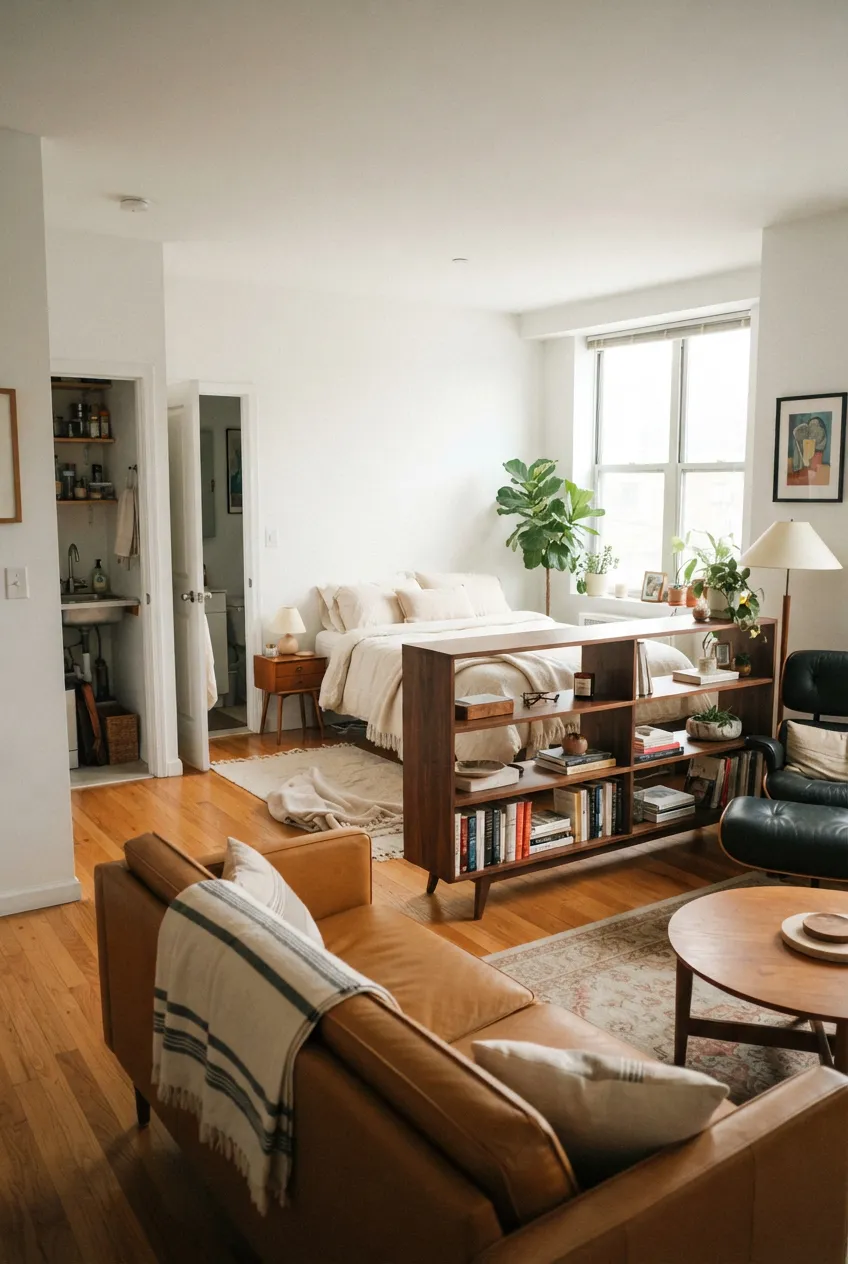
A low, freestanding bookcase can mark the edge of a living area while leaving daylight and sightlines above it. Place it perpendicular to a wall only if it does not narrow the main route. Keep heavier items low and leave some open space on the shelves so the room still reads as one studio.
Check whether the unit requires anchoring and follow the maker’s instructions; do not treat an unanchored tall shelf as a renter shortcut. If a safe position is impossible, use a lower, stable piece or rearrange the sofa instead. The goal is a visible boundary, not a new wall.
6. Give the Kitchen a Rolling Workstation
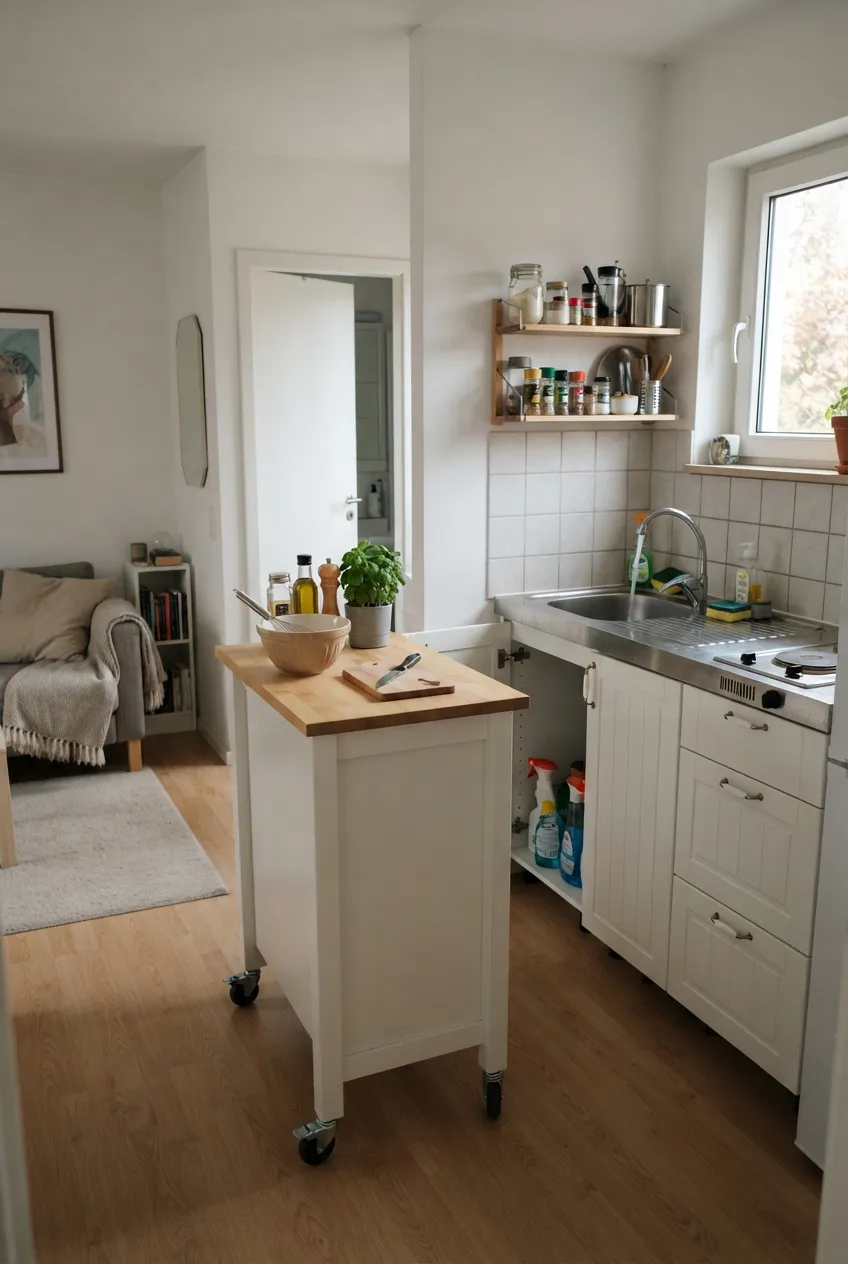
When counter space is scarce, the useful addition is a temporary landing spot for ingredients and tools, not another surface that permanently crowds the kitchen. It should sit near the existing counter while you cook, then move away so cabinet doors, appliances, and the route to the sink remain usable.
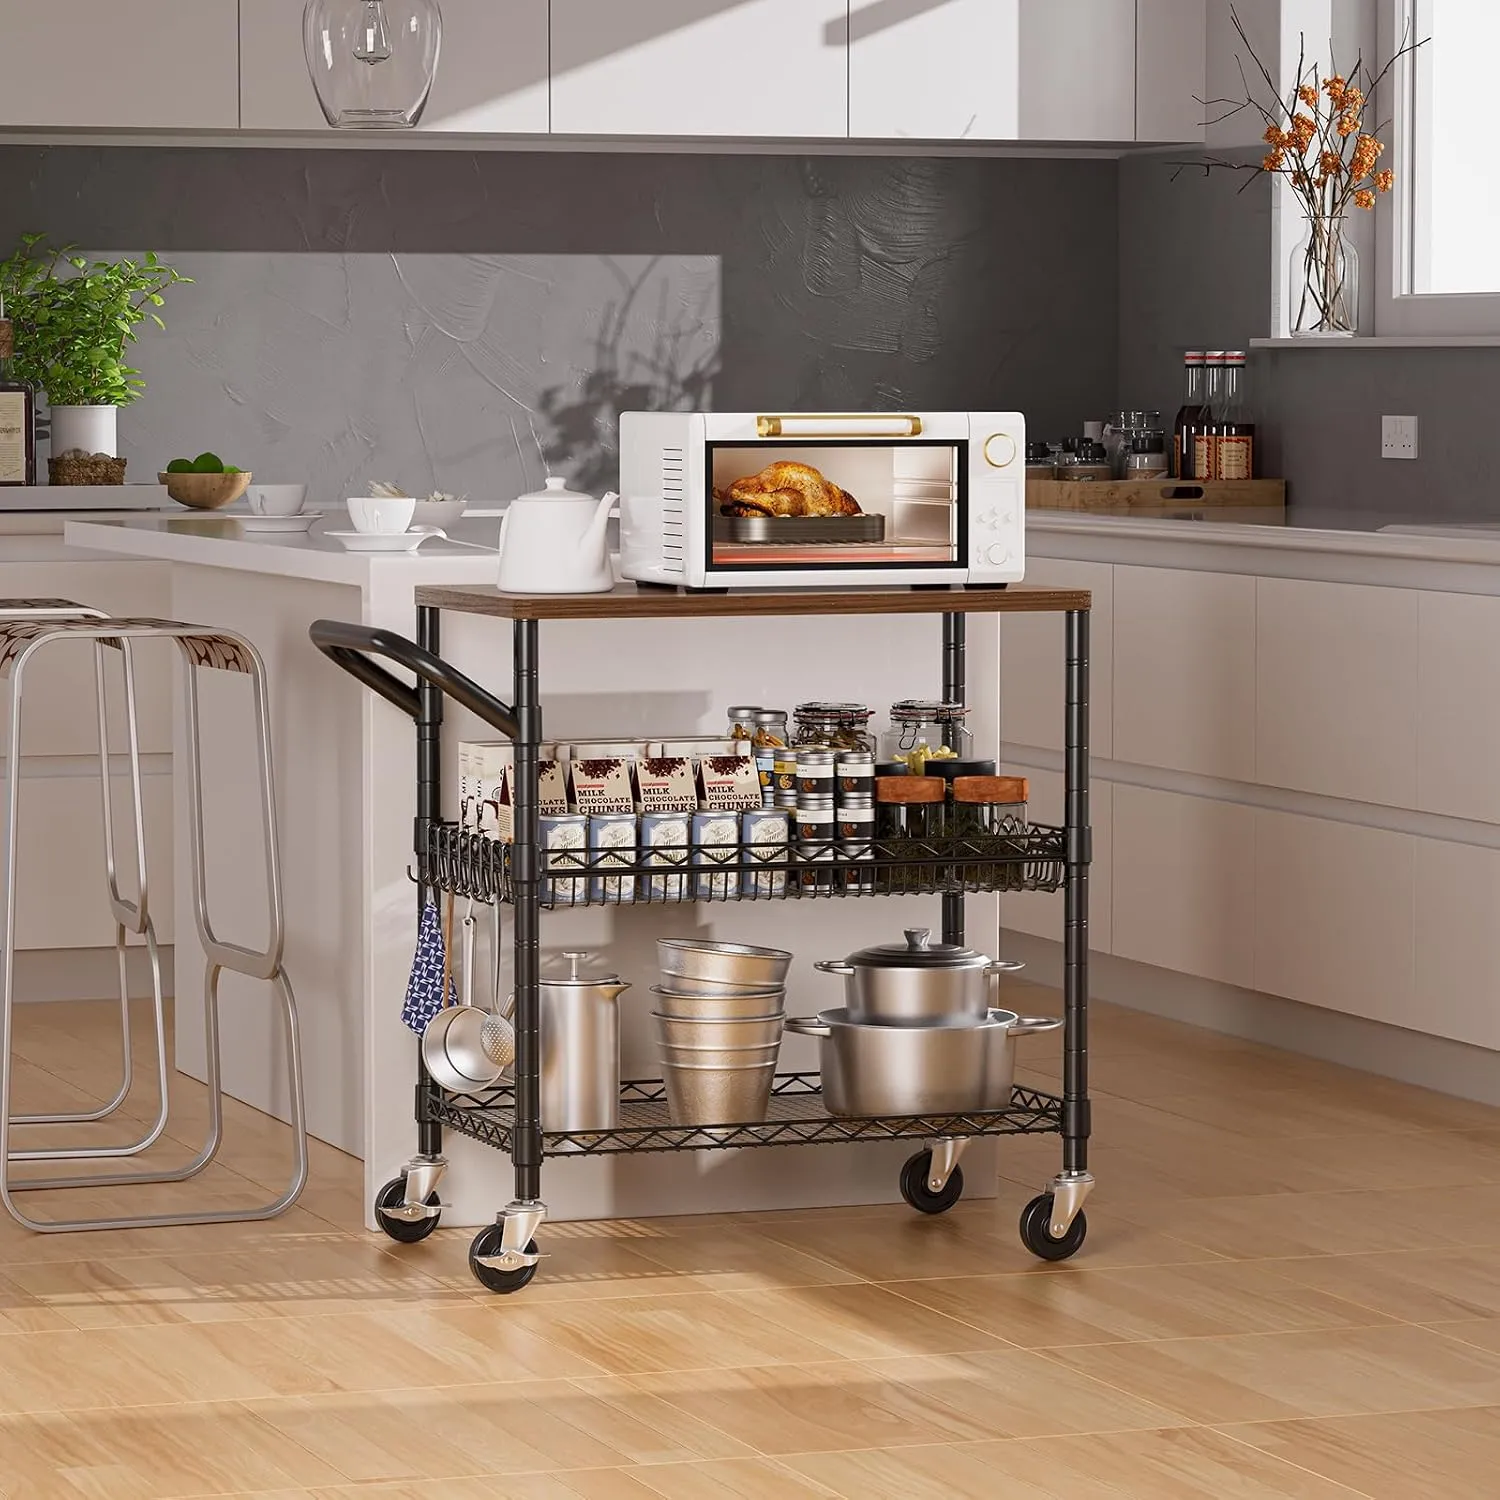
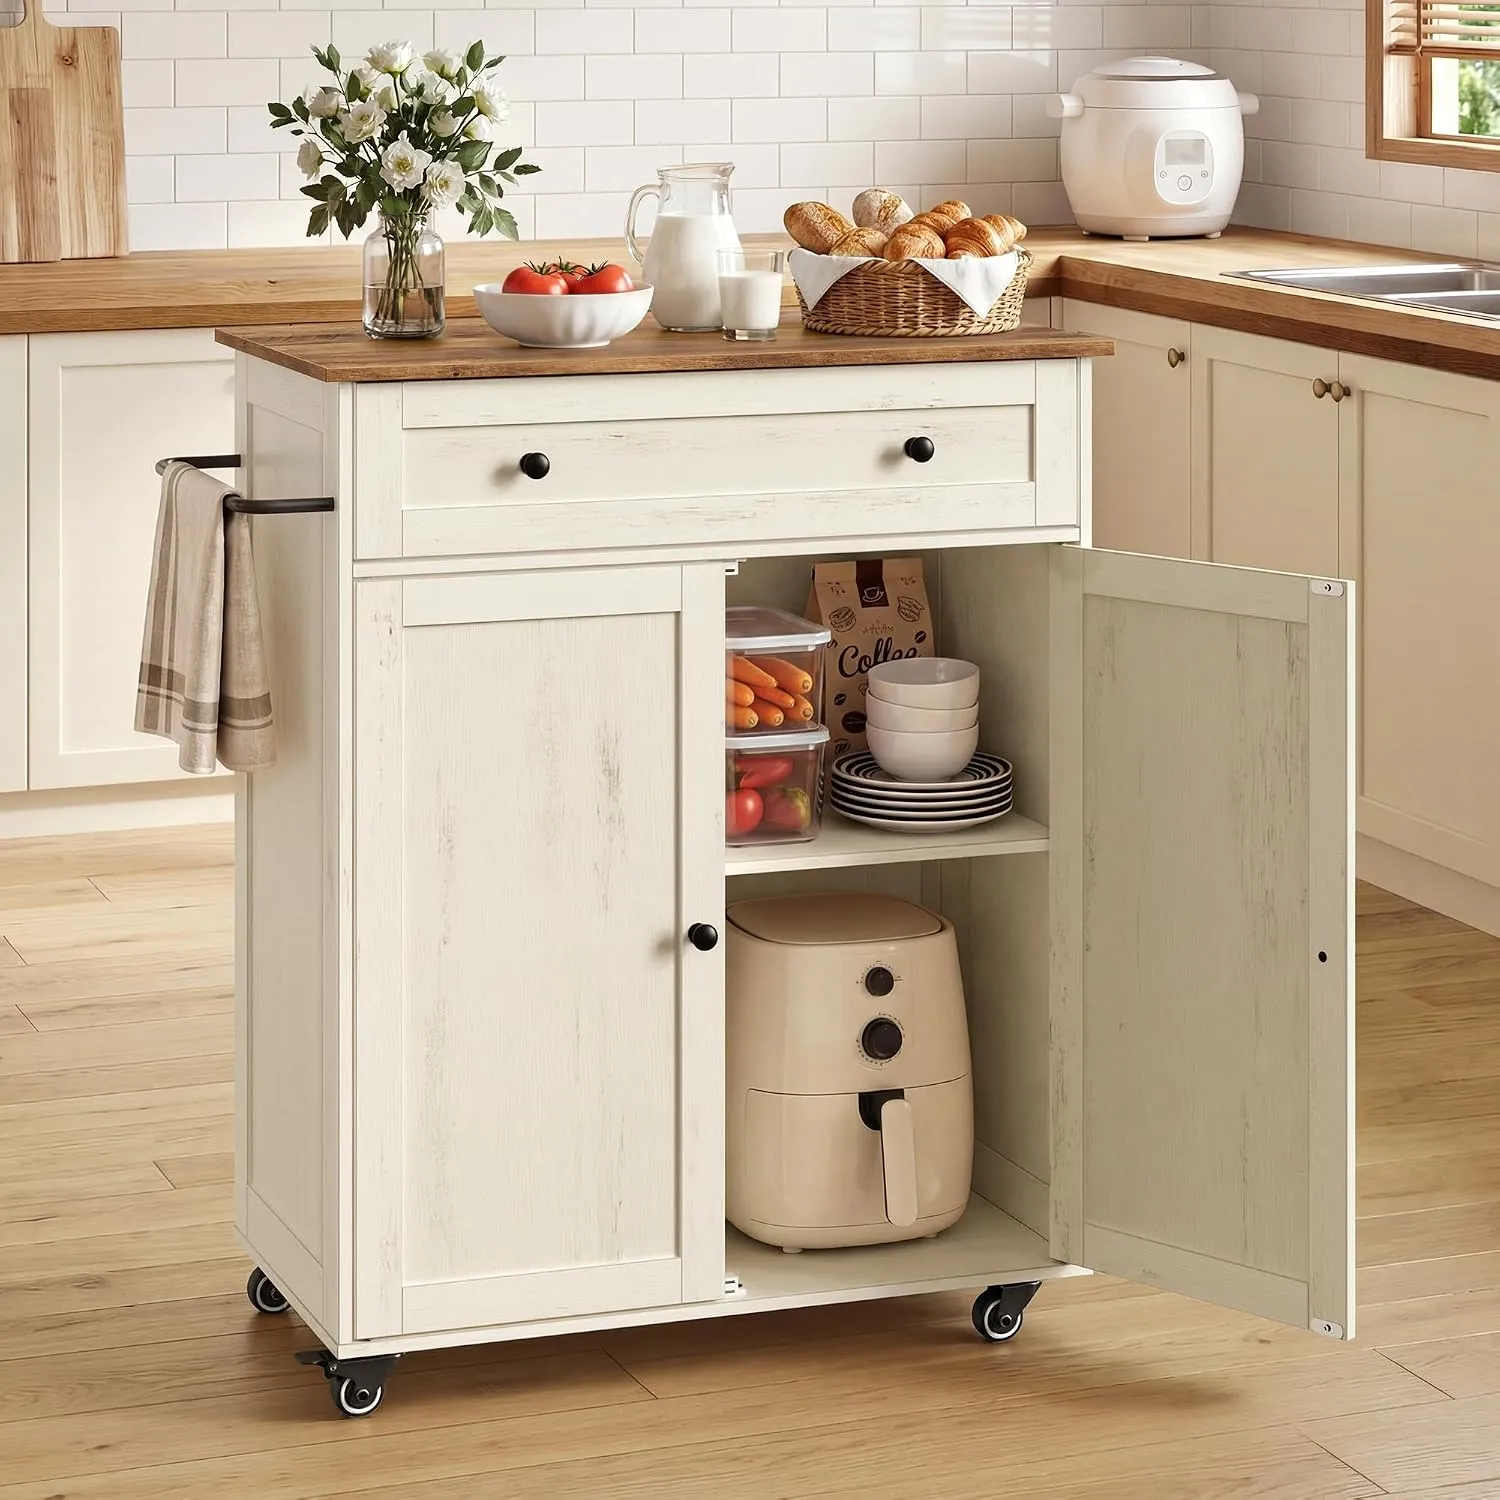
A slim rolling kitchen cart with locking wheels can provide that extra landing spot and hold the tools that otherwise pile up on the counter. Before choosing one, check its width including handles, shelf clearance, load rating, worktop material, and the space needed to park it. Lock the wheels before use, and use the top for food preparation only if its surface and load rating allow it. If the cart would occupy the only kitchen walkway even when parked, it is not the right fit. See the small studio kitchen ideas for layout options.
If a movable work surface would help in your kitchen, take a look at the Amazon cart option below.
 |  |
|---|---|
| |
7. Turn the Inside of a Door Into Light Storage
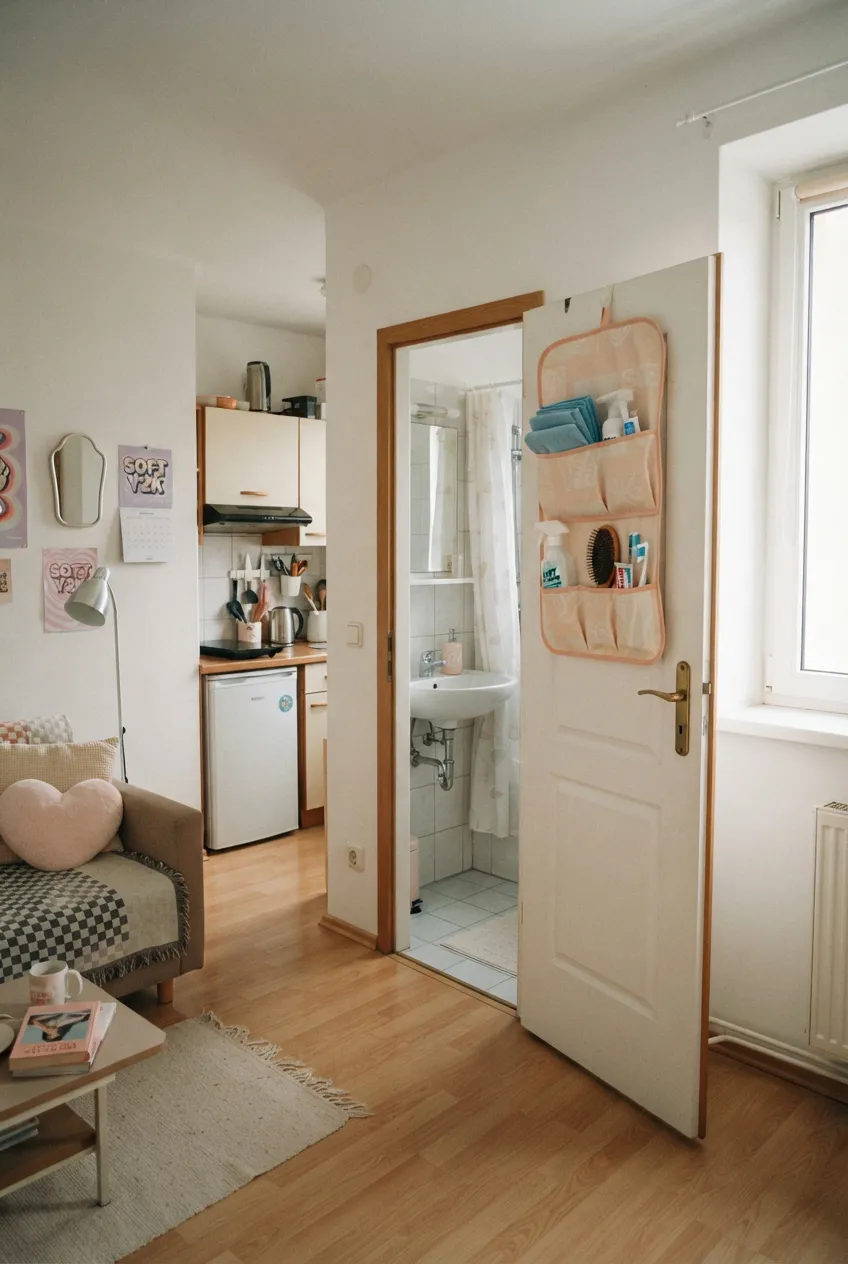
An over-door organizer can collect small accessories, cleaning cloths, or bathroom supplies when a cabinet is missing. Assign it to one category instead of filling every pocket with unrelated objects. Choose the door carefully: a frequently used bathroom or entry door still needs to open and latch completely.
Measure the gap above and behind the door before buying. Protect the finish if the hardware rubs, stay within the organizer’s load guidance, and avoid storing heavy or breakable items where they could fall. Remove the organizer if it affects a door’s normal operation.
8. Create an Entry Drop Zone Without Drilling
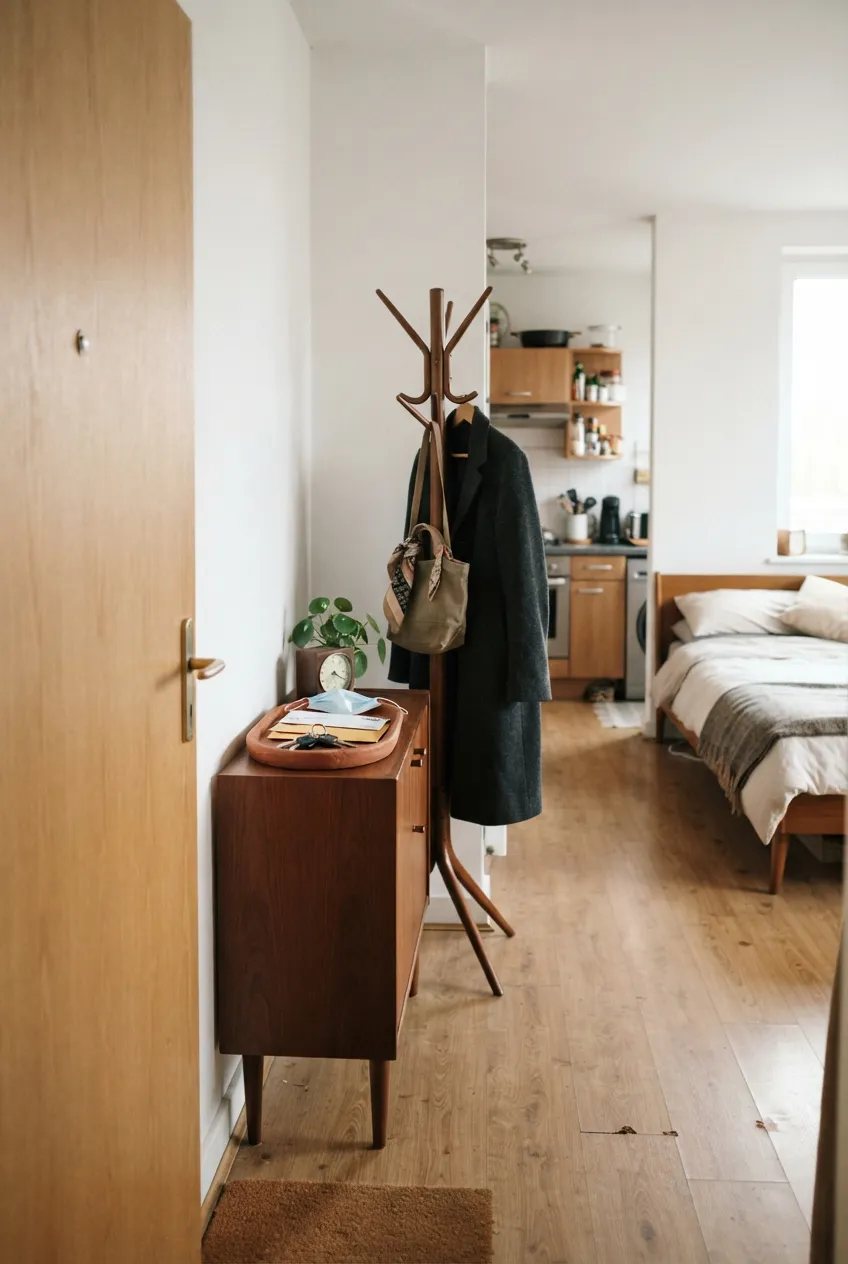
Even when the front door opens straight into the living space, a small tray on existing furniture can catch keys and mail. If the lease and surface allow them, a few removable hooks can give a light bag or jacket a clear home. Follow the adhesive’s surface and weight instructions; test removal in an inconspicuous spot rather than assuming every wall finish is safe.
Keep the arrangement beside the door, not in its swing. If hooks are unsuitable, a freestanding coat stand or the side of a compact bench can serve the same daily purpose. The studio entryway guide explores that zone in more detail.
9. Keep Shoes Contained at Floor Level
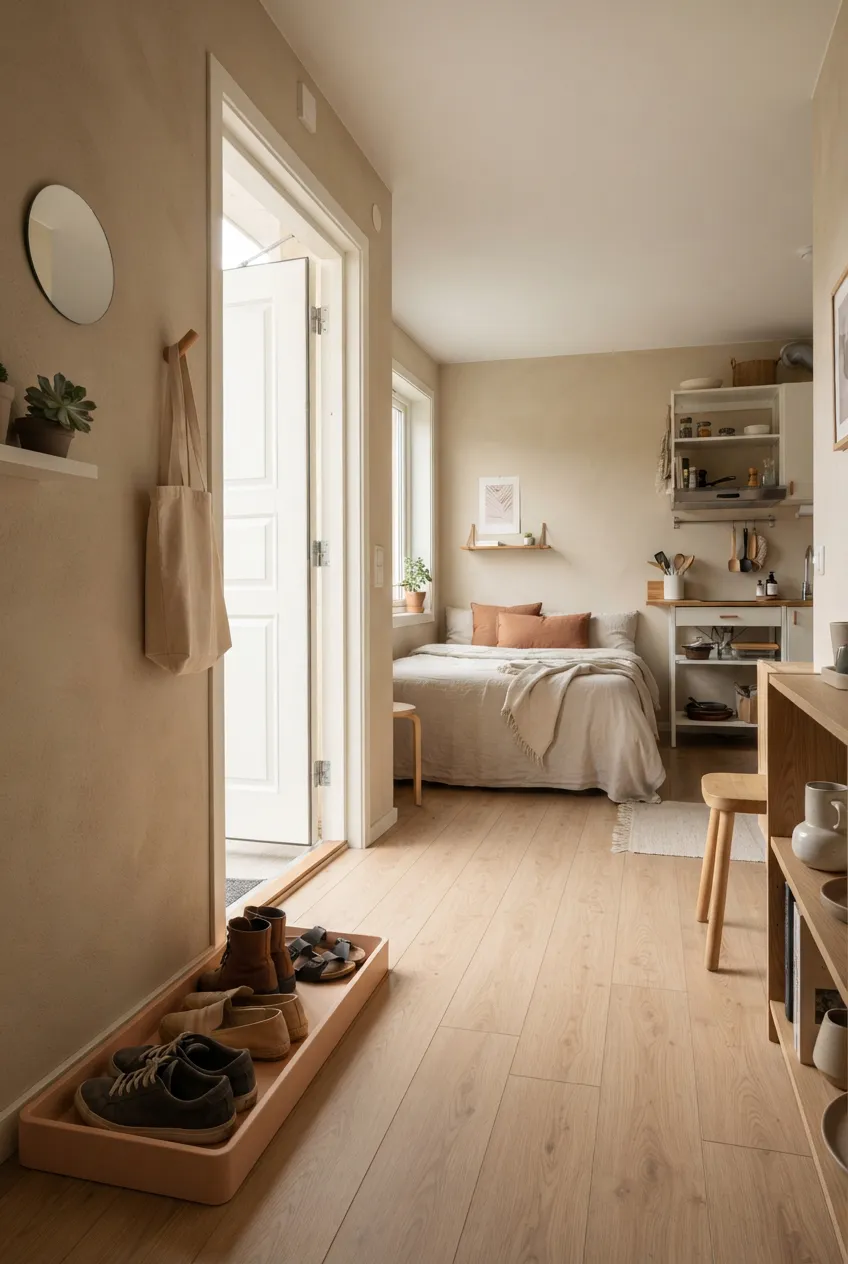
A shallow shoe tray or low rack near the entrance gives everyday pairs a defined limit. Put only the shoes you use often here; occasional pairs can live in a clean, dry box elsewhere. This keeps the threshold from spreading into the room.
Check the front door at its widest opening and walk through with a bag in hand. A rack that technically fits but catches the door or your feet does not work. Choose an easy-clean surface if wet shoes are common, and keep the tray away from a heat source.
10. Give Hanging Clothes a Portable Home
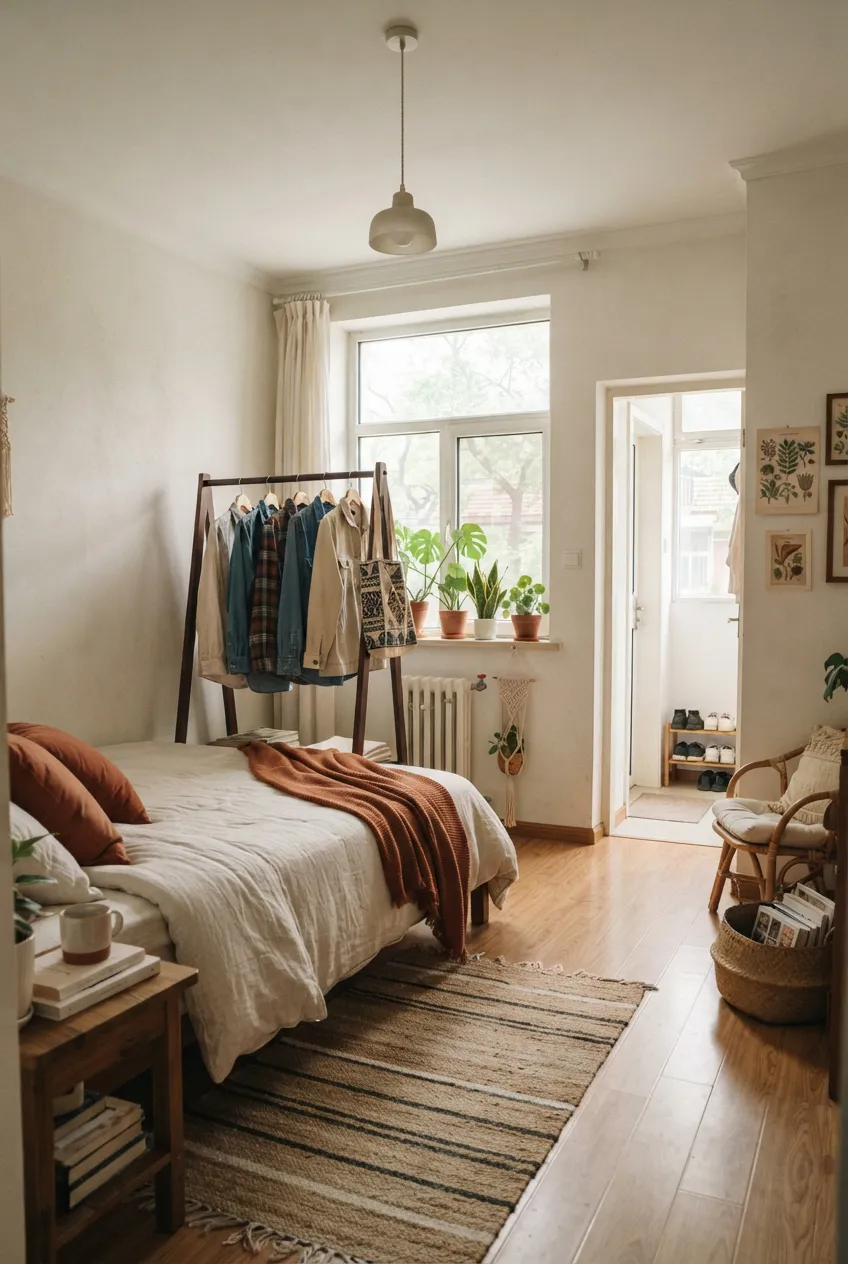
If your rental lacks enough hanging space, a modest freestanding rack can hold the current-season pieces that truly need hangers. Place it near where you dress, leaving the window, heater, and main route clear. Foldable clothes should go into drawers or boxes rather than crowding the rail.
Choose a stable rack that meets the manufacturer’s load guidance, and leave room to pull out a garment without knocking into the bed. This is a targeted fix for a rental’s limits; the studio clothing storage ideas cover more ways to give clothes a home.
11. Use Under-Bed Space for Infrequent Items
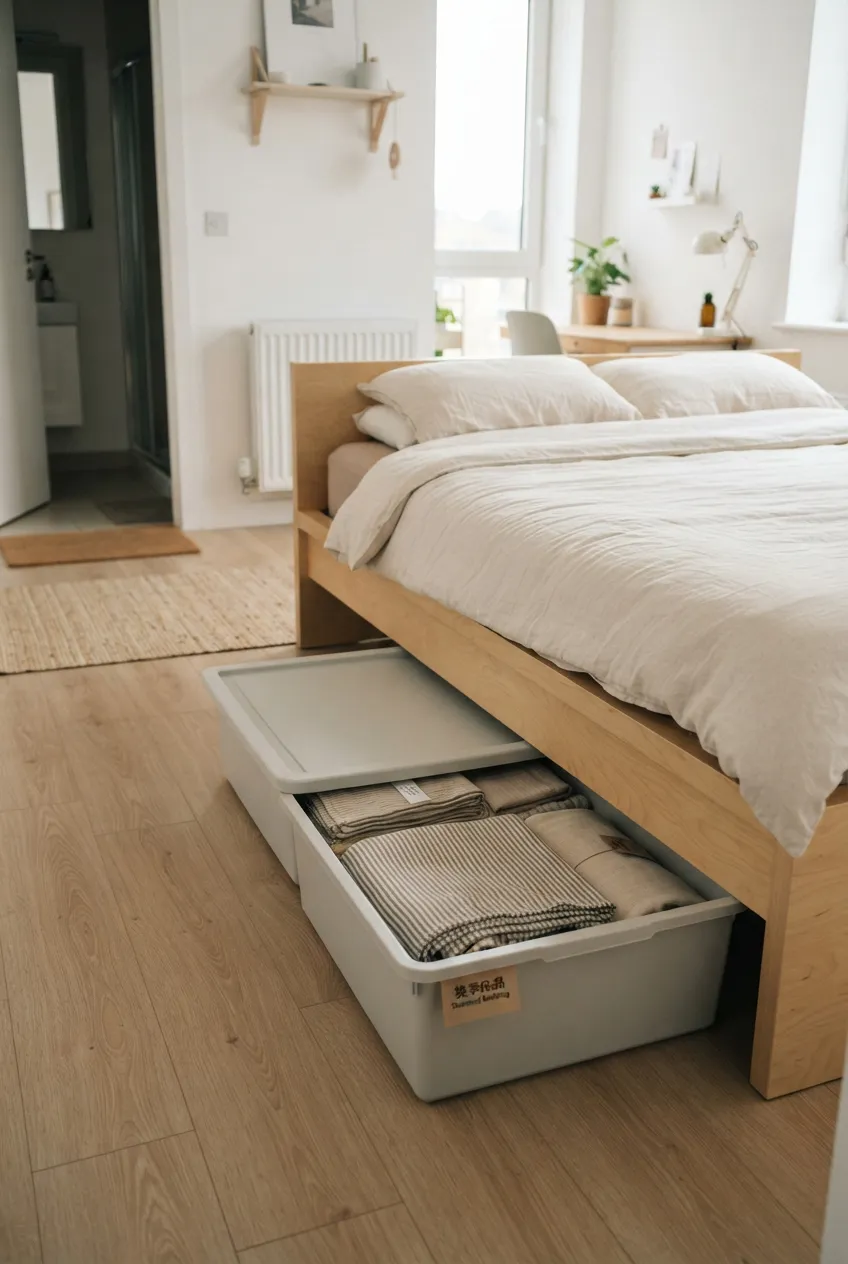
Shallow, closable containers can hold seasonal bedding or clothing under a bed that has enough clearance. Label the short end so you can find what you need without pulling out every box. Store only clean, dry items, and avoid the space if the floor is damp.
Measure the actual bed clearance and the distance needed to pull a container out fully. Keep access to built-in bed drawers, vents, and heaters unobstructed. This works best for things you do not need every morning, so the bed area stays easy to use.
12. Make a Desk That Can Change Roles
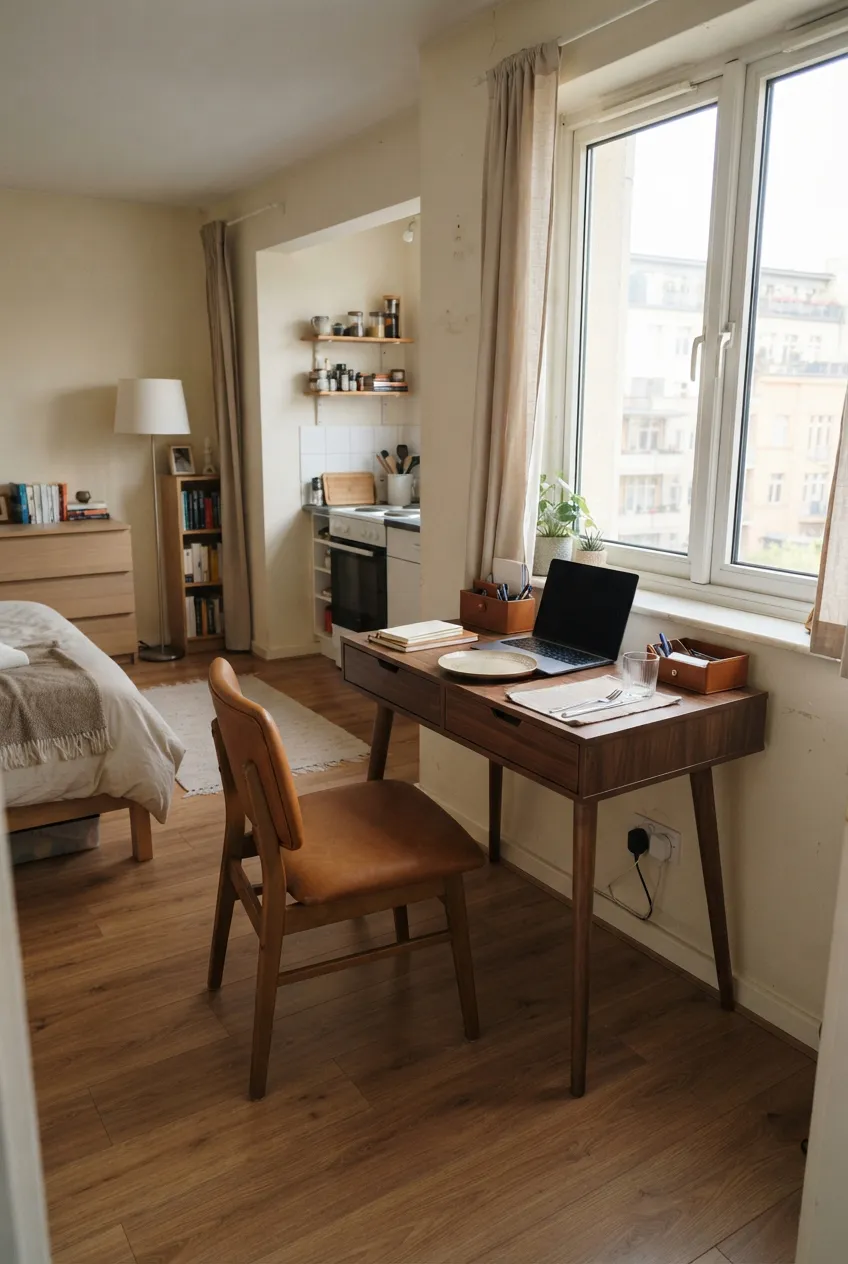
A small freestanding desk or sturdy table can work as a laptop station during the day and a dining surface later. Put it near an outlet and useful daylight without blocking a window. Check that the chair can pull back far enough while the studio’s main path remains open.
Store work materials in one portable box so the surface can change roles quickly. If you work there for long stretches, prioritize a comfortable chair and a sensible screen height over a table that merely looks slim. The studio desk and workspace ideas compare more locations.
13. Get Privacy With a Movable Screen
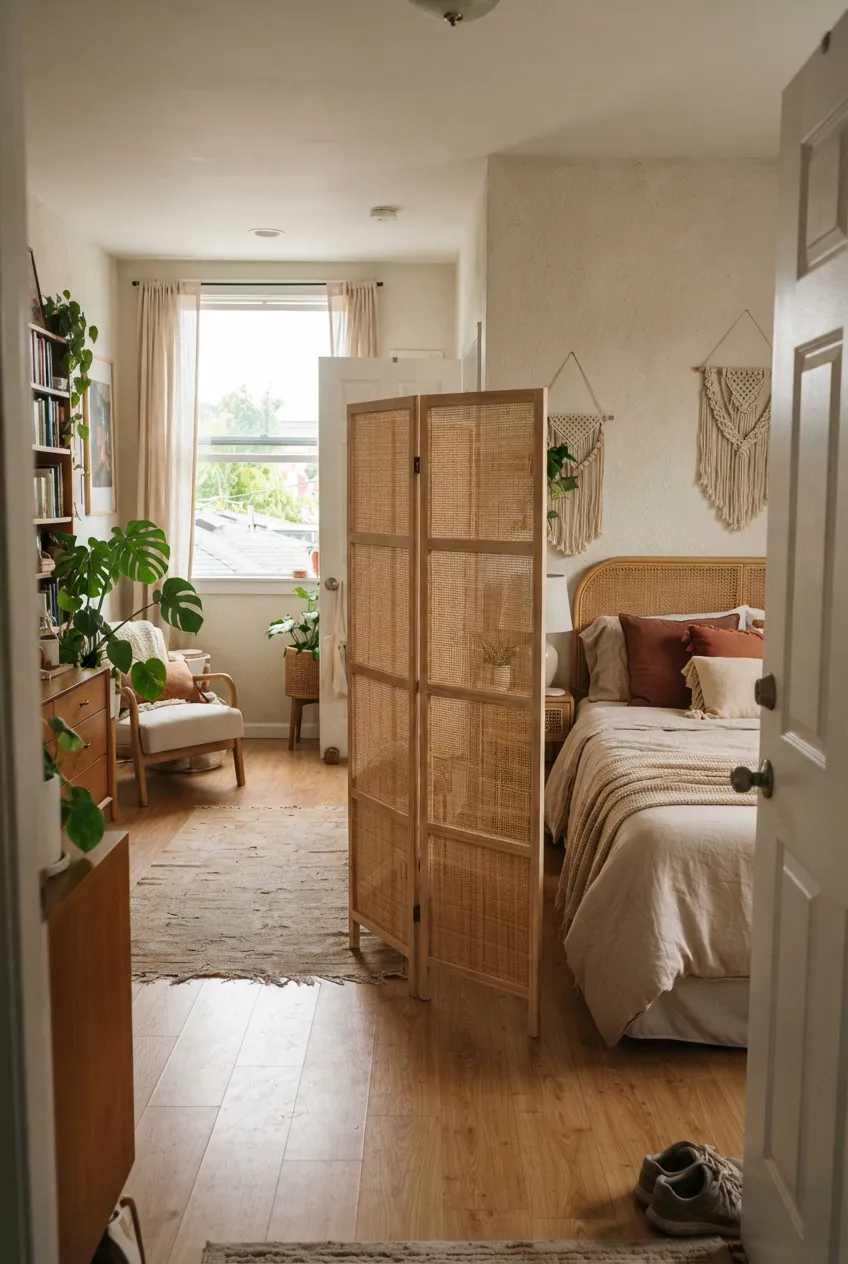
A lightweight freestanding screen can shield the bed from the entry view when guests visit. Place it where its feet are stable and it does not trap someone behind the bed or block the route to a door or window. Fold it away when an open sightline is more useful.
Measure the folded storage spot as well as the screen when open. If there is not enough room for both states, use a furniture arrangement or a curtain on an approved existing rod instead. For sightline-based approaches, see the studio privacy ideas.
14. Change the Palette With Textiles You Already Need
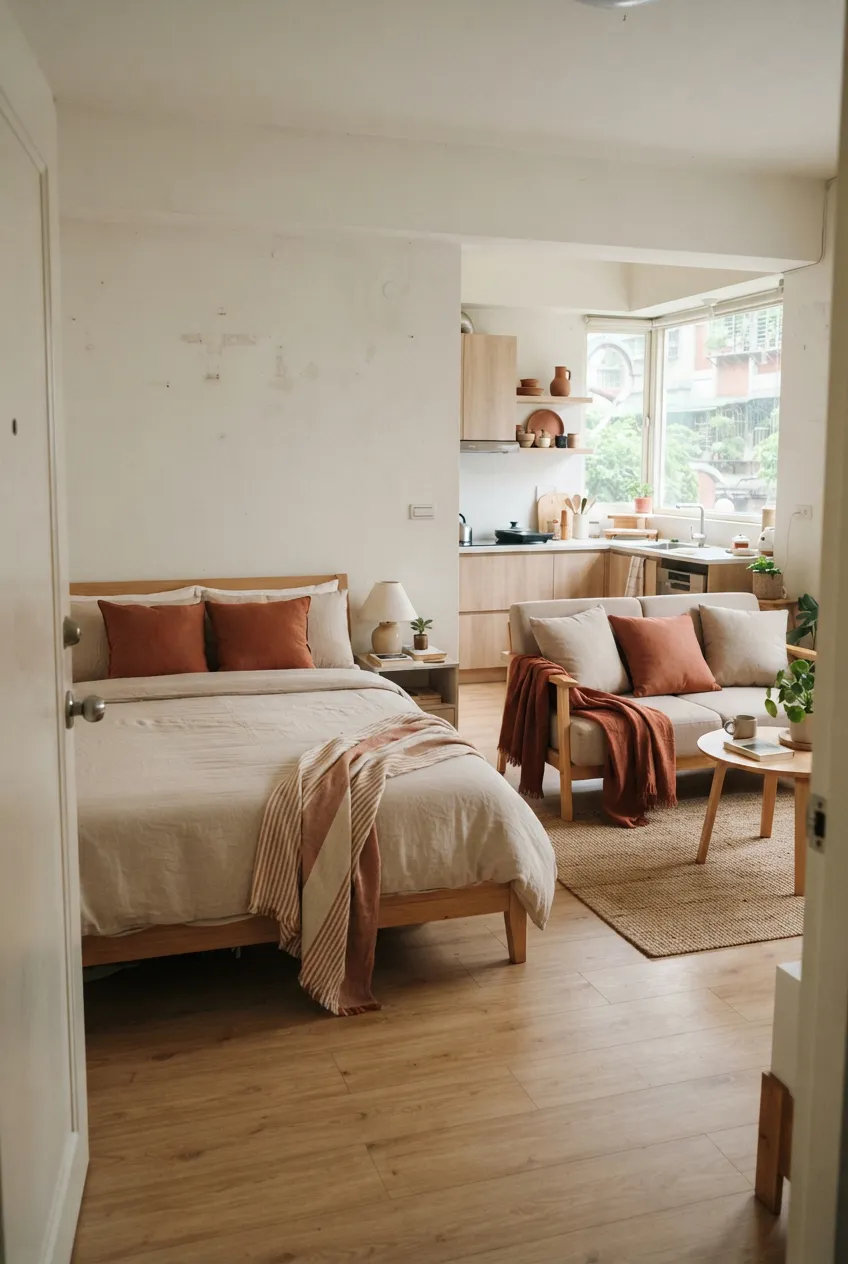
A bedspread, cushion covers, and a throw can shift the room’s color without paint or adhesive. Pick one or two colors that work with the floor and walls you have, then repeat them sparingly across sleeping and sitting areas. Washable covers are useful in a room where cooking, relaxing, and sleeping happen close together.
Work with existing pieces before adding more. Too many decorative layers can make a small studio harder to clean and store. If the apartment feels visually busy, reduce the number of colors and loose objects rather than buying another accessory.
15. Plan the Move-Out While You Set Up
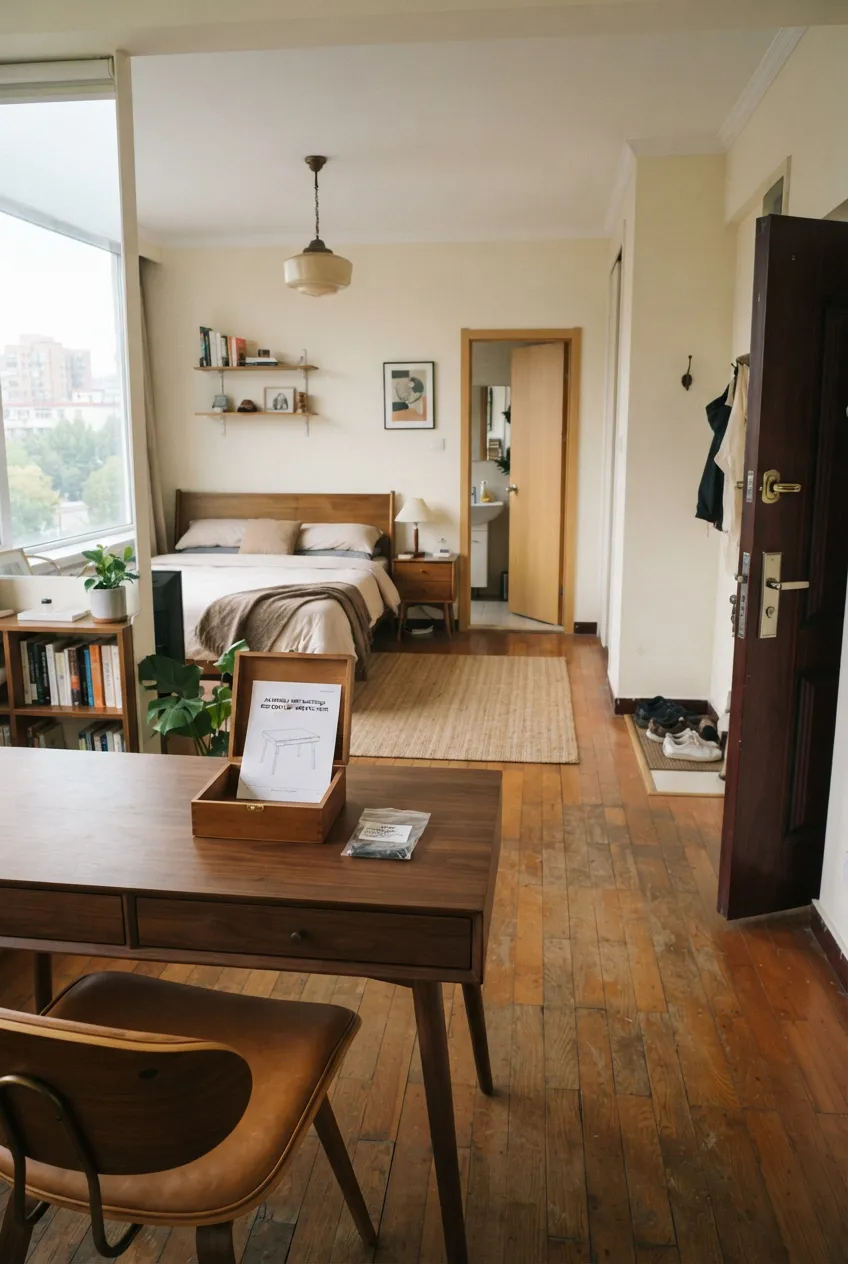
Keep hardware, instructions, and removable fittings in a labeled bag as you assemble each piece. Photograph the rental’s condition when you move in, following your lease and local requirements for documenting it. Make a short list of items you would need to return or remove at move-out.
Choose furniture that can be disassembled or carried through the actual door and stairway. Before buying a large piece, ask whether it would still earn its place if the next room had a different layout. A renter-friendly studio should function now and remain practical to take apart later.
Final Thoughts
The best studio rental changes solve a specific daily problem and respect the apartment you have. Start with the route through the room, then improve the floor, light, storage, and privacy in ways that suit your lease and surfaces. Choose portable pieces for jobs you will need again, and leave enough free space to use every door, drawer, and window.
More Studio Apartment Ideas
 |  |  |
|---|---|---|
Studio Privacy | Studio Entryways | Studio Layouts |